
I have to say, this week has been very tough. I have been battling my way through the insurance war field that is Ontario. I’m not going to go into all of the reasons that I hate how we do things in this province but know that I’m mad about it. However, on a happy note, I did find someone to insure my bus :) I haven’t finalized it yet but I should be able to hit the road next weekend *fingers crossed*… but enough about the future, let’s look at whats been going on at the bus:
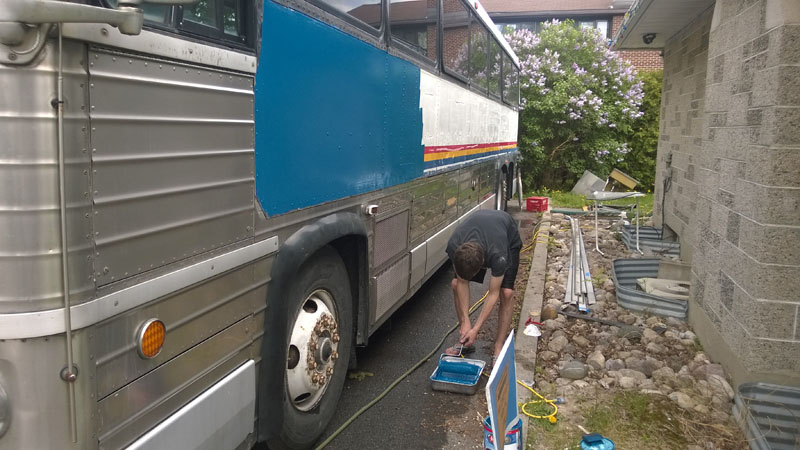
PAINT! Last time I mentioned the horrible process of stripping down the old label, and I finally finished it. I then went through the even more grueling process of sanding the bus. The strip of paint-able metal on the bus looks small in pictures but when you go to sand it you realize that 3 feet x 40 feet x 2 sides is a lot of surface area…
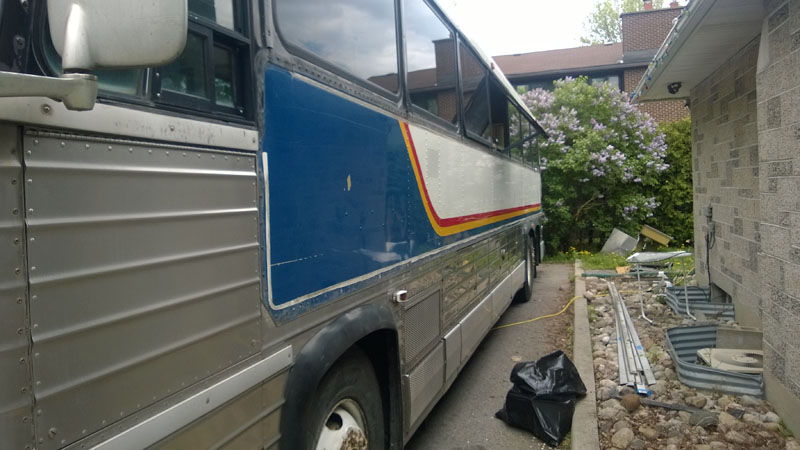
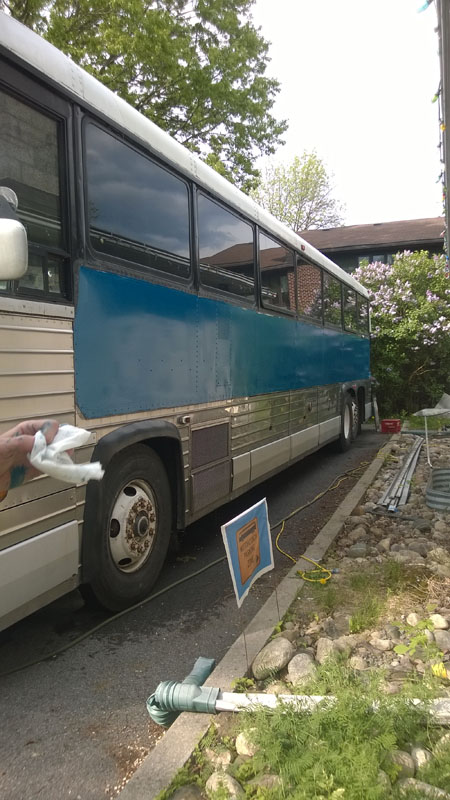
The painting itself took about 5 seconds and the color turned out really nice. For those who are curious: I bought farm tractor paint, ’equipment enamel’ at TSC in ‘Ford Blue’. I had a bad roller for the first coat which created a lot of fuzzy bits in the paint so I did a second coat. I have yet to do the back but its really just white so there’s no rush.

I don’t have any pictures with the trim back on but you can see already that it looks great.
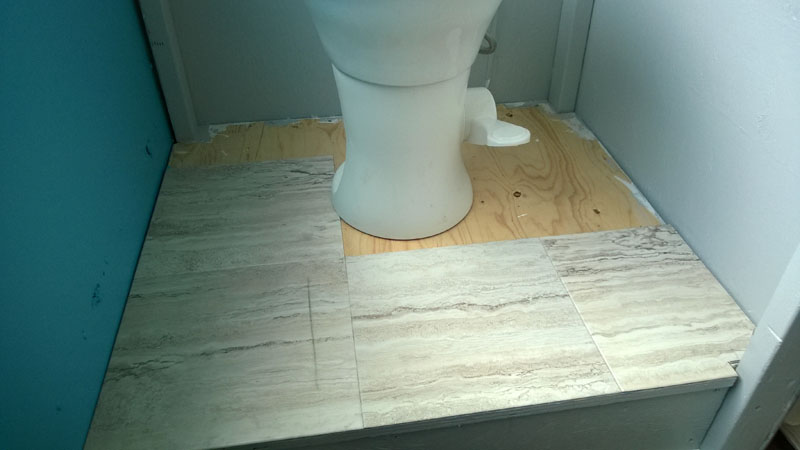
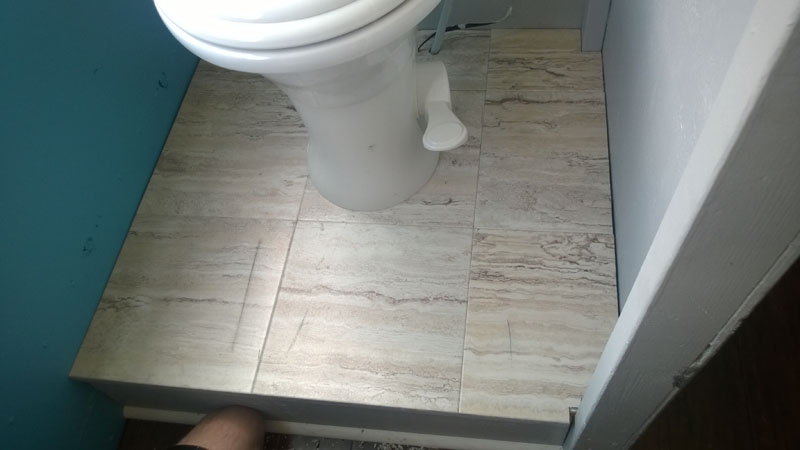
The last bit of floor that was still plywood was the space under the toilet. We got some faux marbel stick down tiles at Home Depot for about $1.50 each. This was probably the only $10 job on the bus but it made a big difference. Unfortunately I got a bit of grease on the first tile that went down. I think I’ll try some wd-40 to get it off… figures something like that was bound to happen.

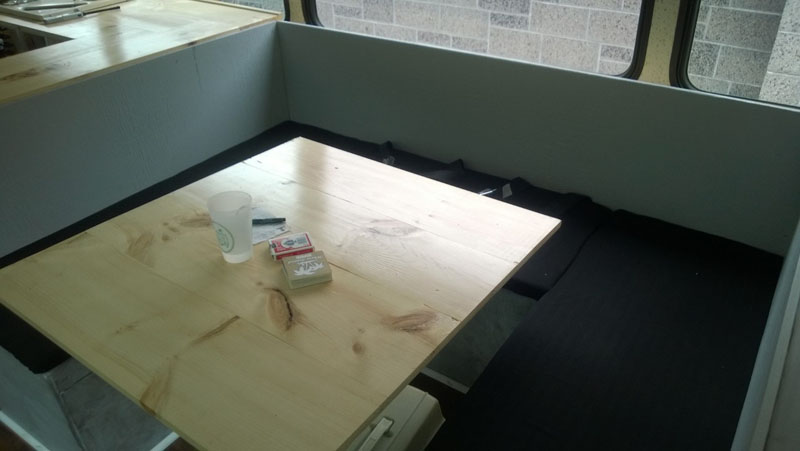
The last major piece of the puzzle was the seat cushions. If you’d noticed: up until now, the bus still had plywood benches everywhere. I ordered a bunch of foam for all of the benches, both bunks and the double bed at the back. It took about three weeks to come in and all that I got was these little boxes:
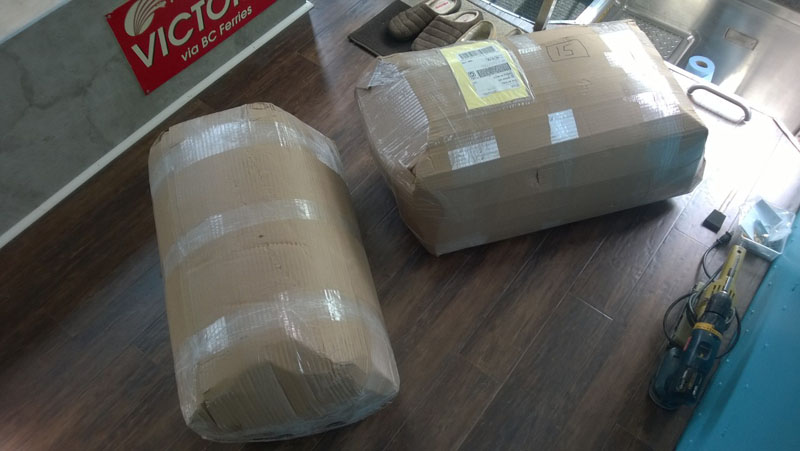
I was worried for a second but then I remembered what was in them. Popping open the boxes was quite an even, looking back now I wish I’d filmed it or something.

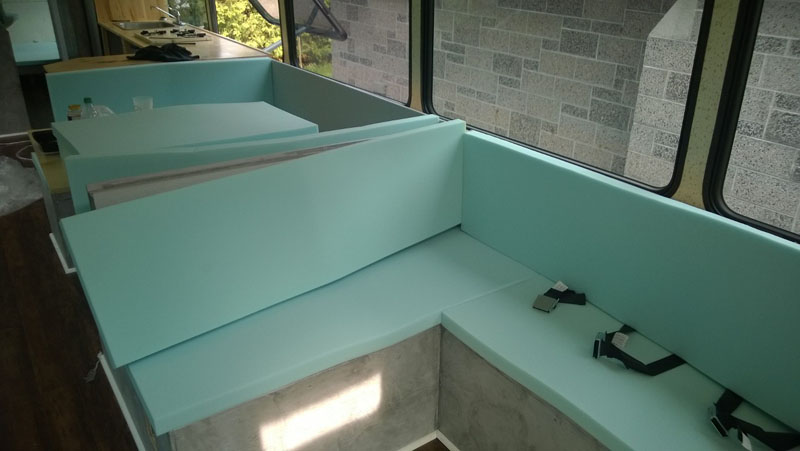
I ended up ordering a king mattress to cut the bunks out of because it was cheaper than 2 custom pieces.

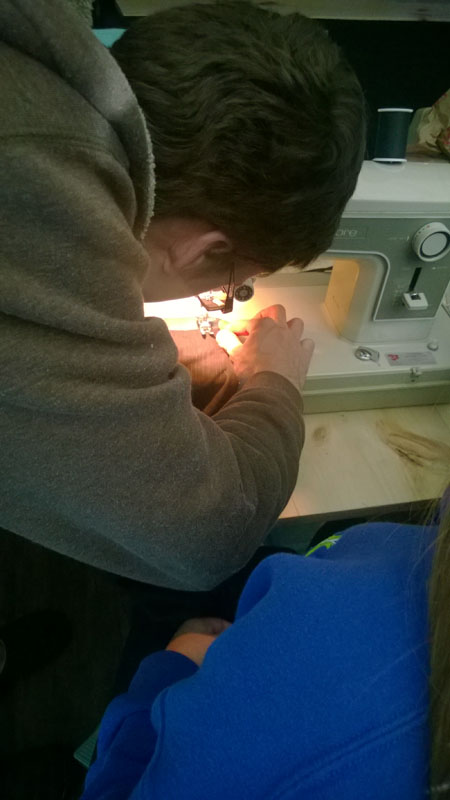
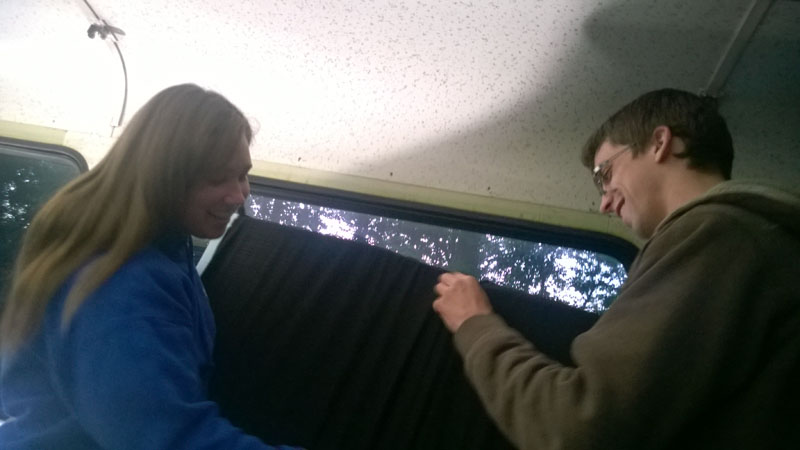
You may remember Kelly when she helped me put in the drivers area carpet way back near the start of the construction. She came back (with a sewing machine this time) to help me cover all of the seat cushions. After spending about 2 hours getting the 1972 sewing machine running, we managed to get all of the 5 bench and 6 back cushions covered up.
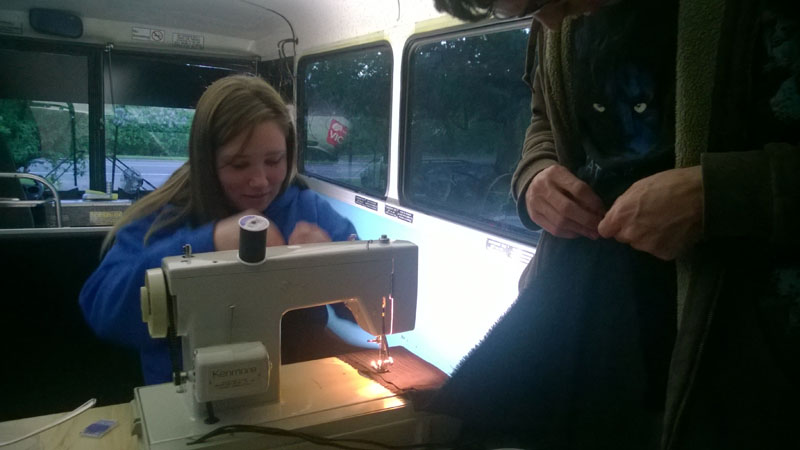
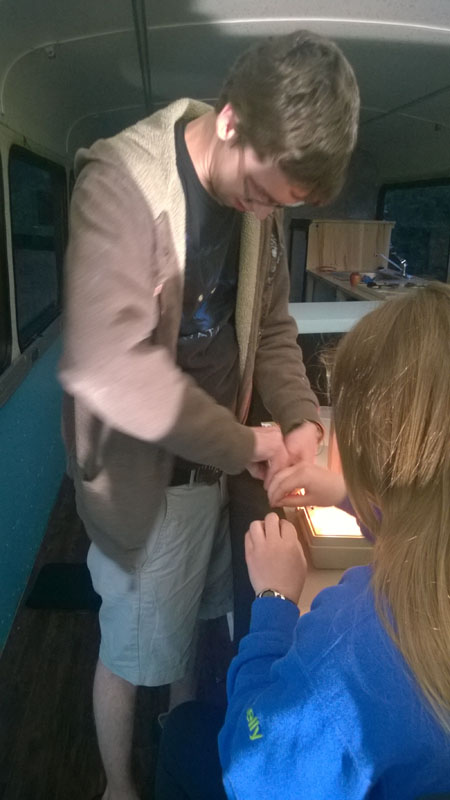
The most exciting part was getting the covers onto the little 2" thick pieces of foam. They were all quite long so sliding the covers on was a serious process.
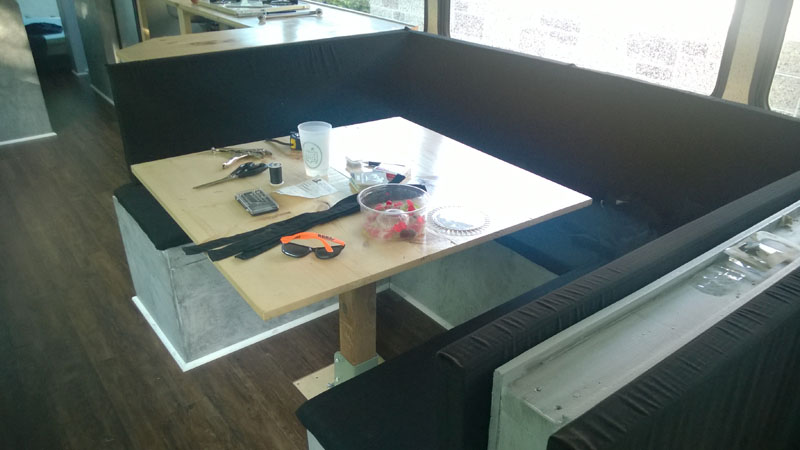
Here’s a couple pictures after we finished the bench cushions:

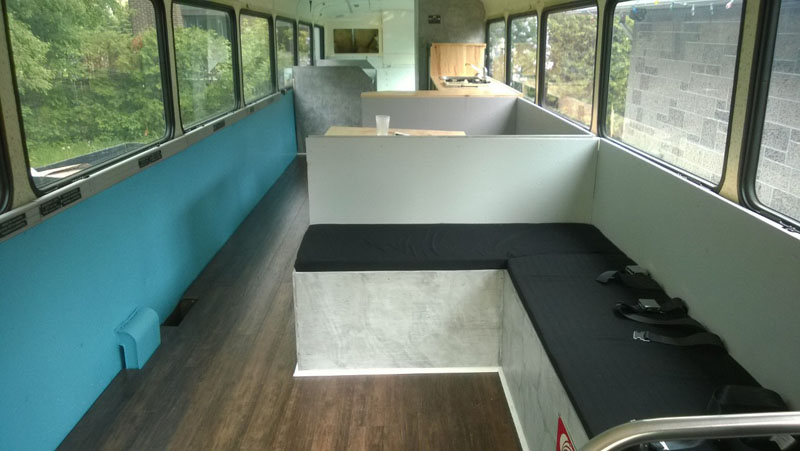
And here’s the bus as it stands now, ready for a road trip!

Hopefully next week I’l have a walk around video for you of the finished product, and maybe even a driving video :)
Thanks for reading!