Well, some exciting things have been happening on the bus since my last post. I’ll try to keep this one a little more brief than the last but no guarantees…
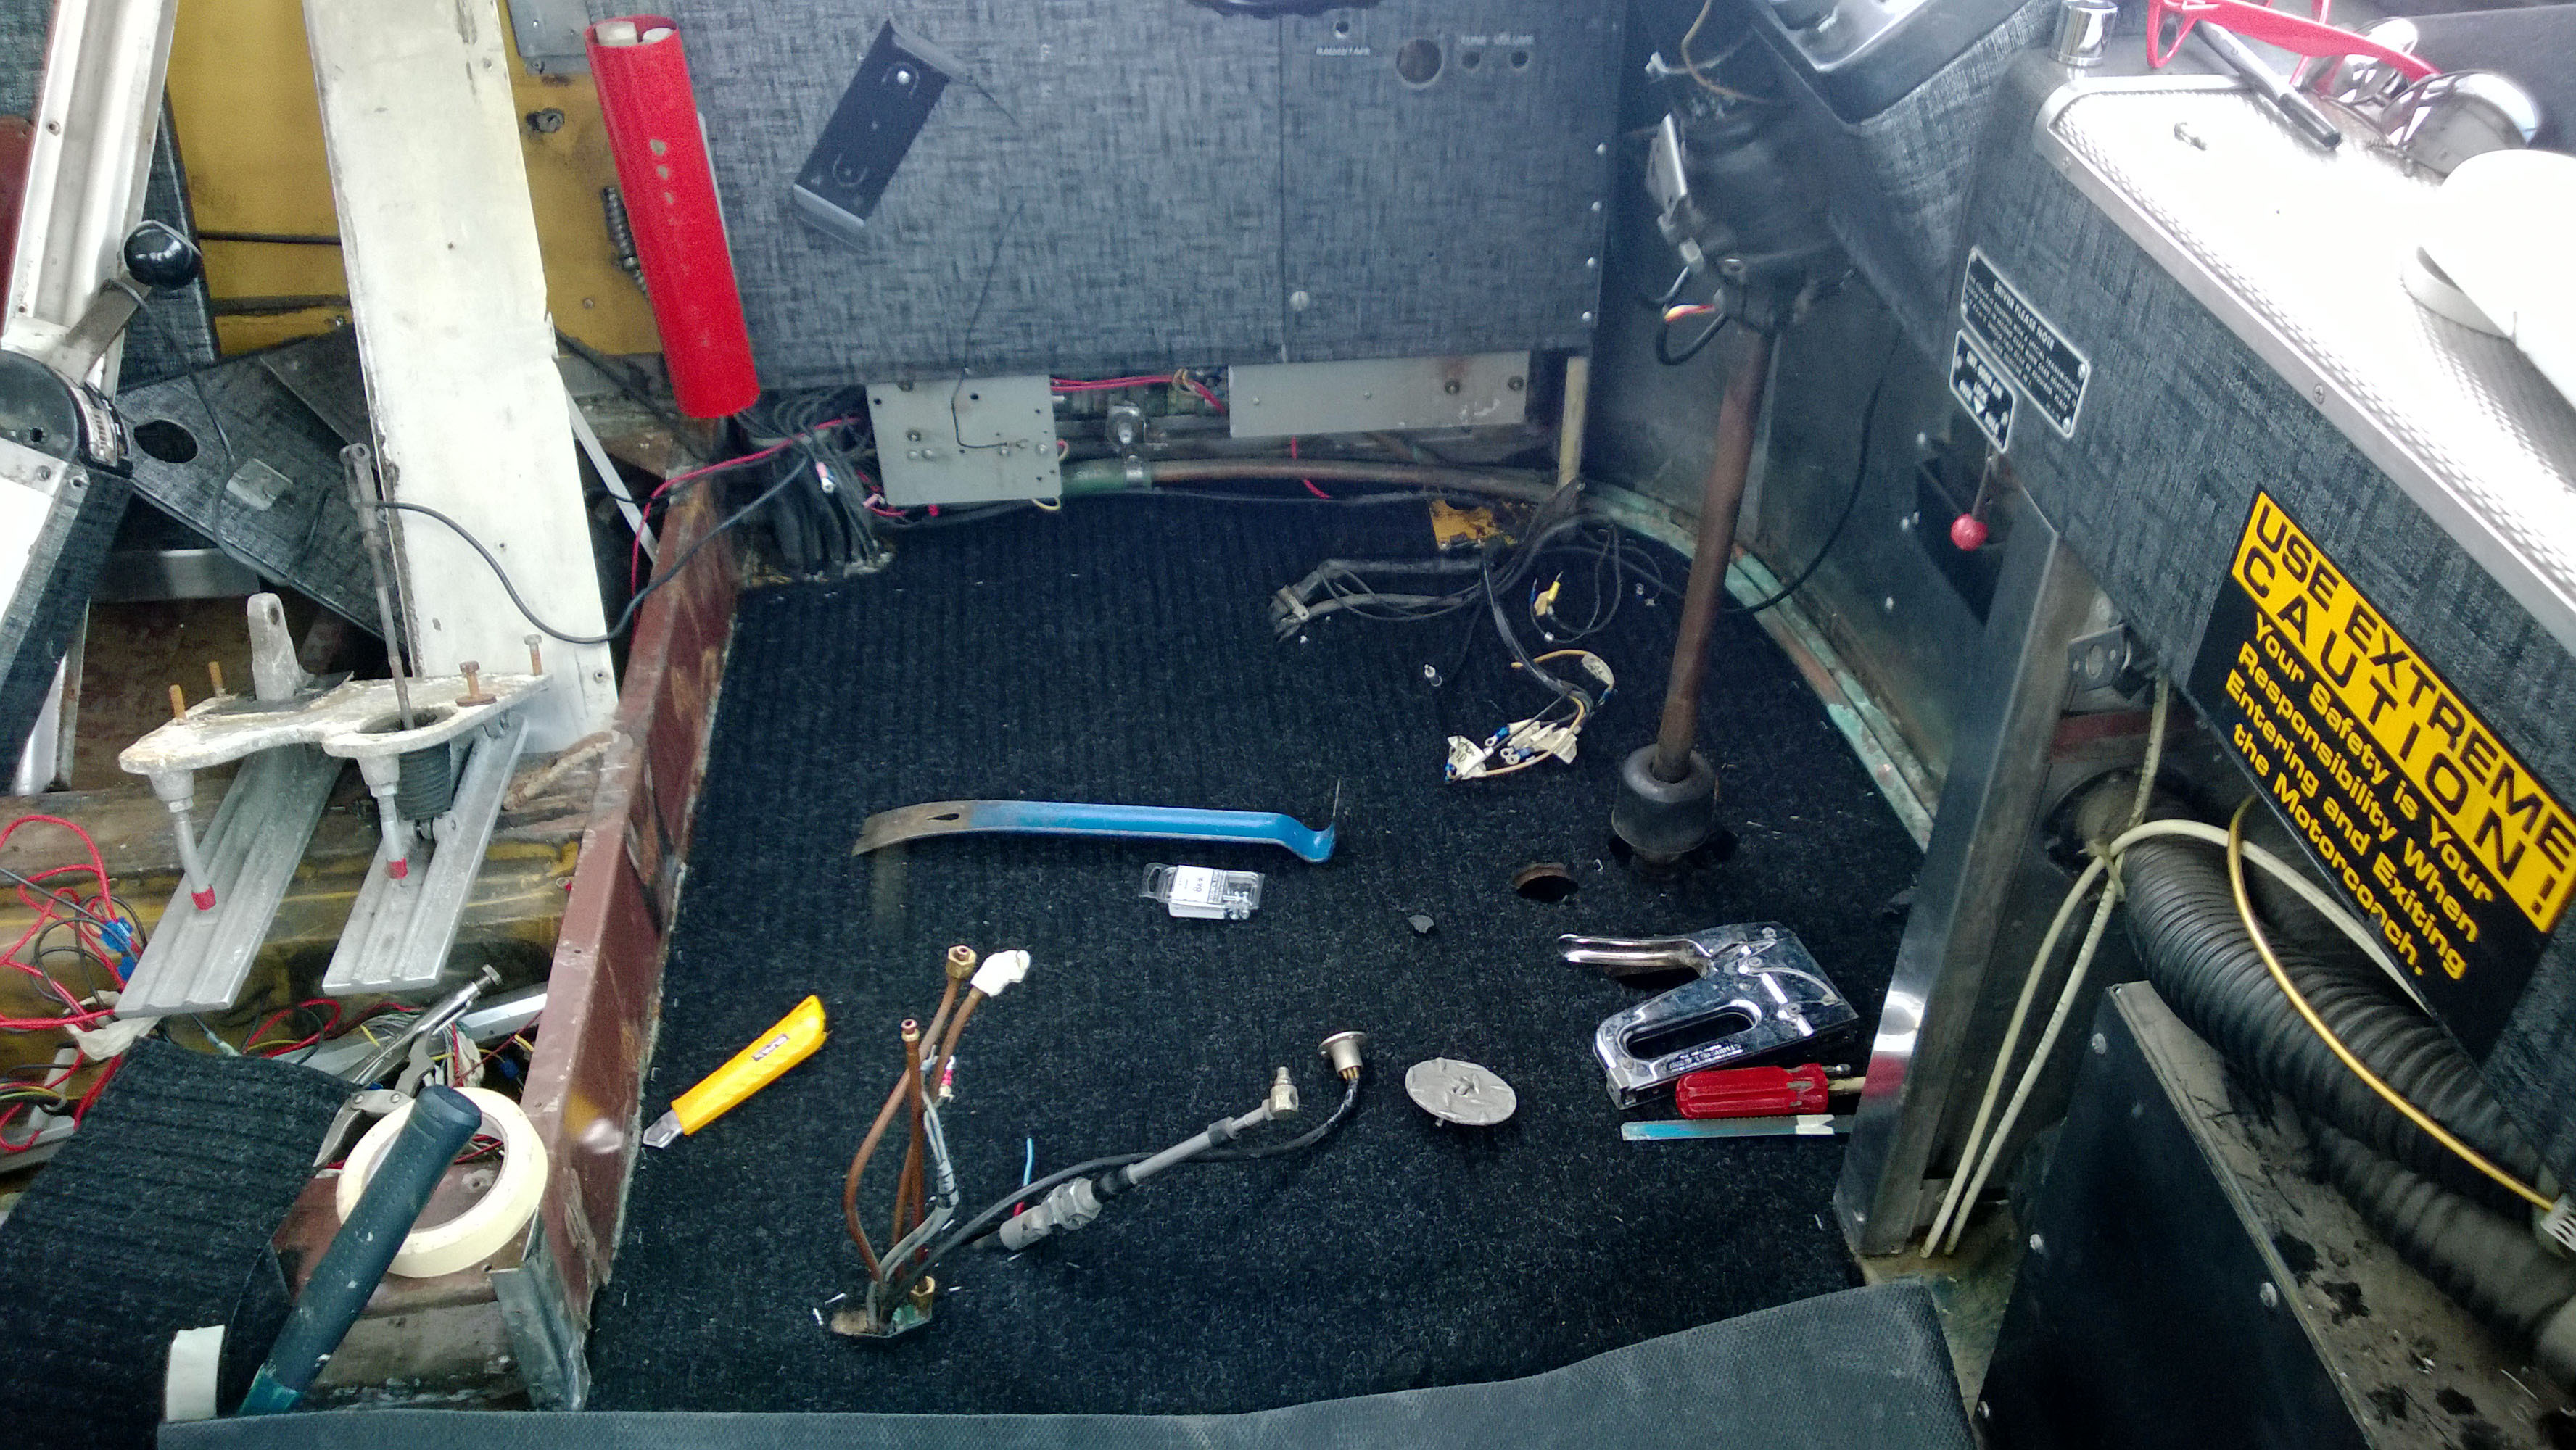
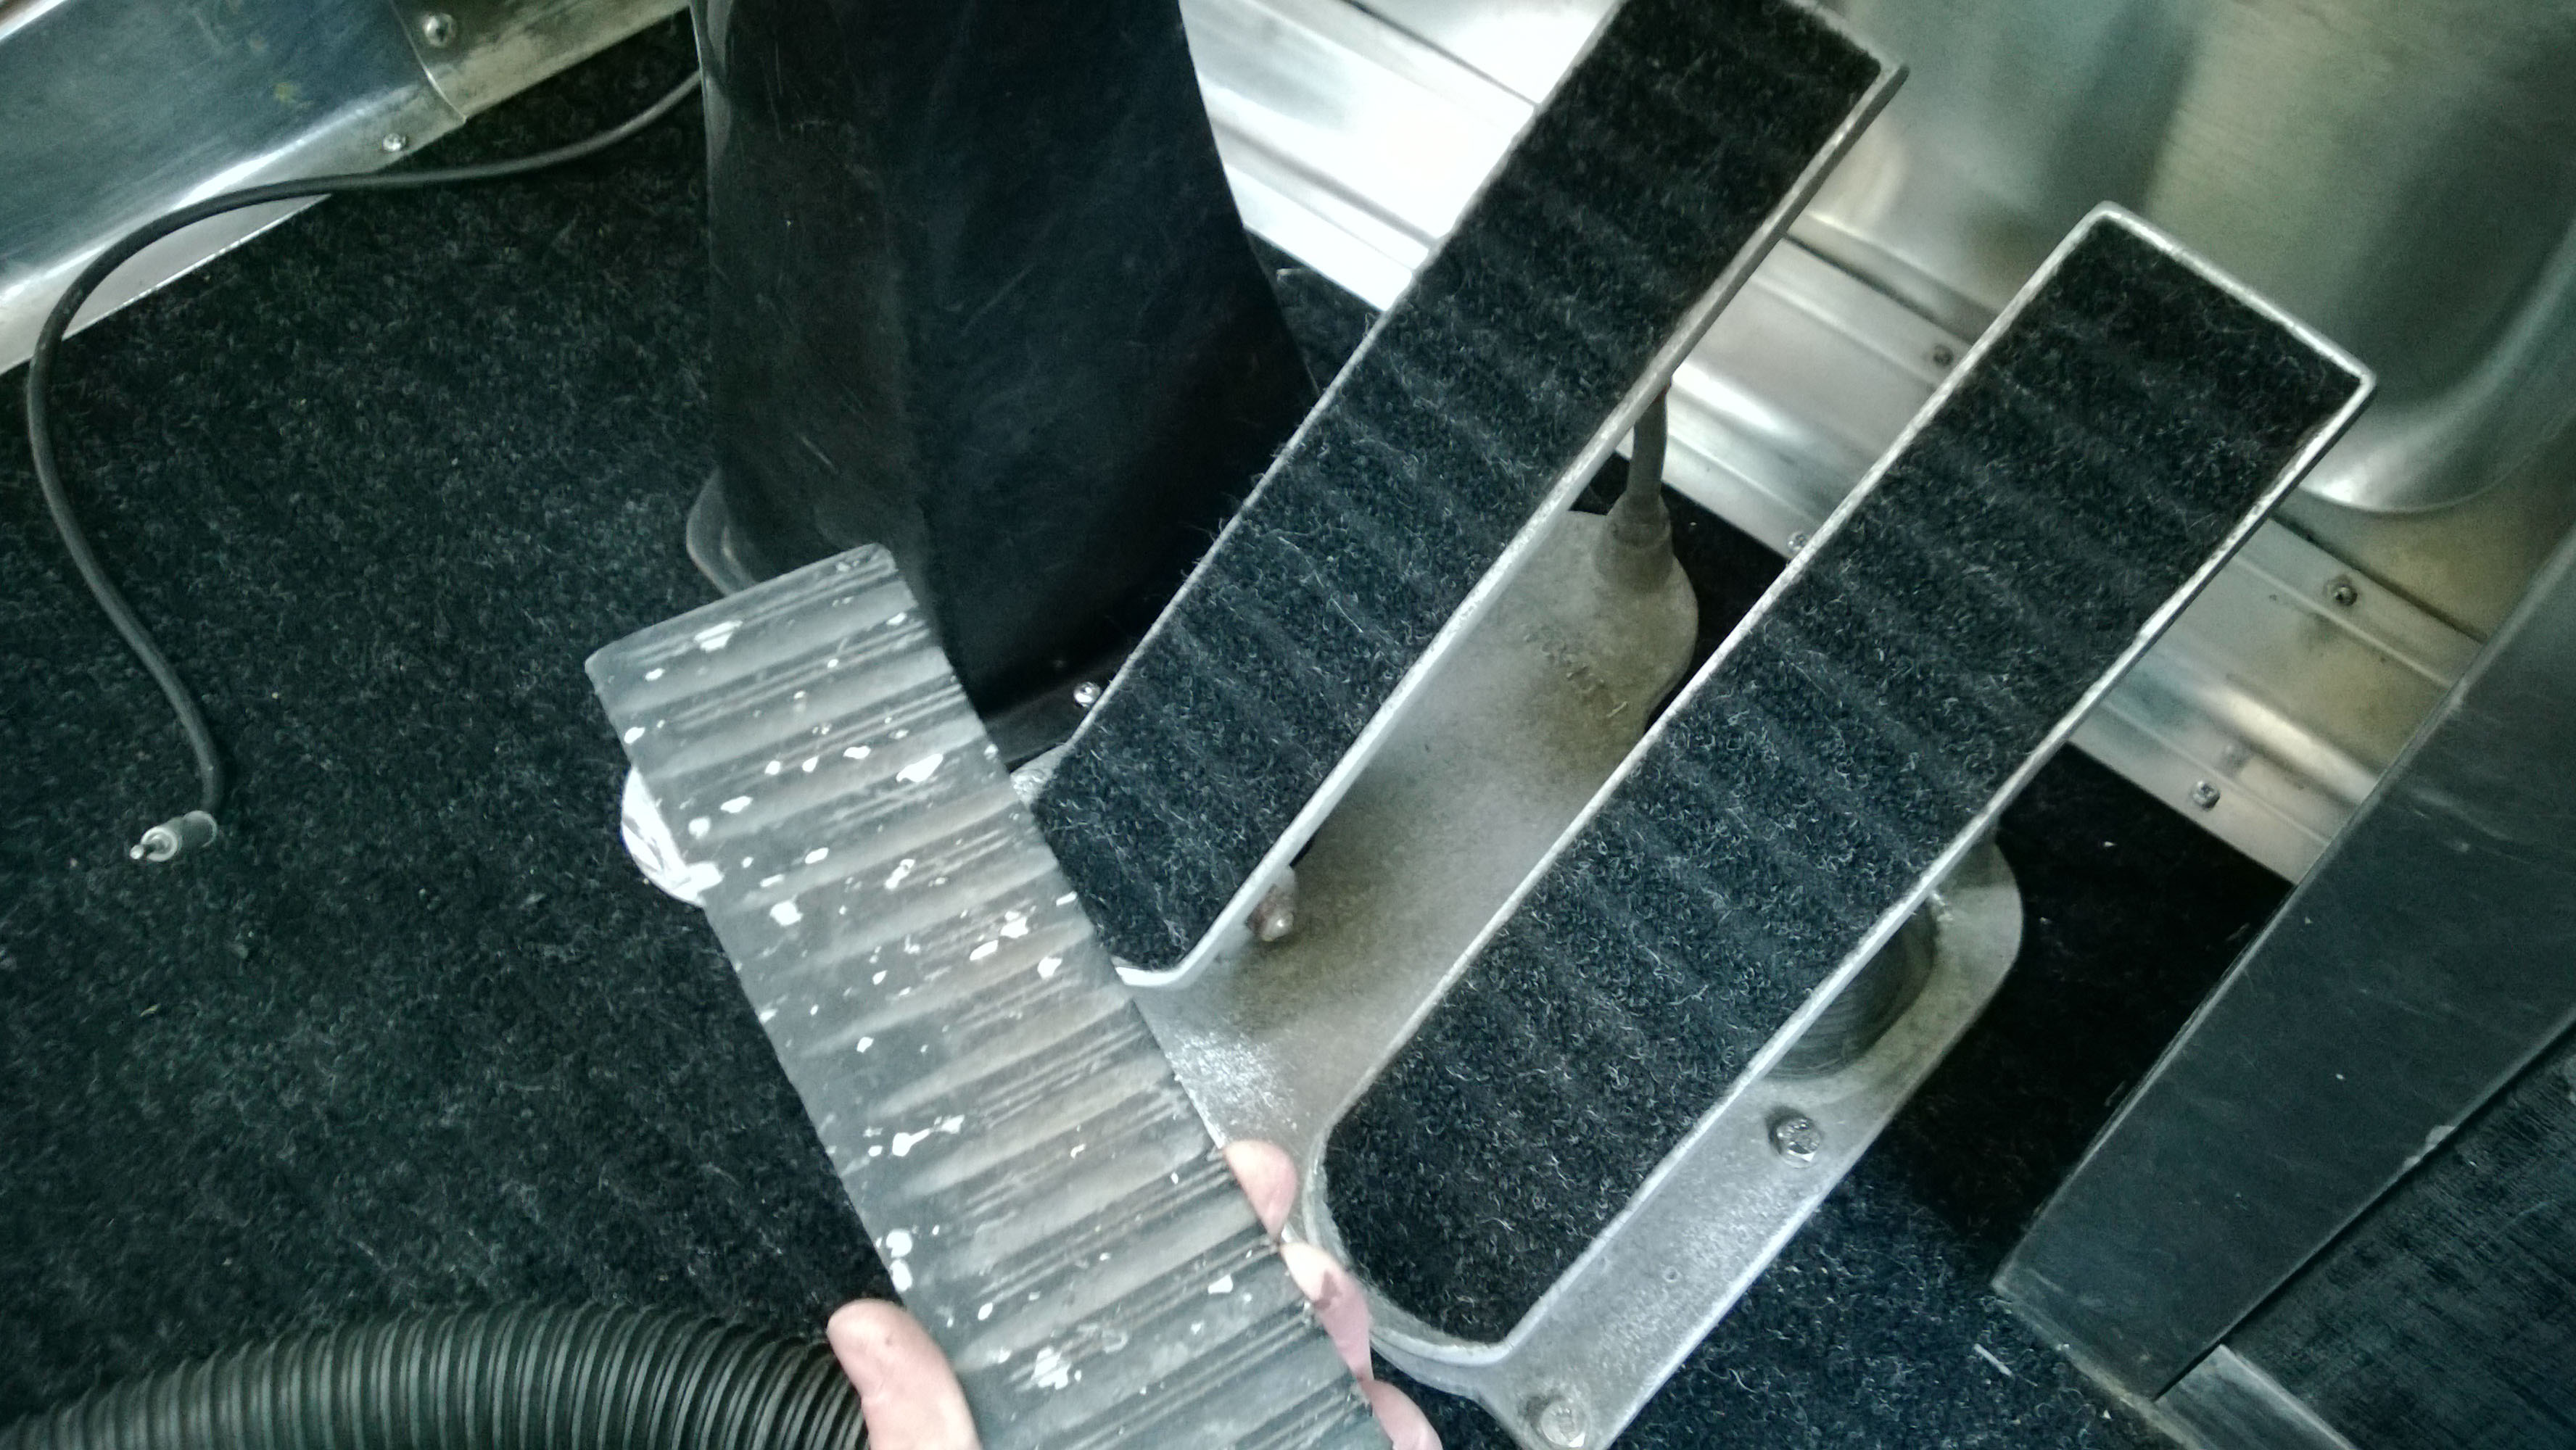
First off, the Drivers area. I was planning to take out the old plywood here and put fresh stuff in but I realized that one large sheet stretches across the whole front area and has more or less every major and minor wire passing through it along with the heating fluid, steering column, and pedals. Needless to say I decided not to dig that deep and simply went with pulling up the old floor. I bought a large entryway mat to retrofit in as a carpet. I thought this was great because it’s moderately comfortable for the diver and won’t allow water or dirt through it into the wood below (it was also rather cheap).
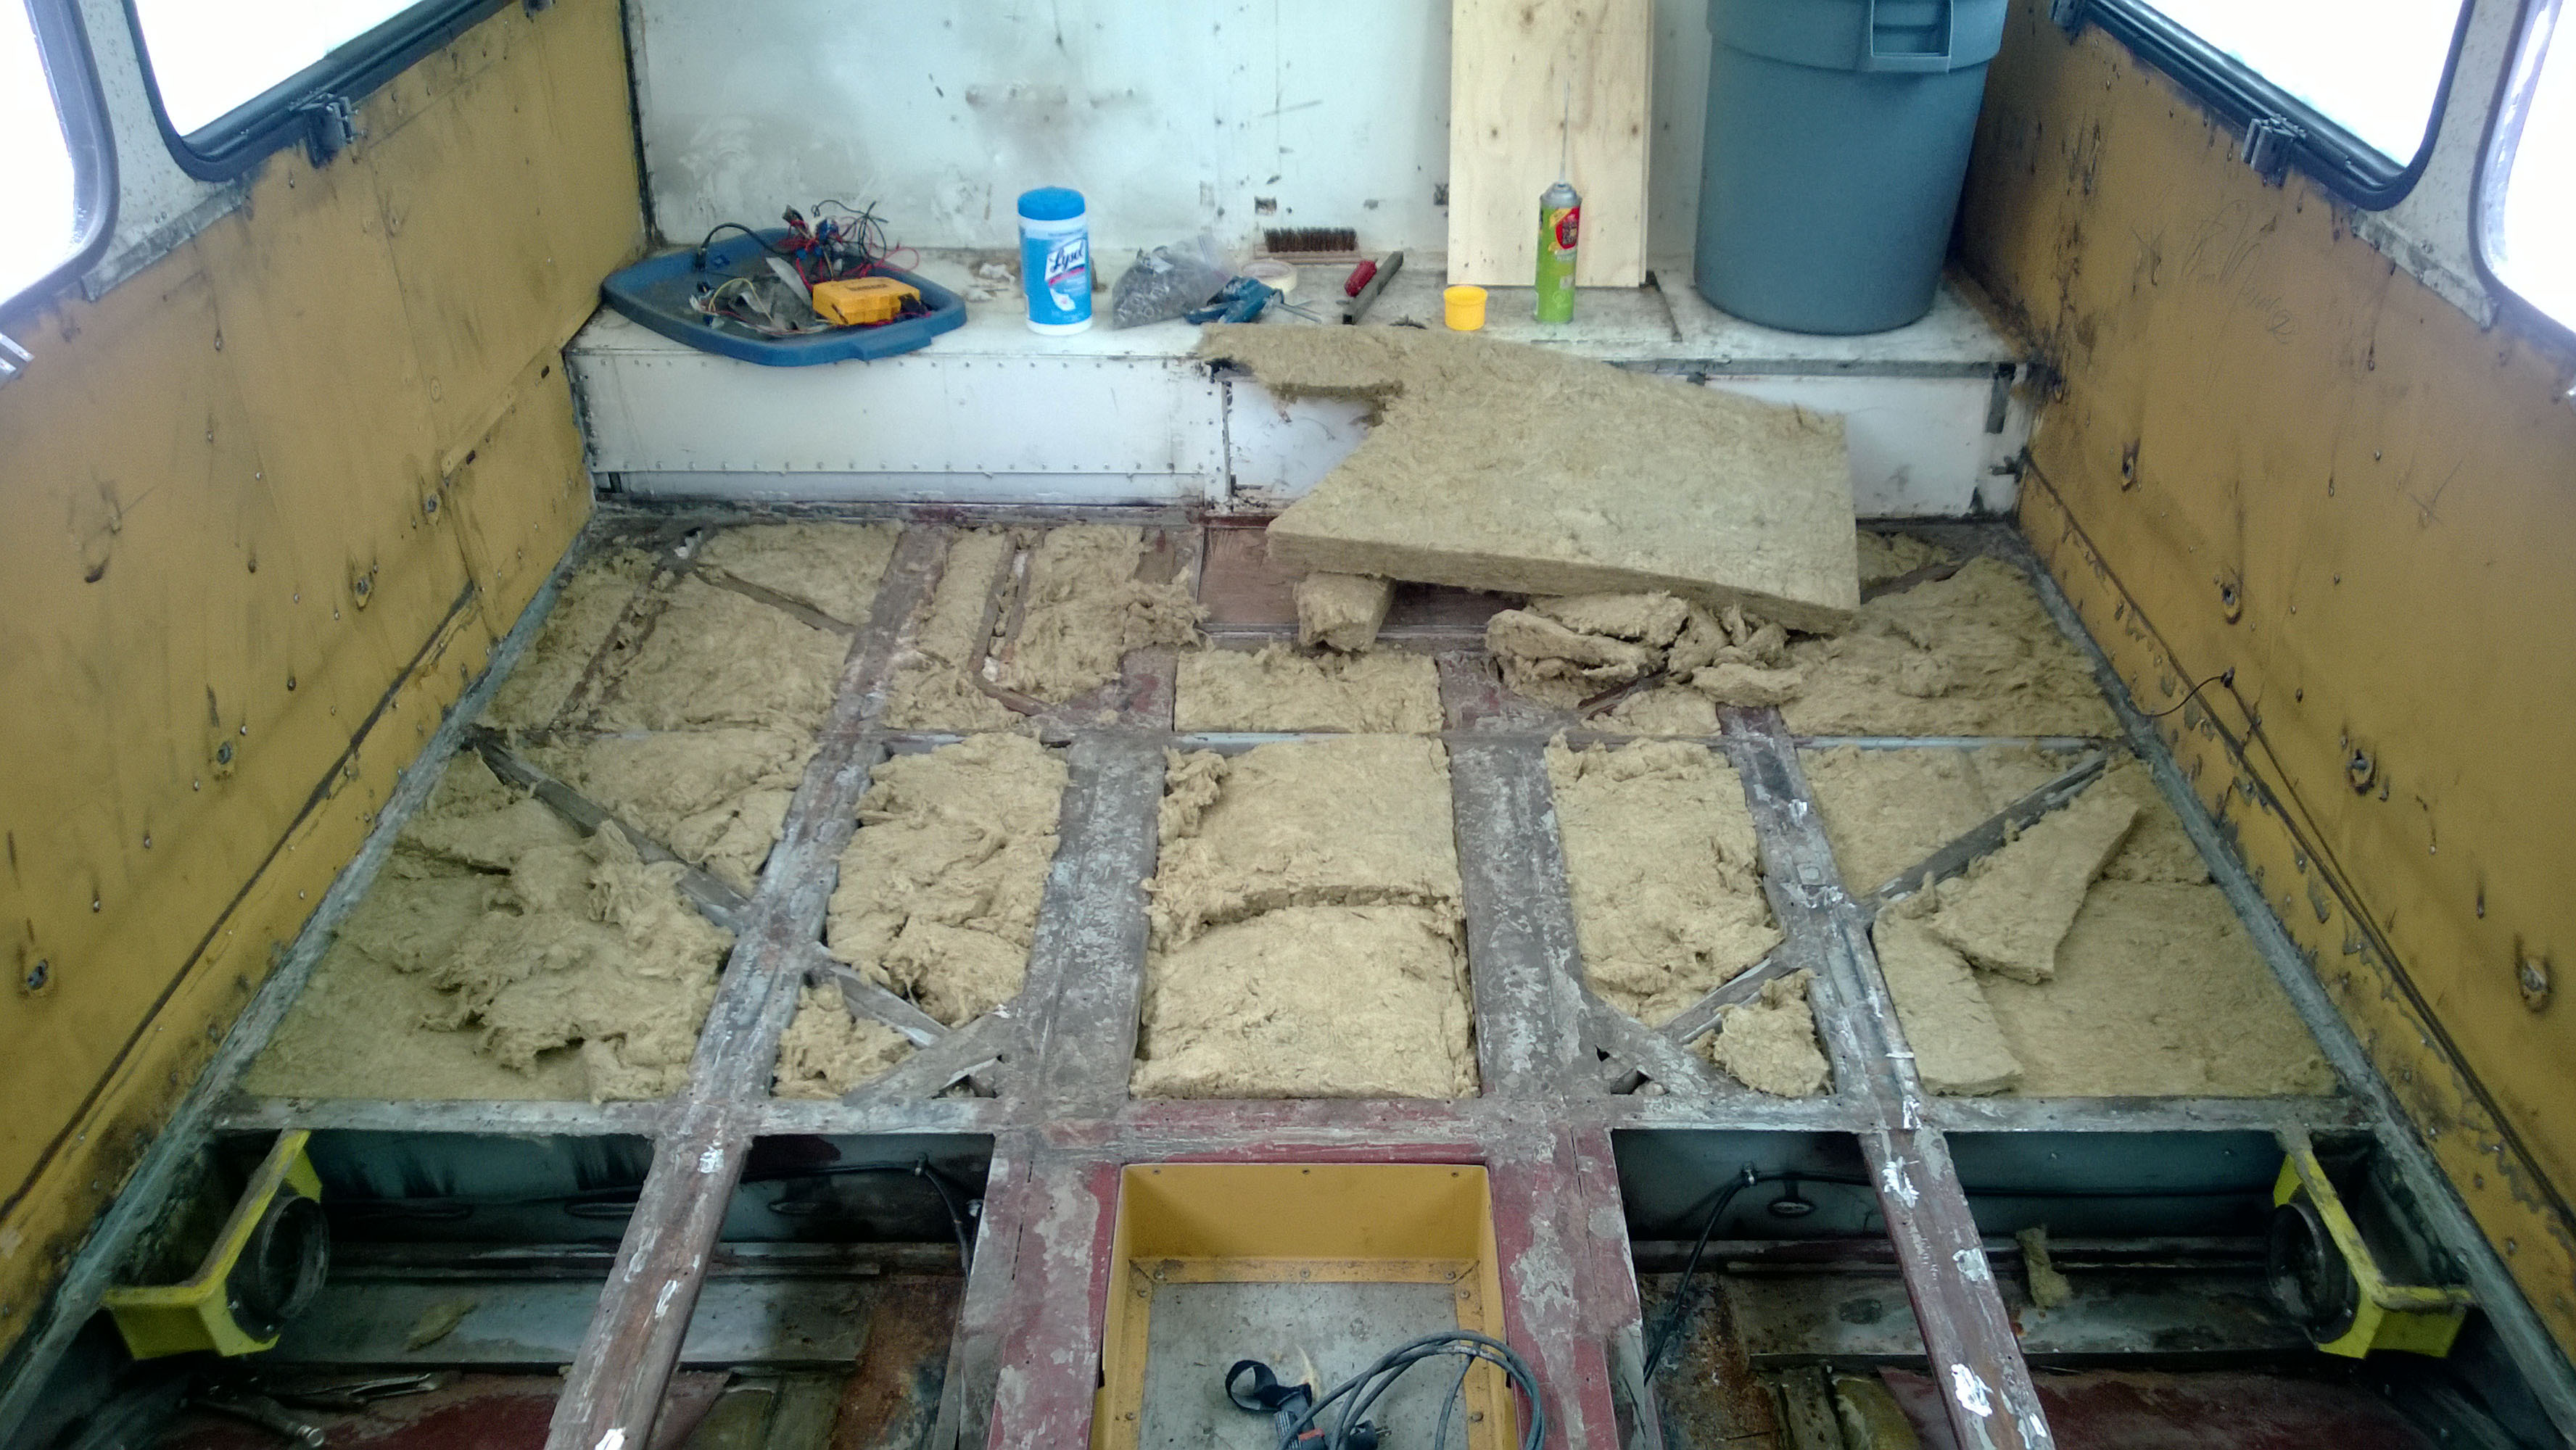
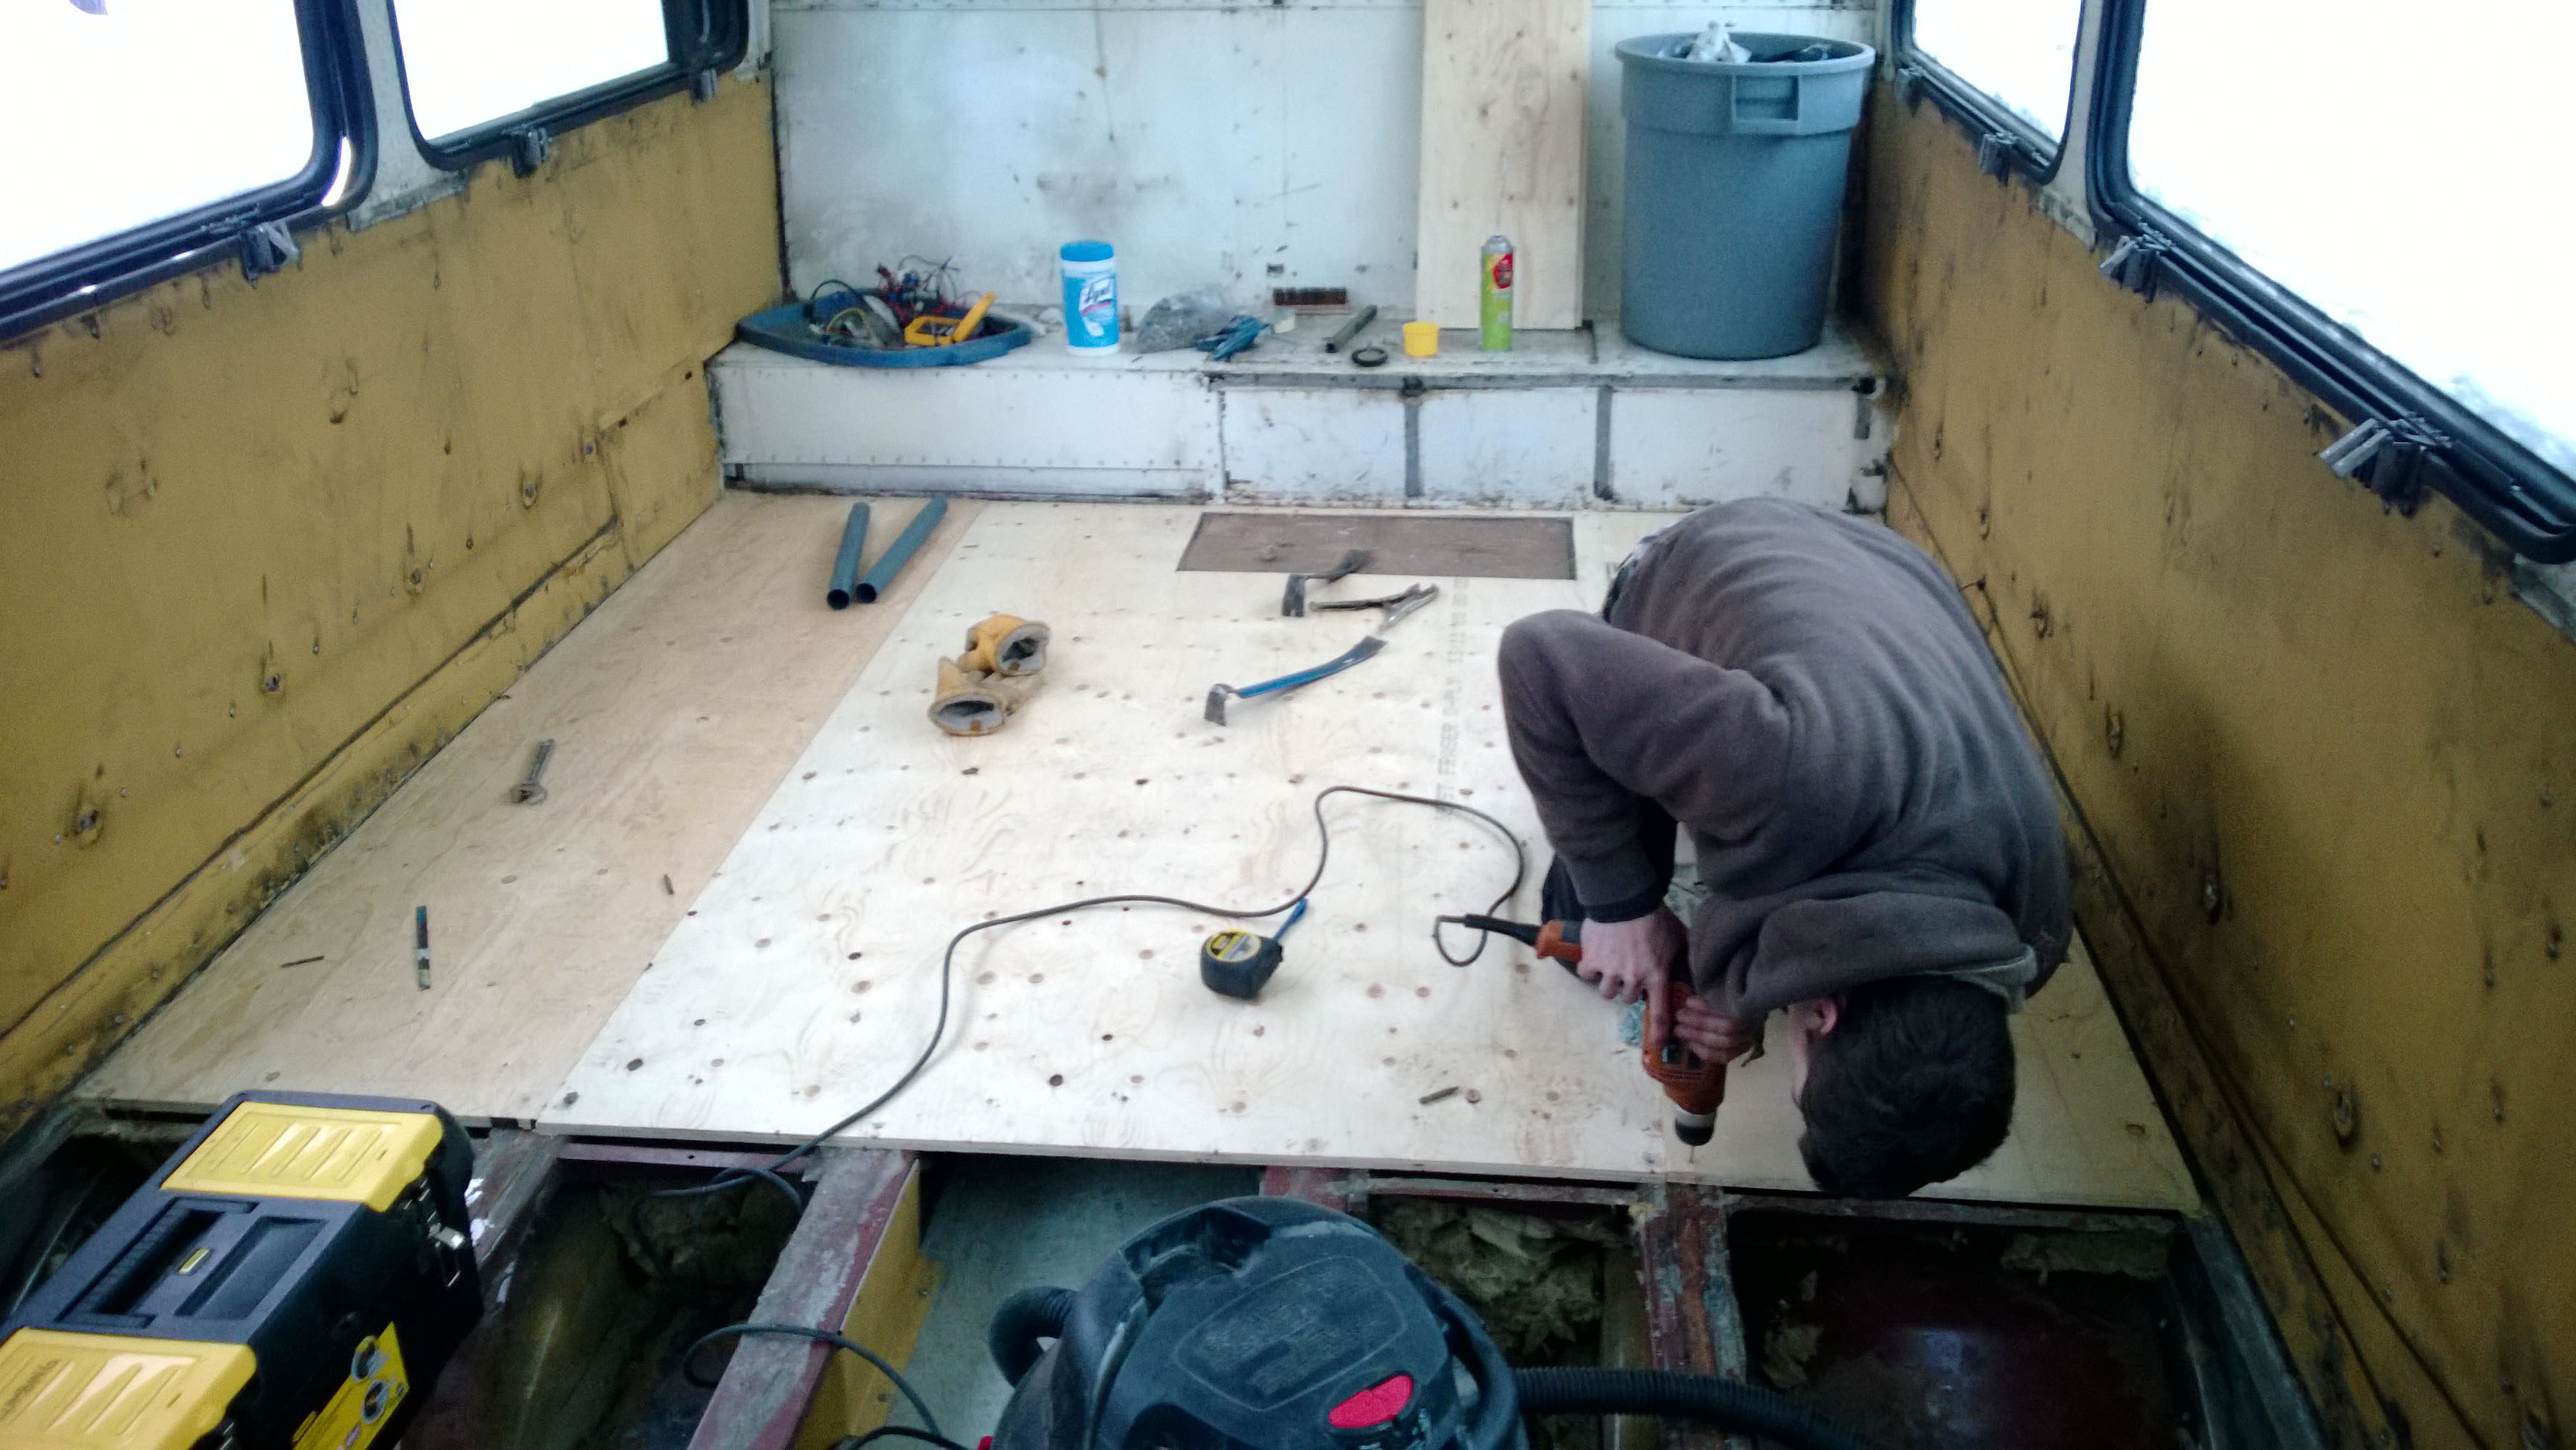
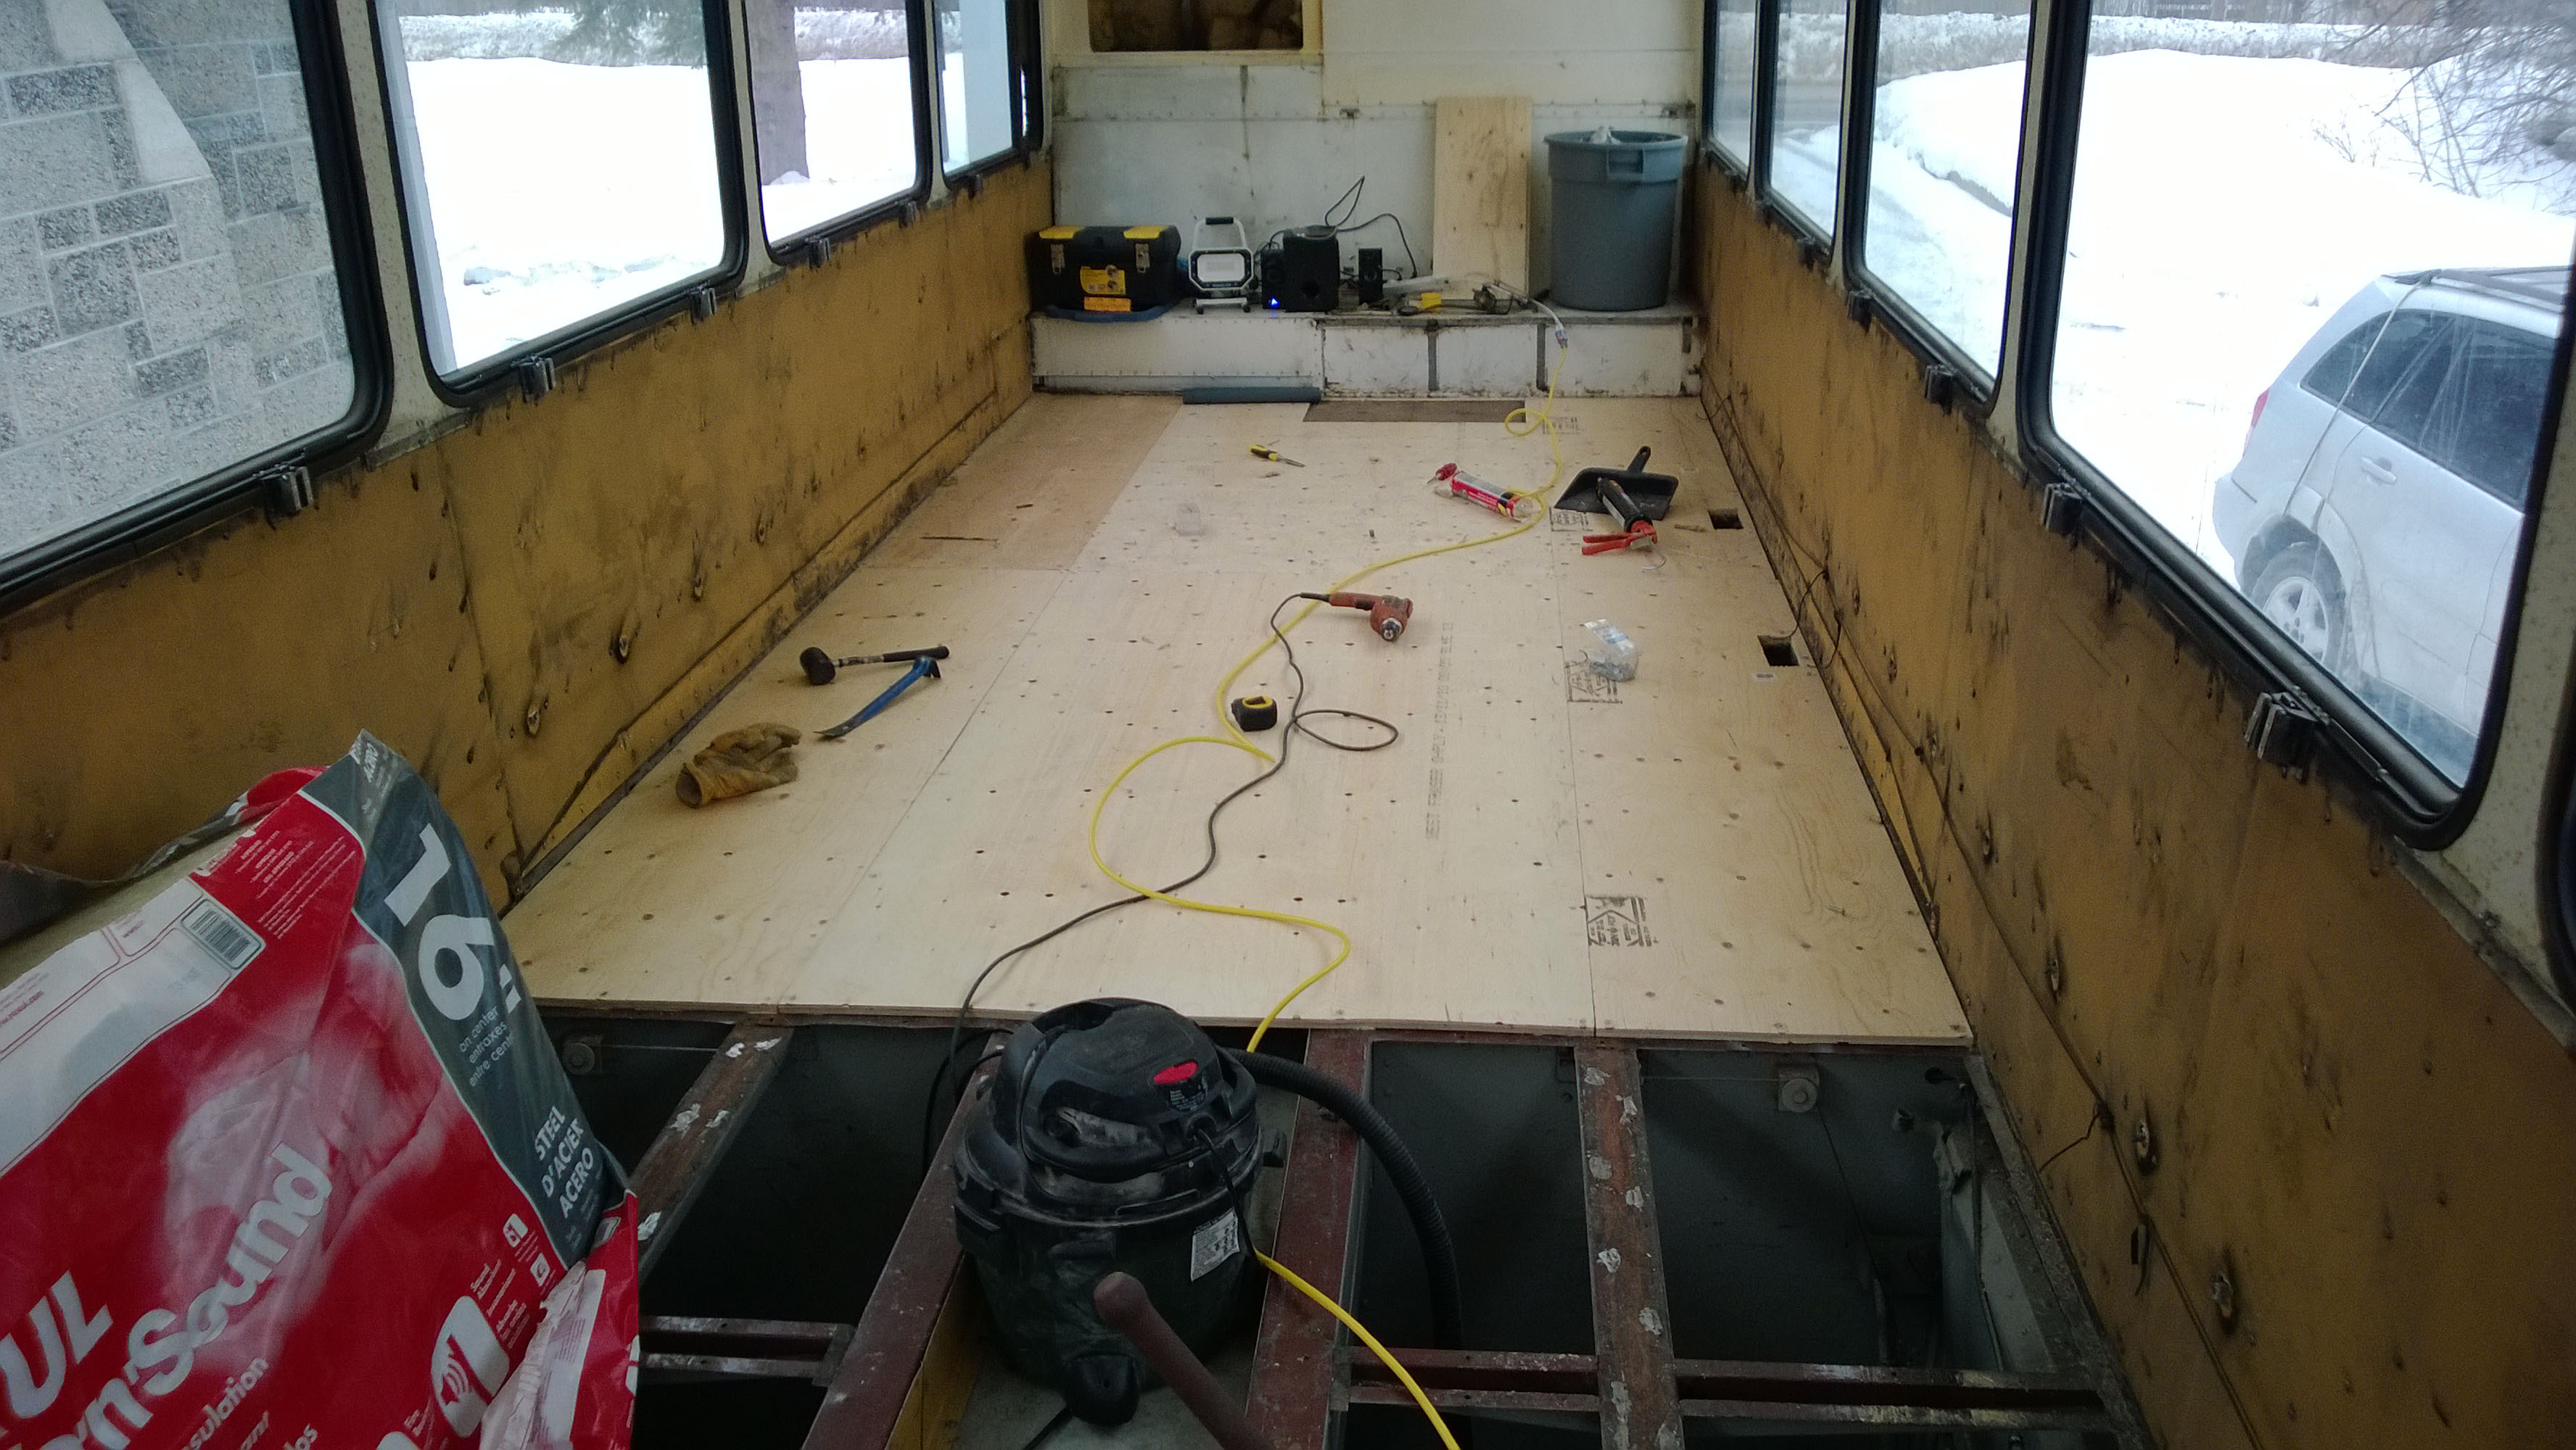
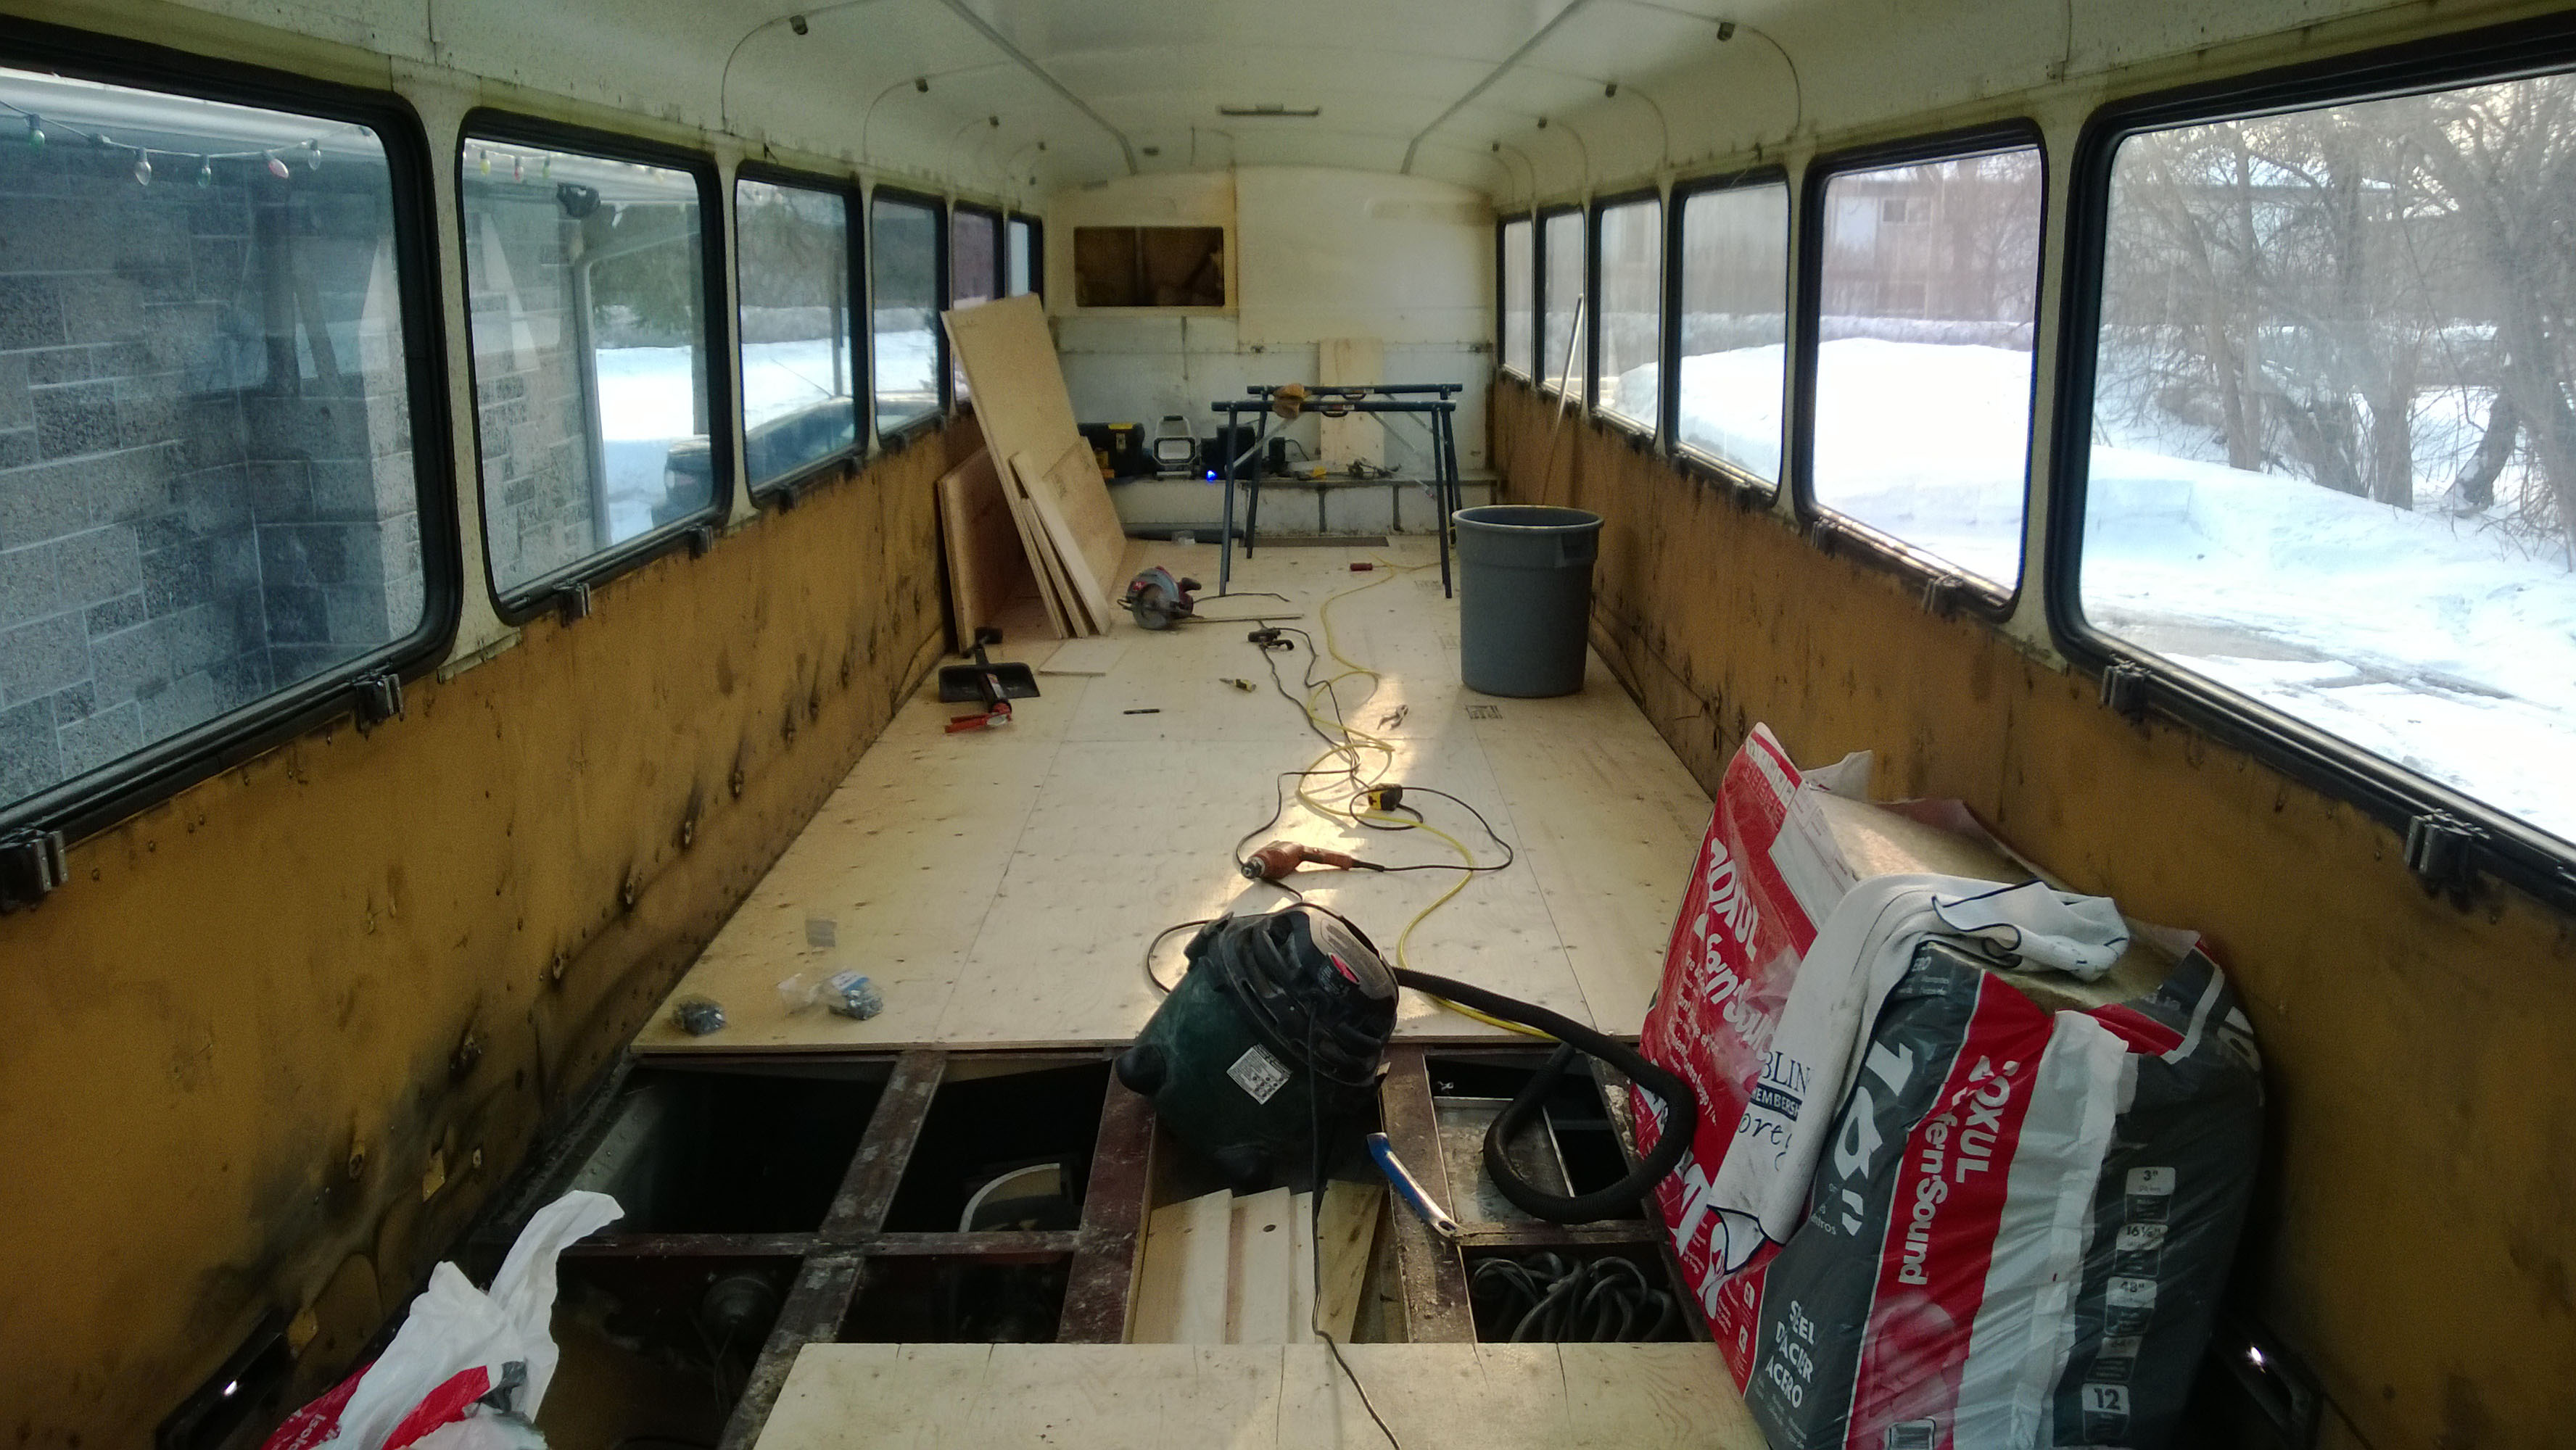
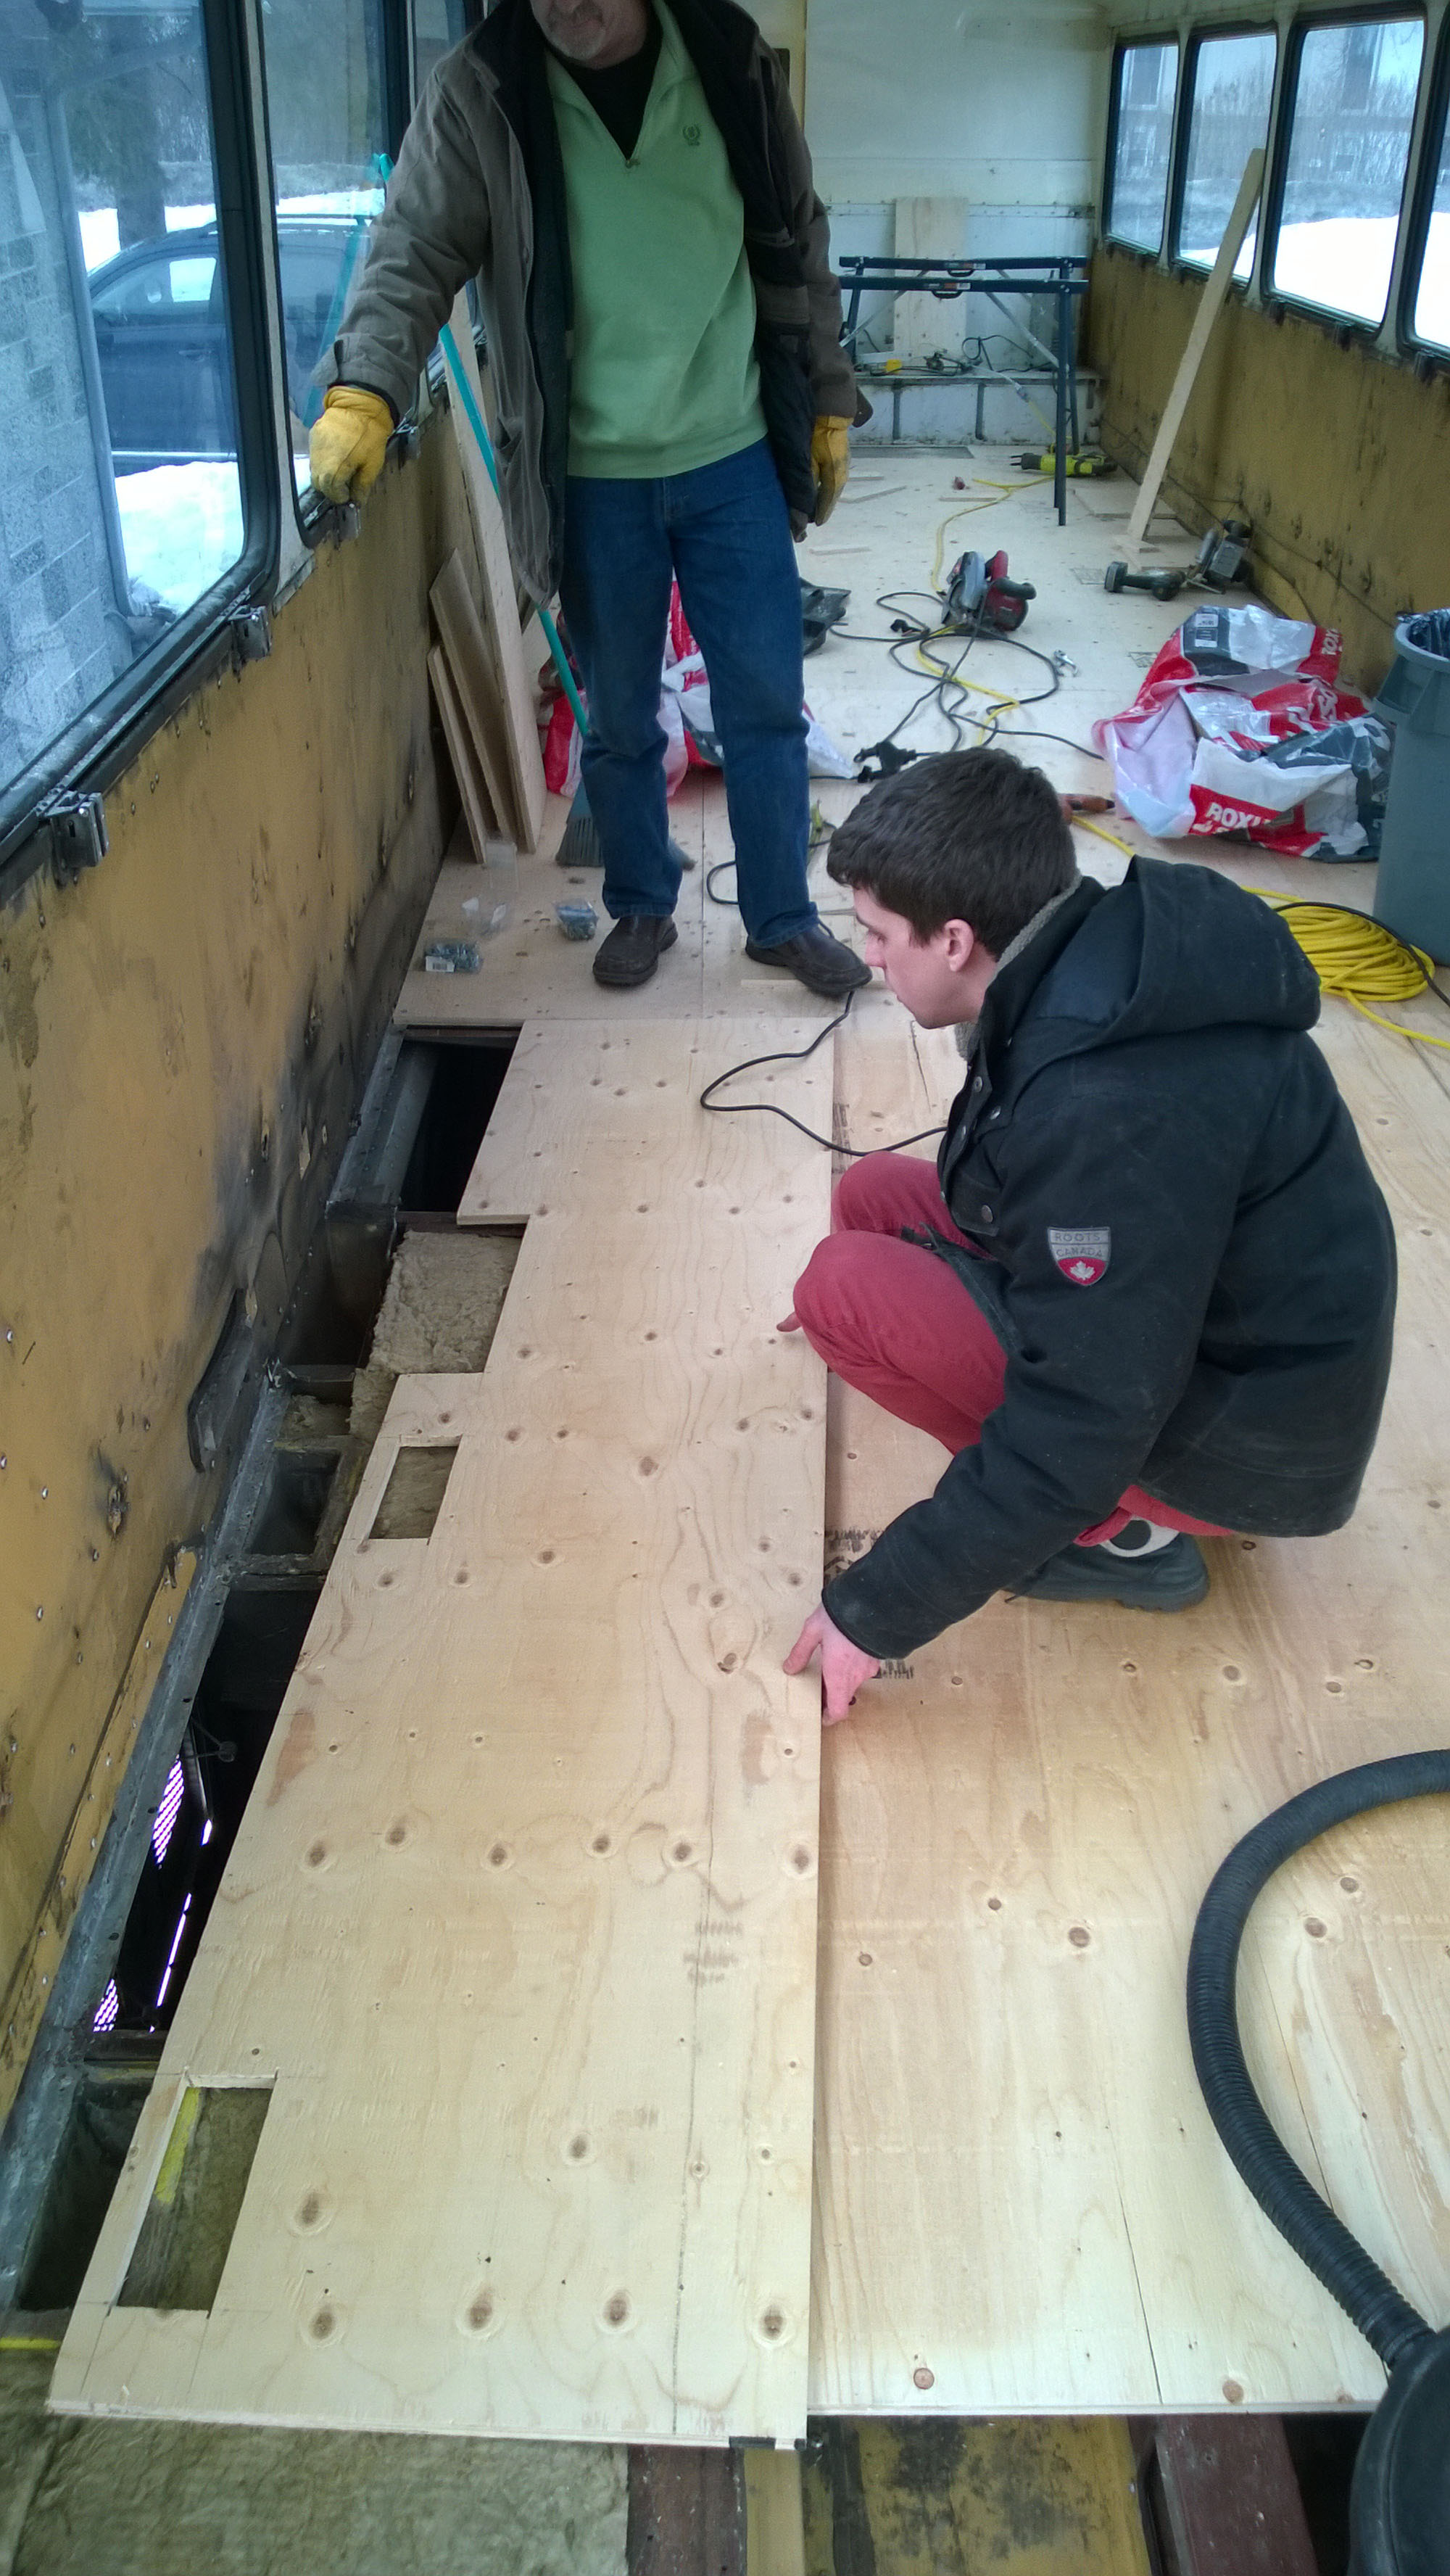
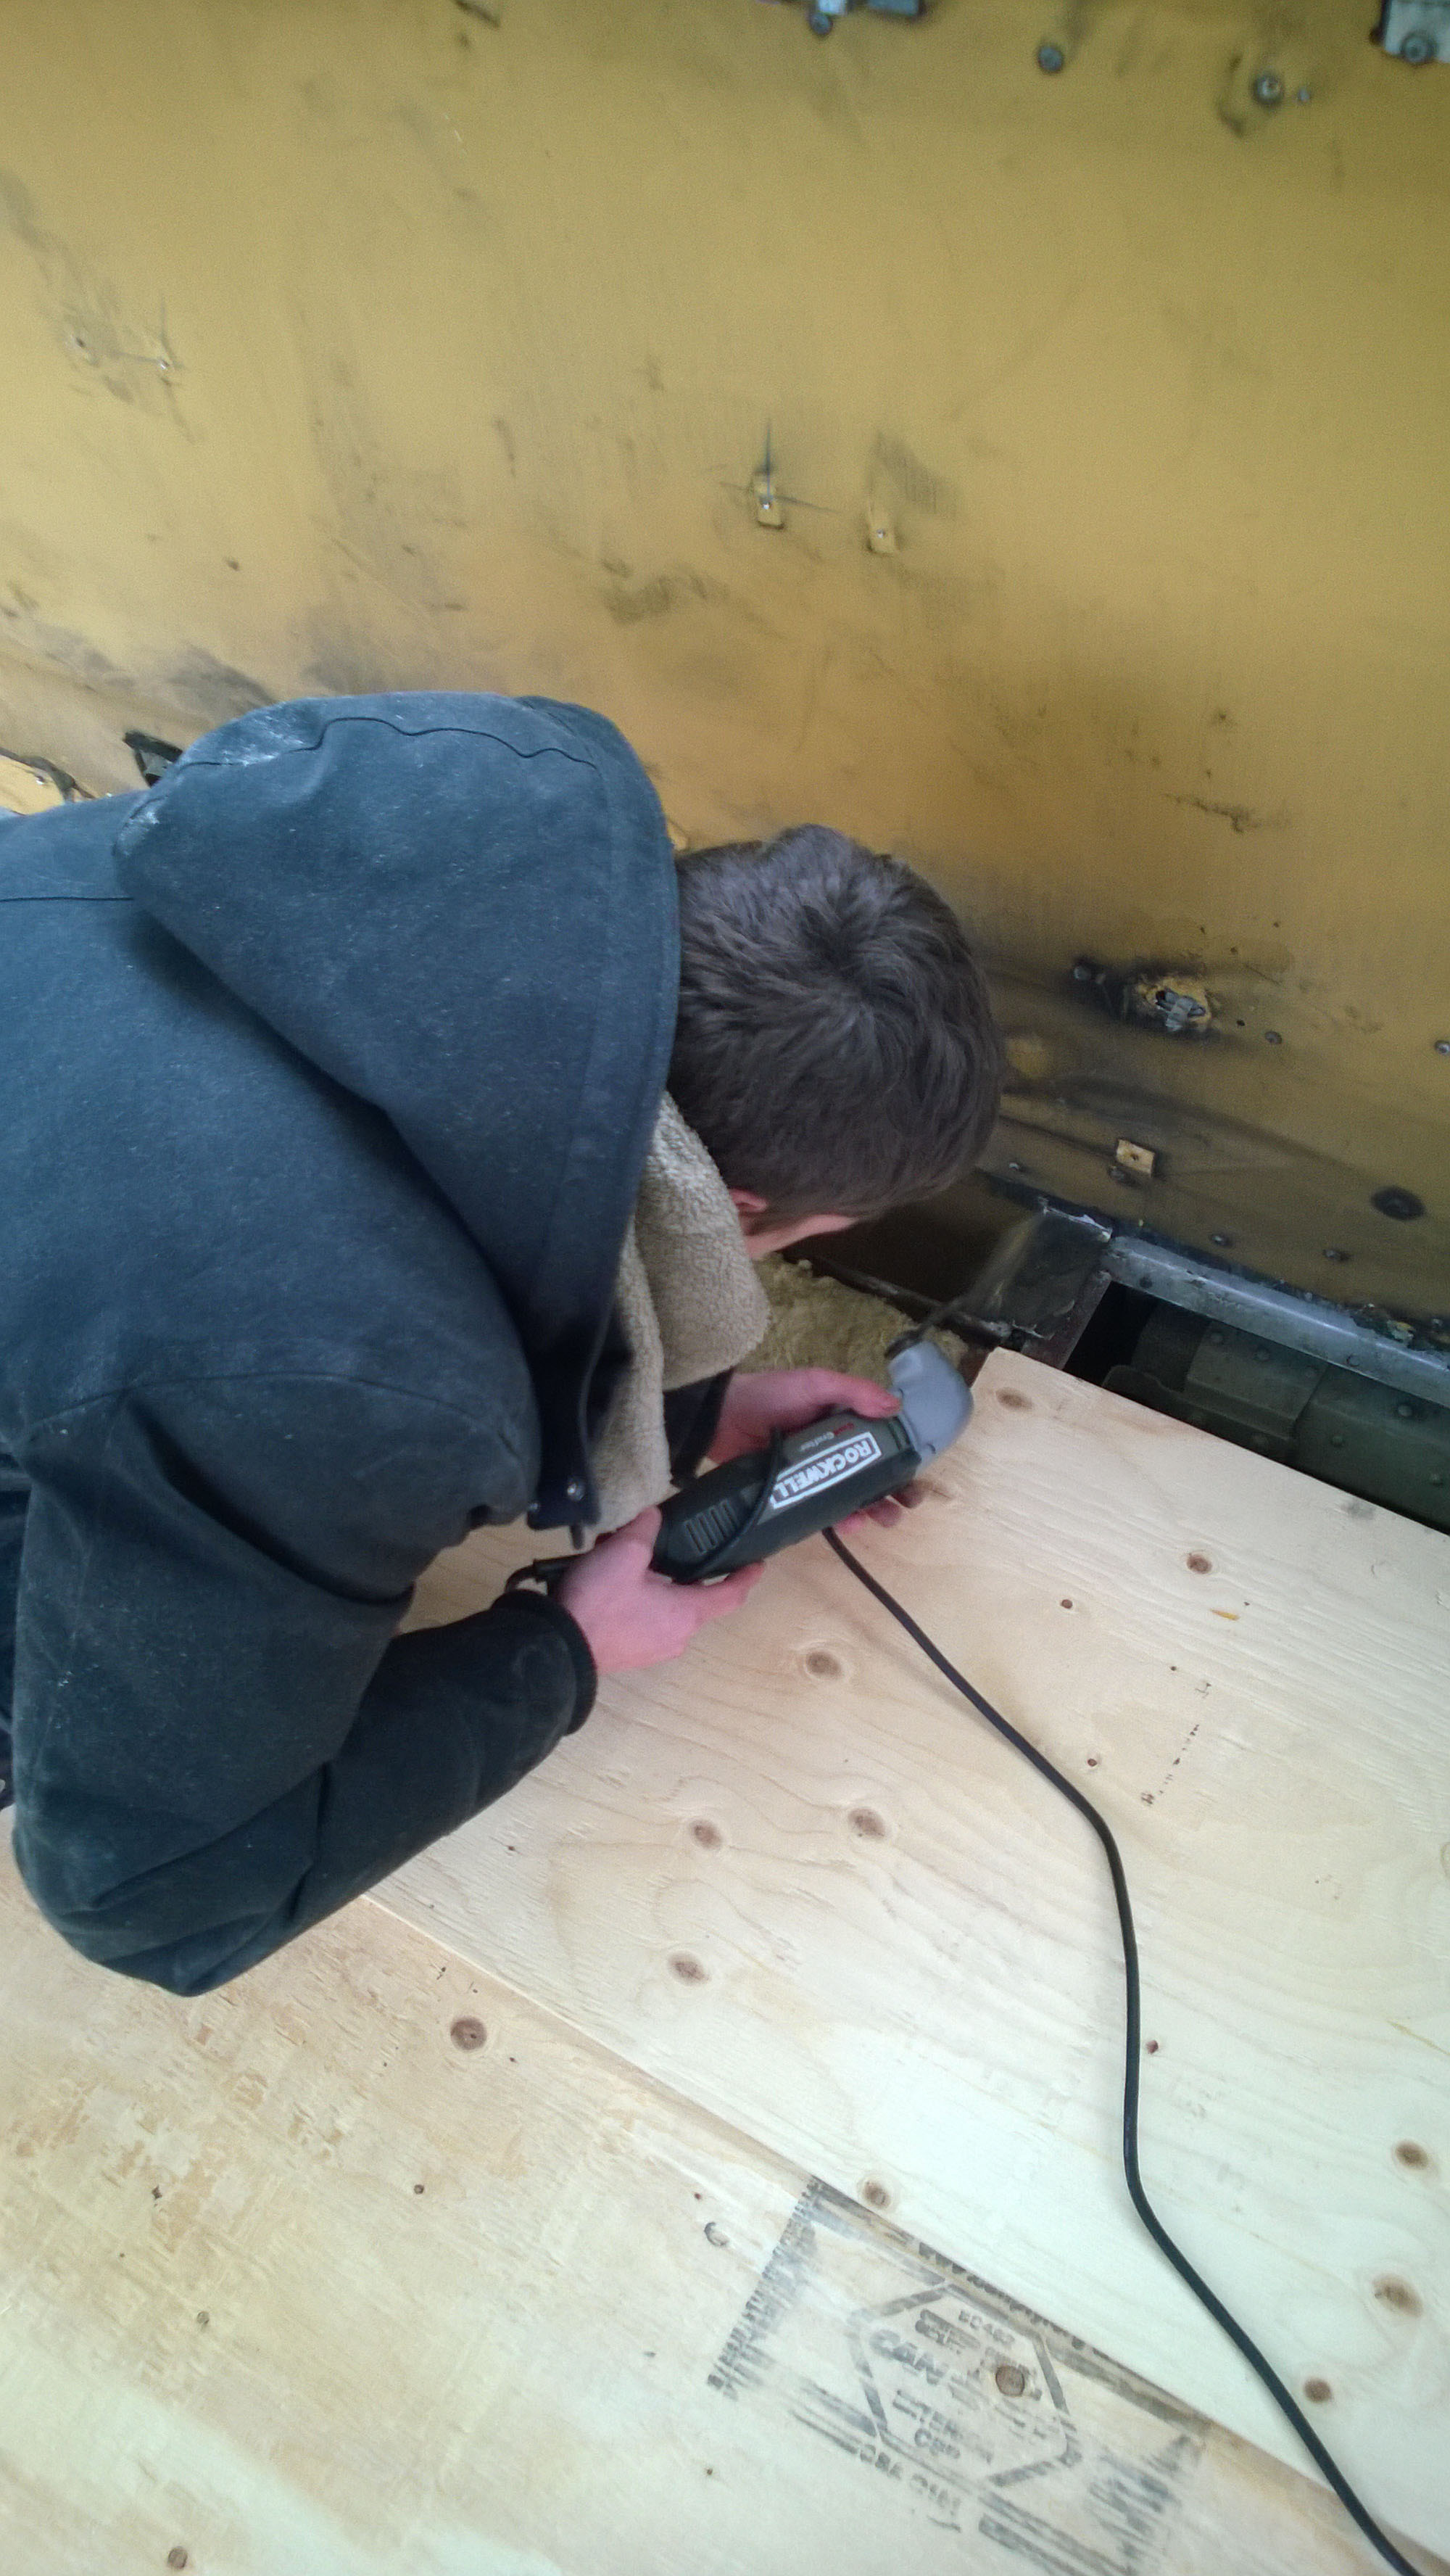
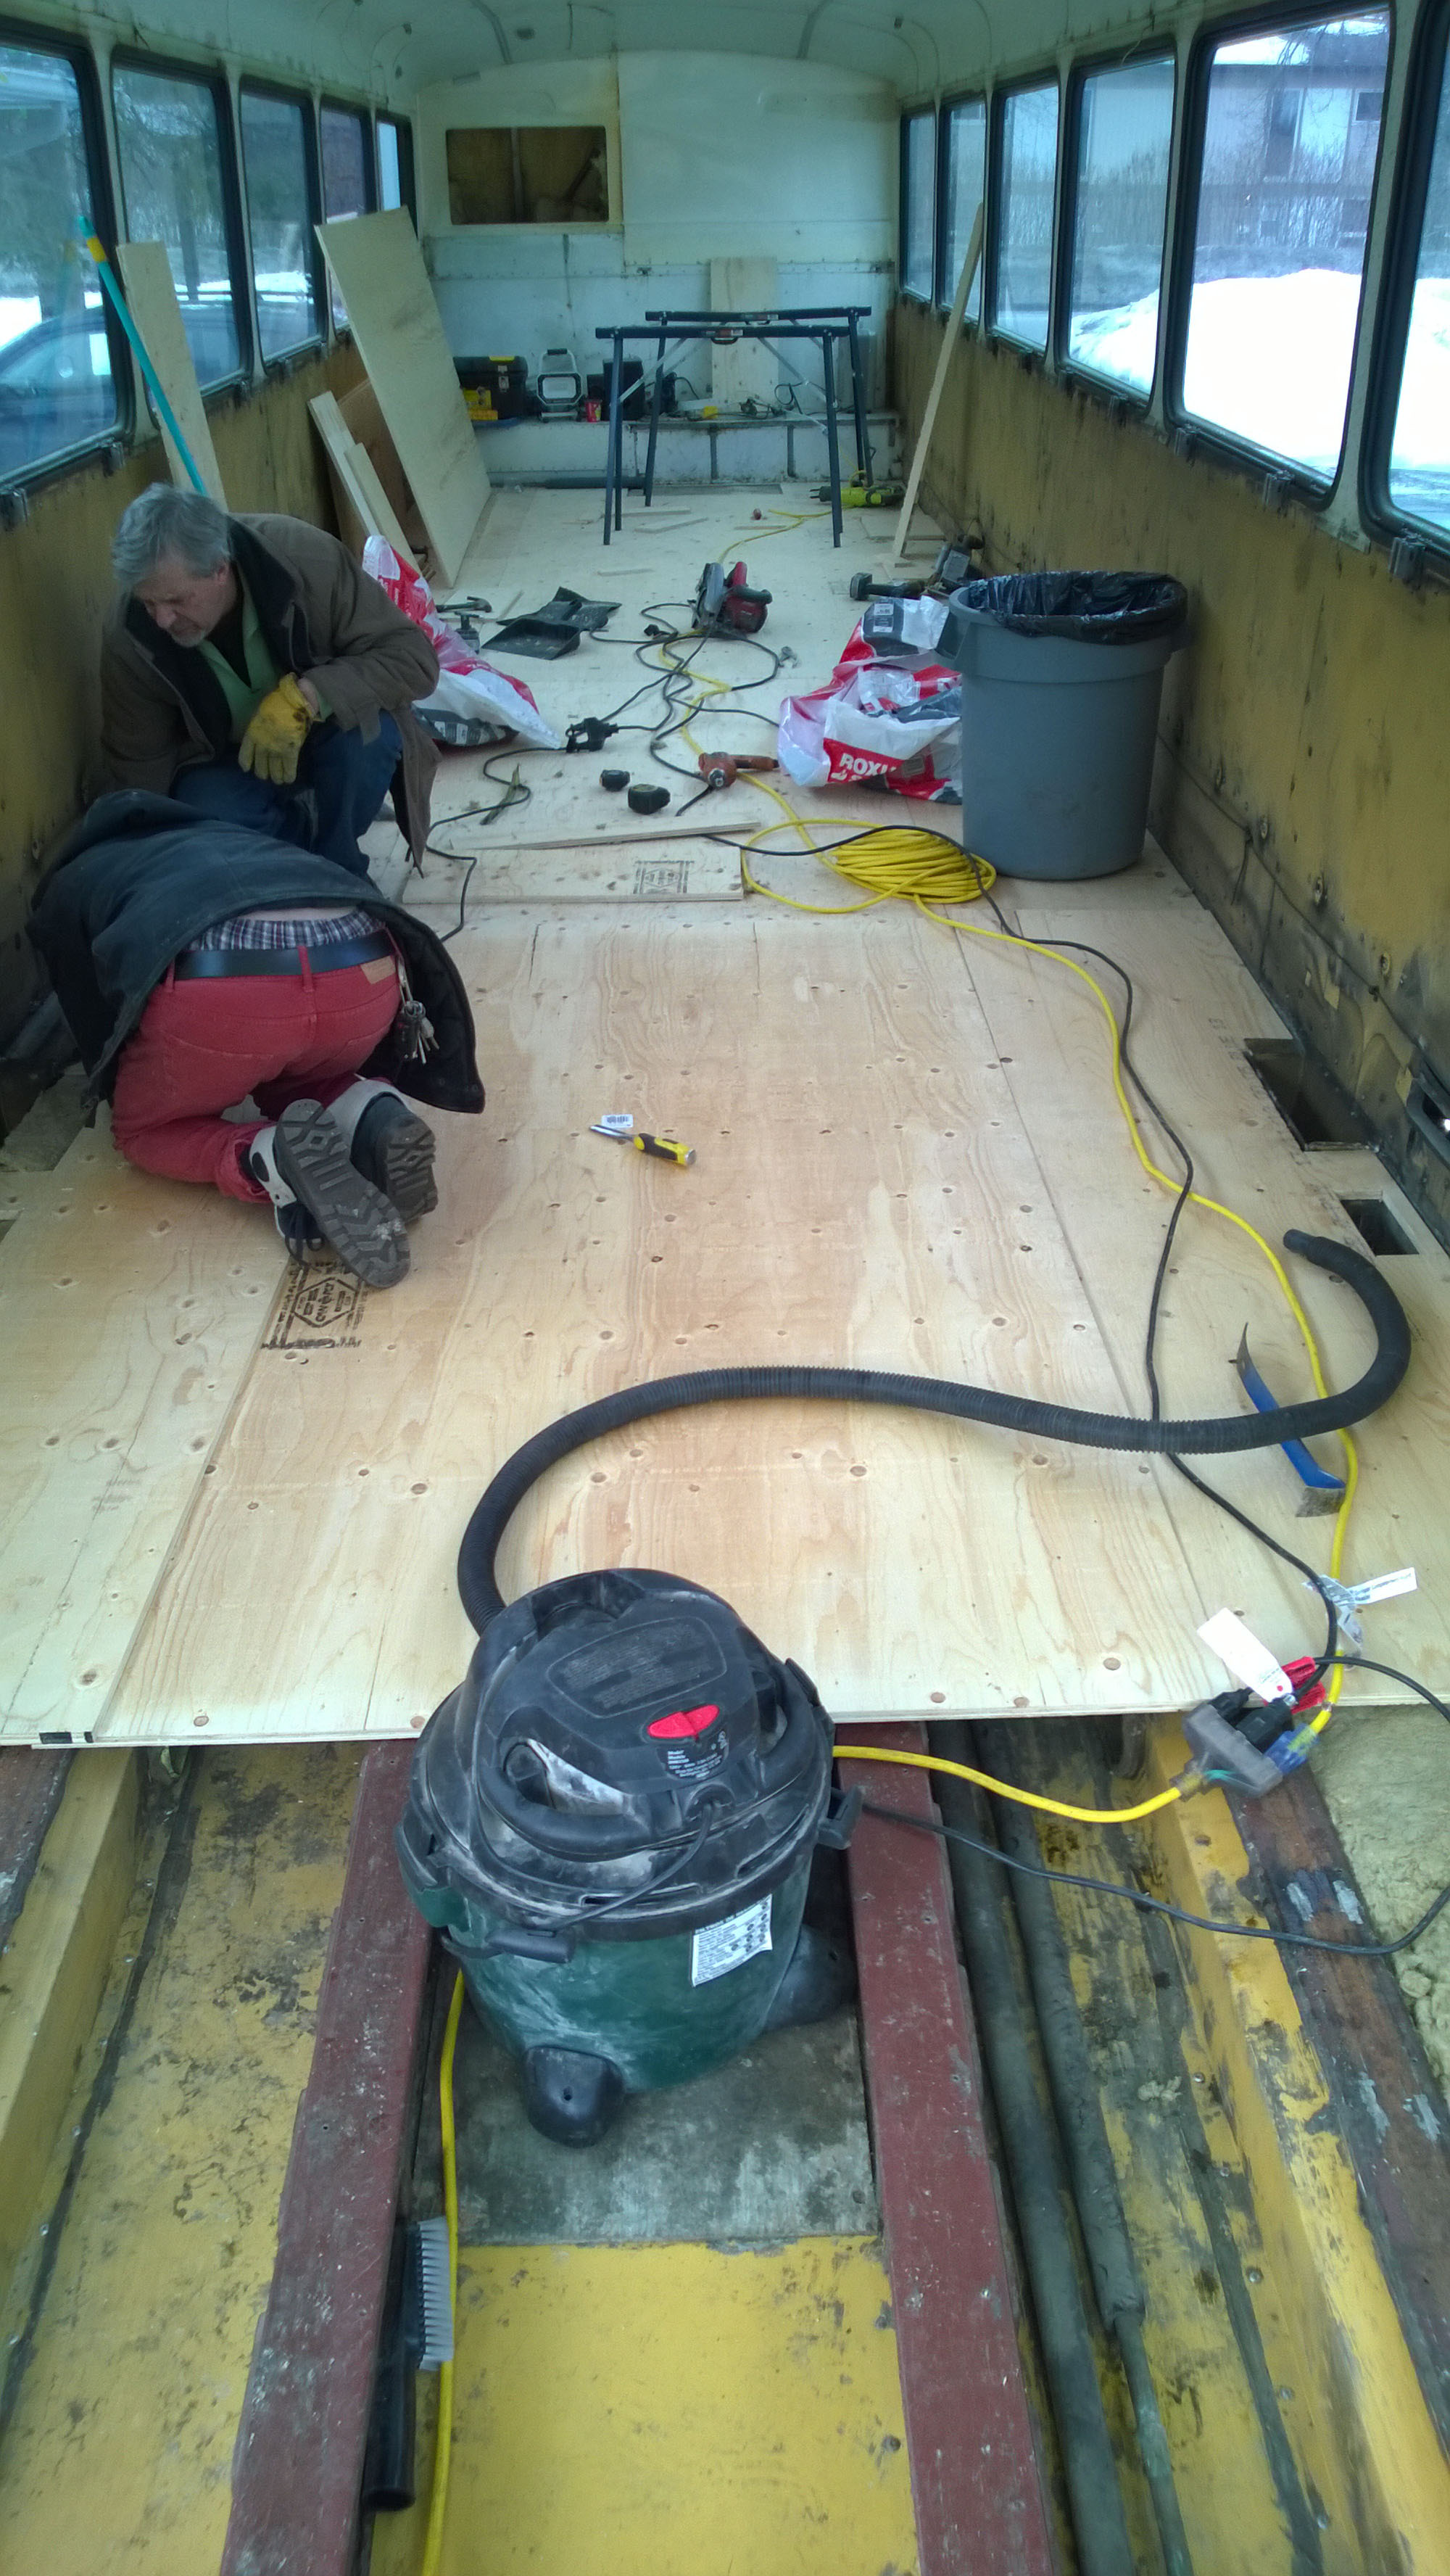
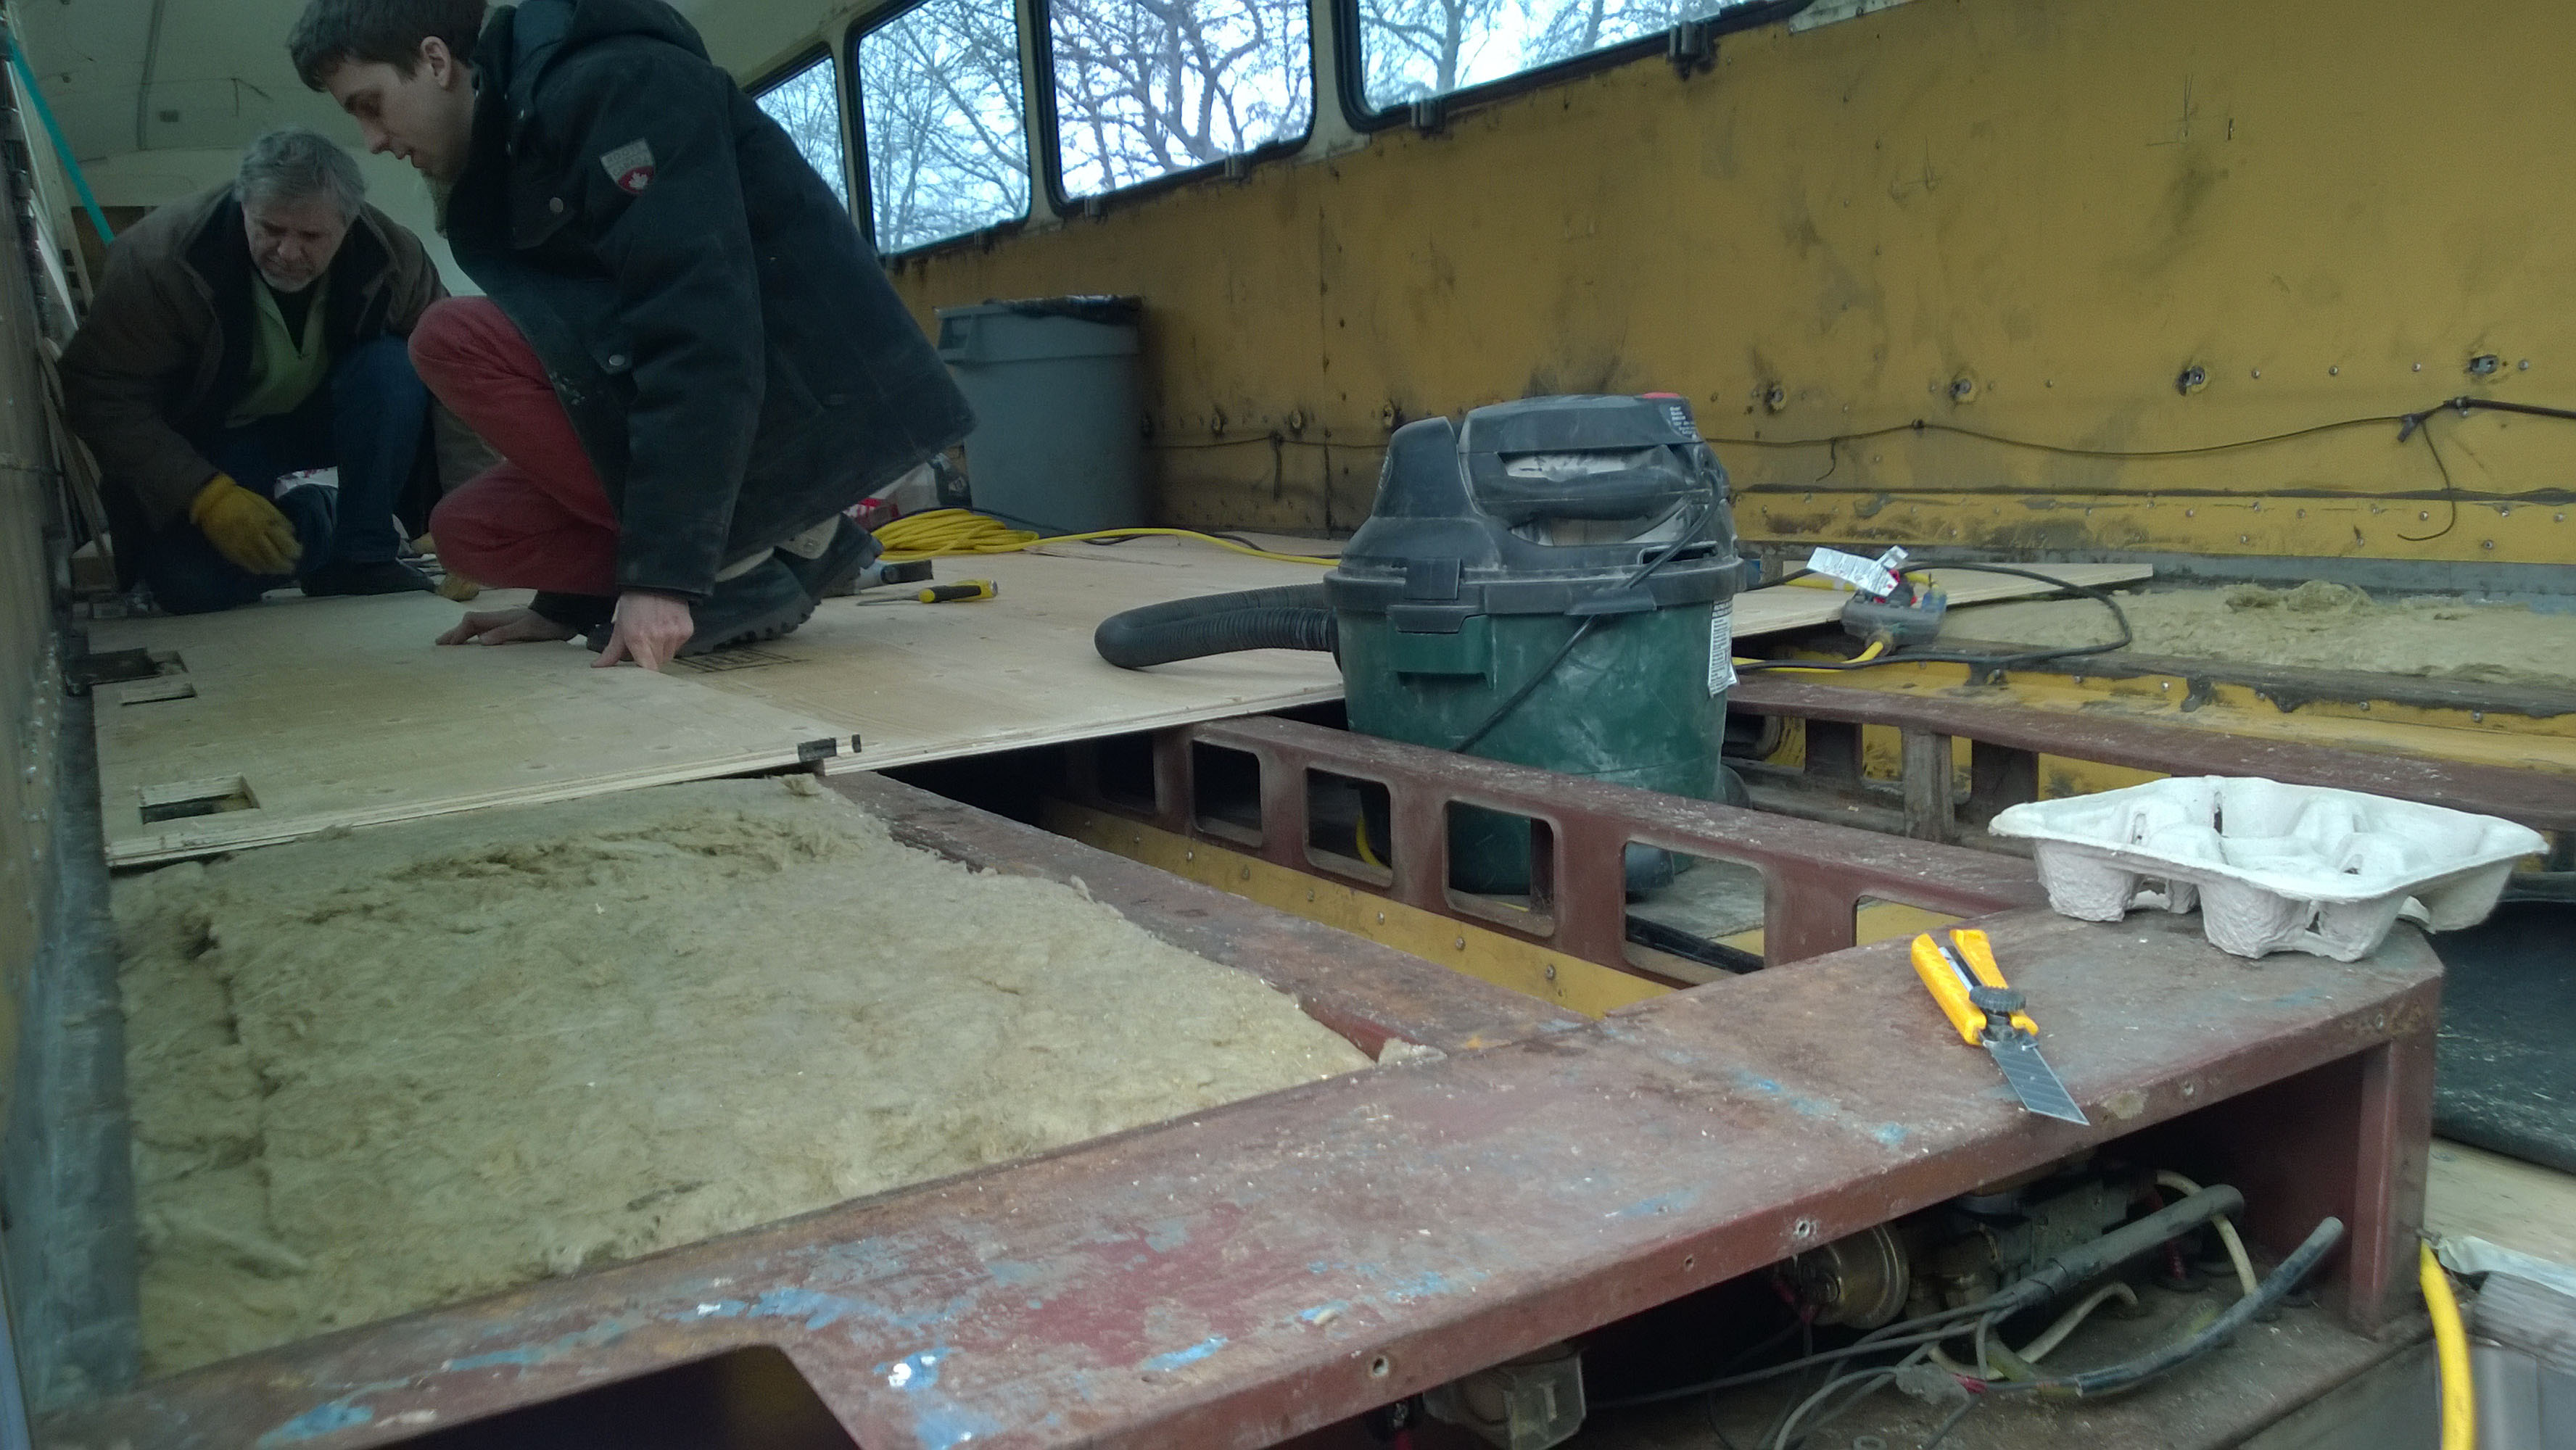
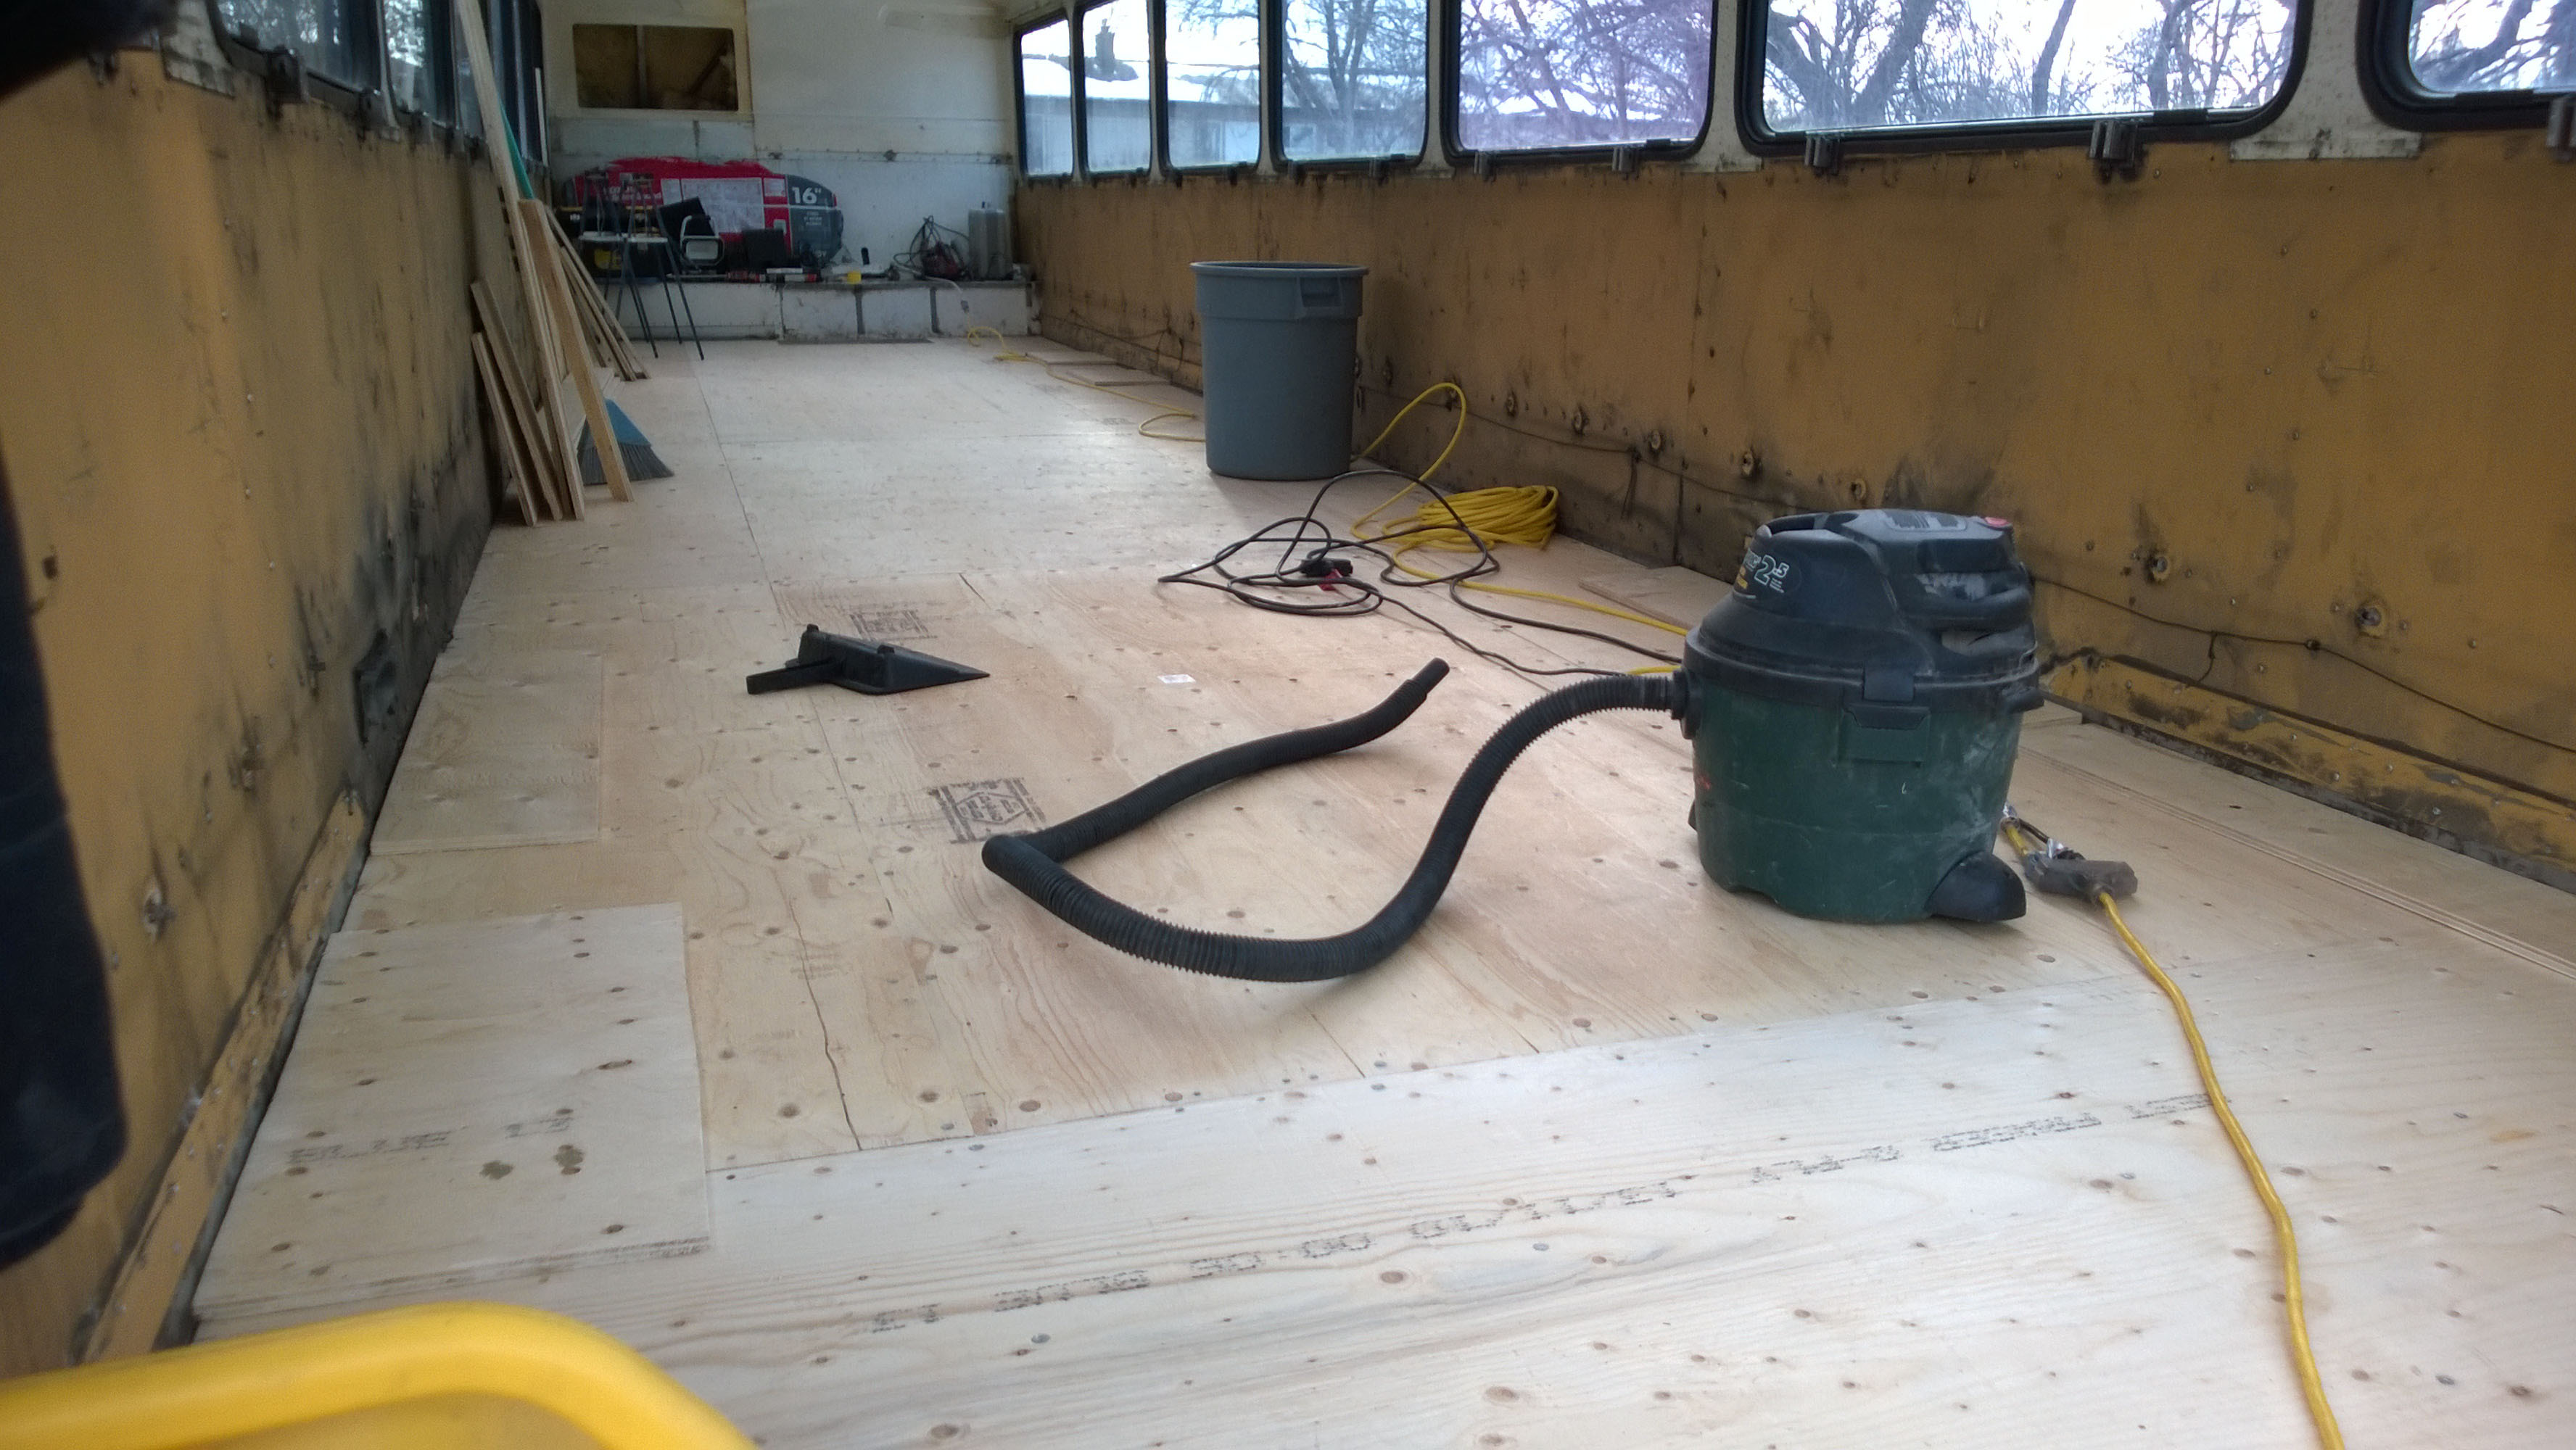
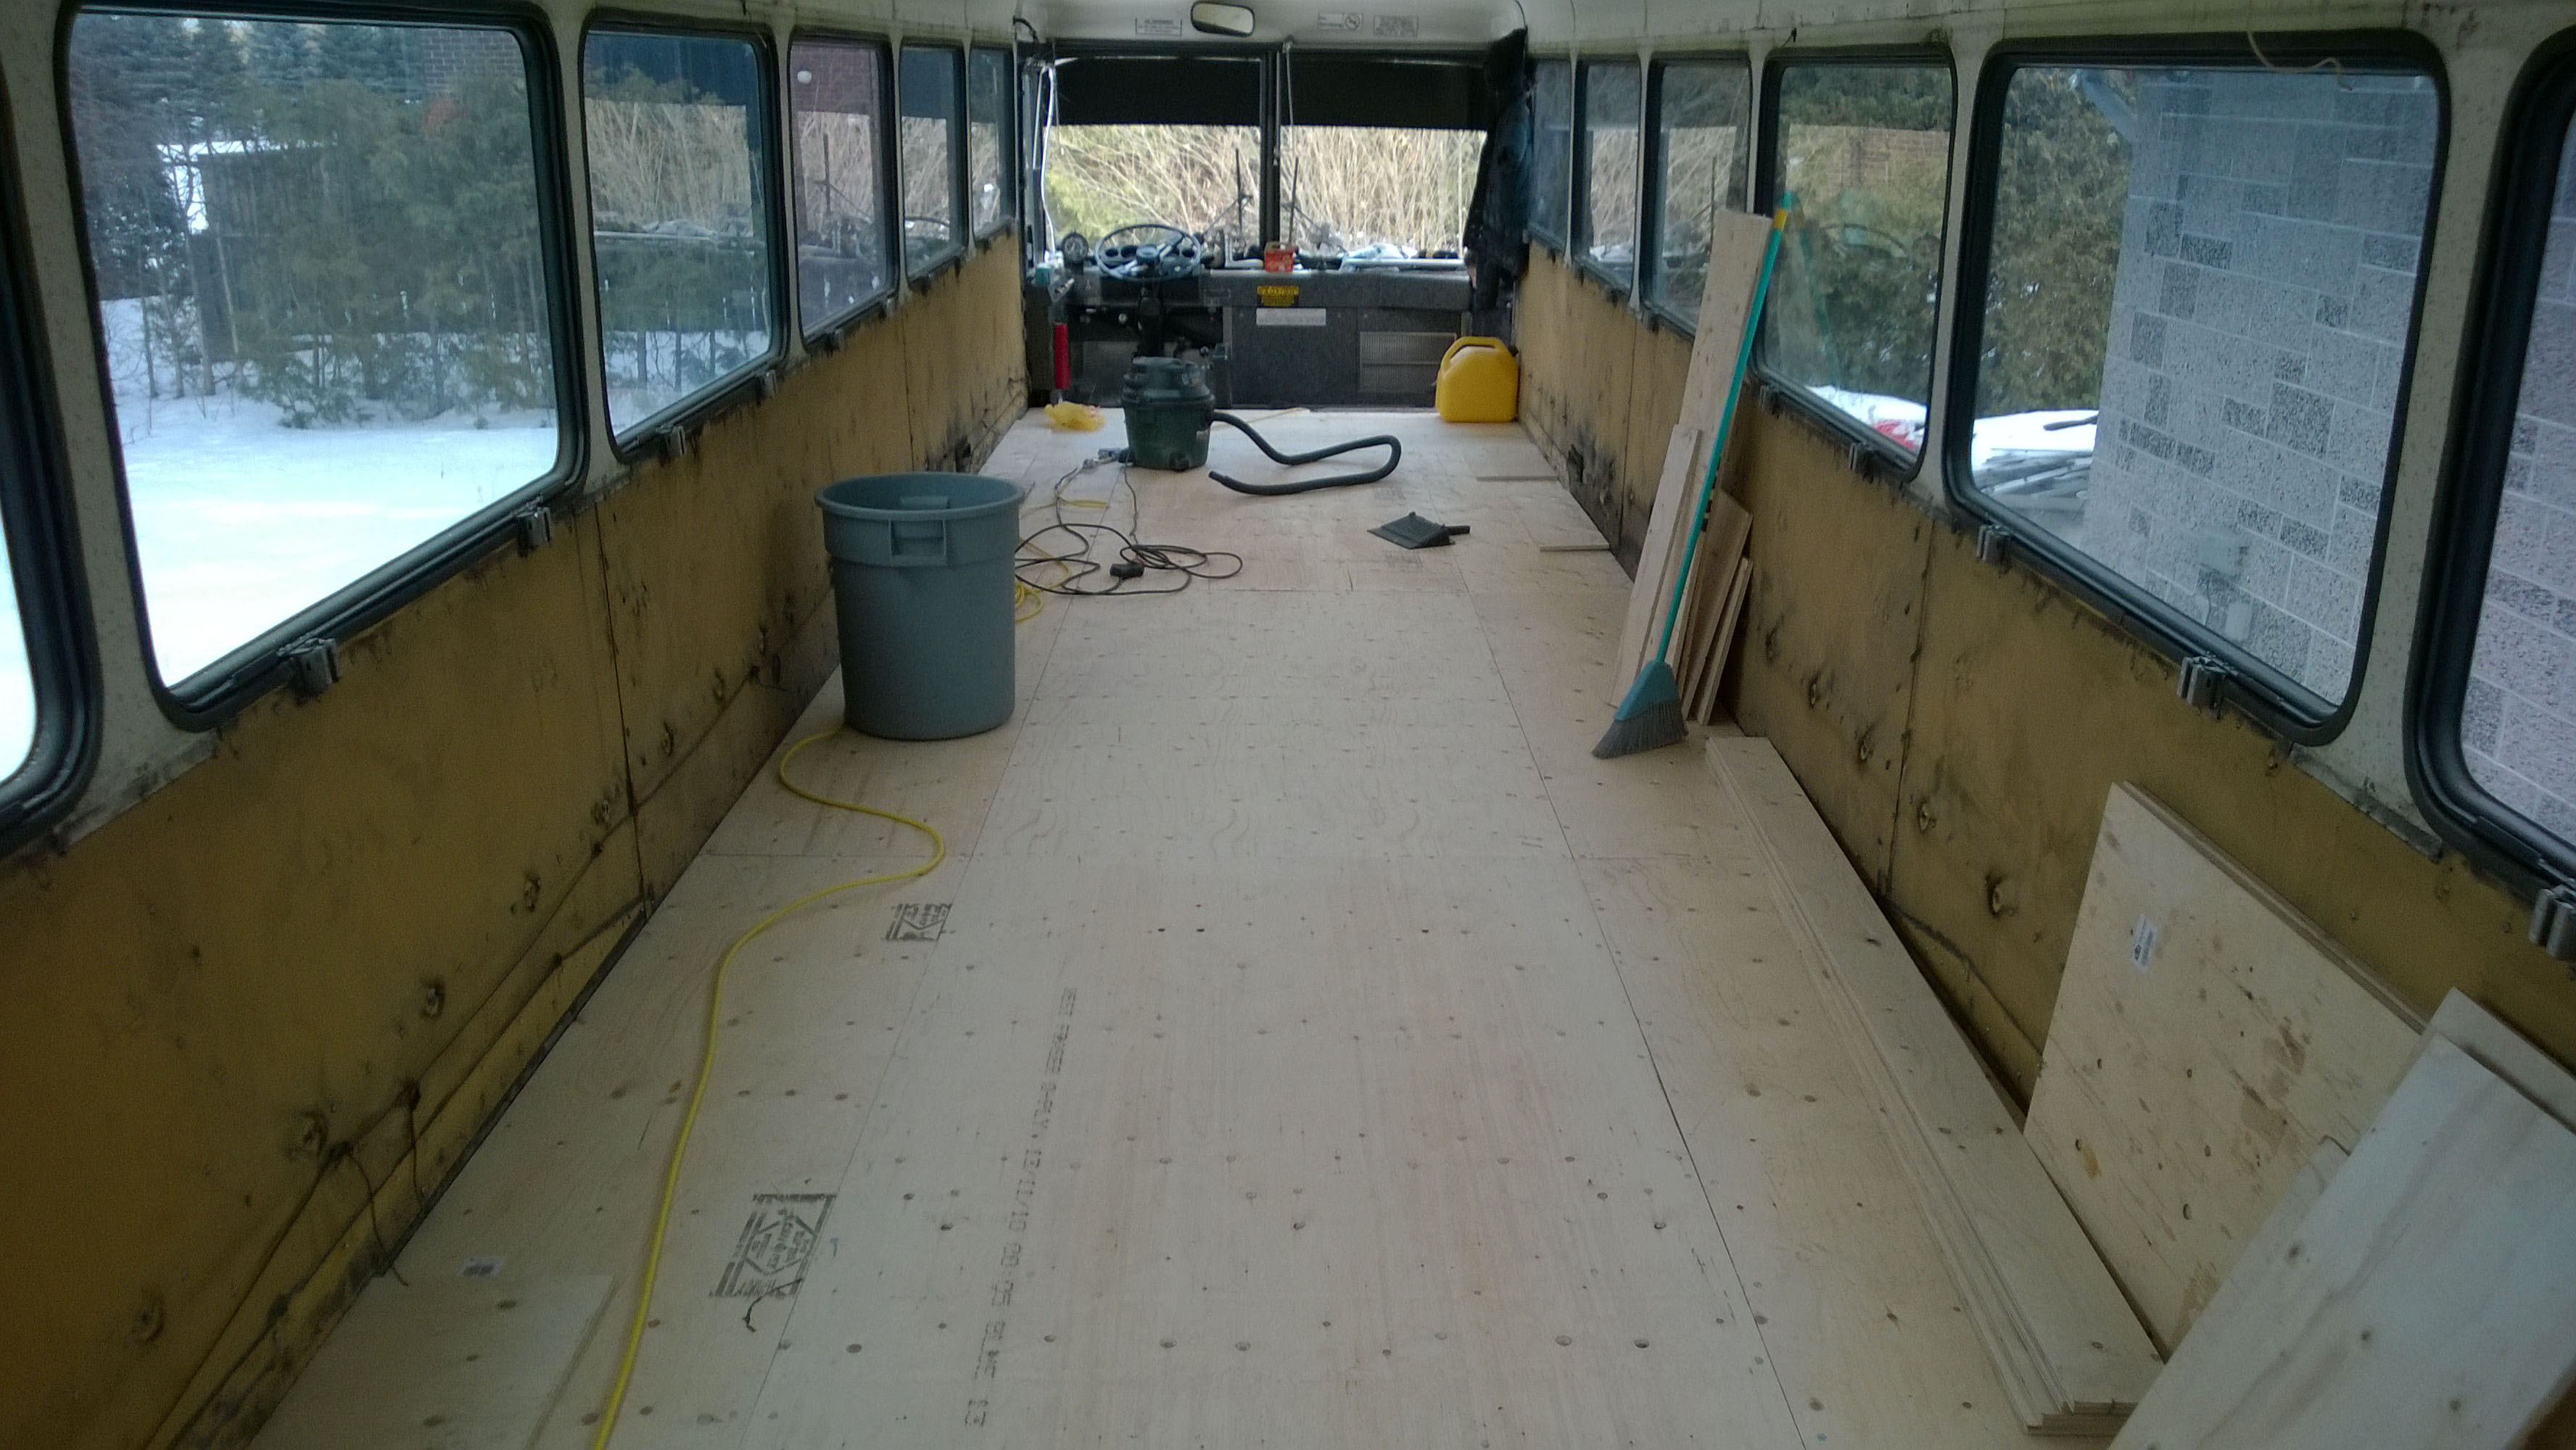
Once that was all back together I moved onto the main plywood flooring. I had a week off from university so it was time to tackle the challenge. I think the original bus may have been put together with 10 foot sheets of plywood because the measurement line up better, but 8 foot sheets was all I had. It still worked fine but it meant I needed to buy more sheets and do more cutting. I decided it would be best to put them down lengthwise (front to back) starting at the back of the bus. The frame lined up perfectly to have a 4 foot sheet across the middle and two almost half sheets on either side. I was using sound proof and fireproof insulation anywhere I could as I went along:
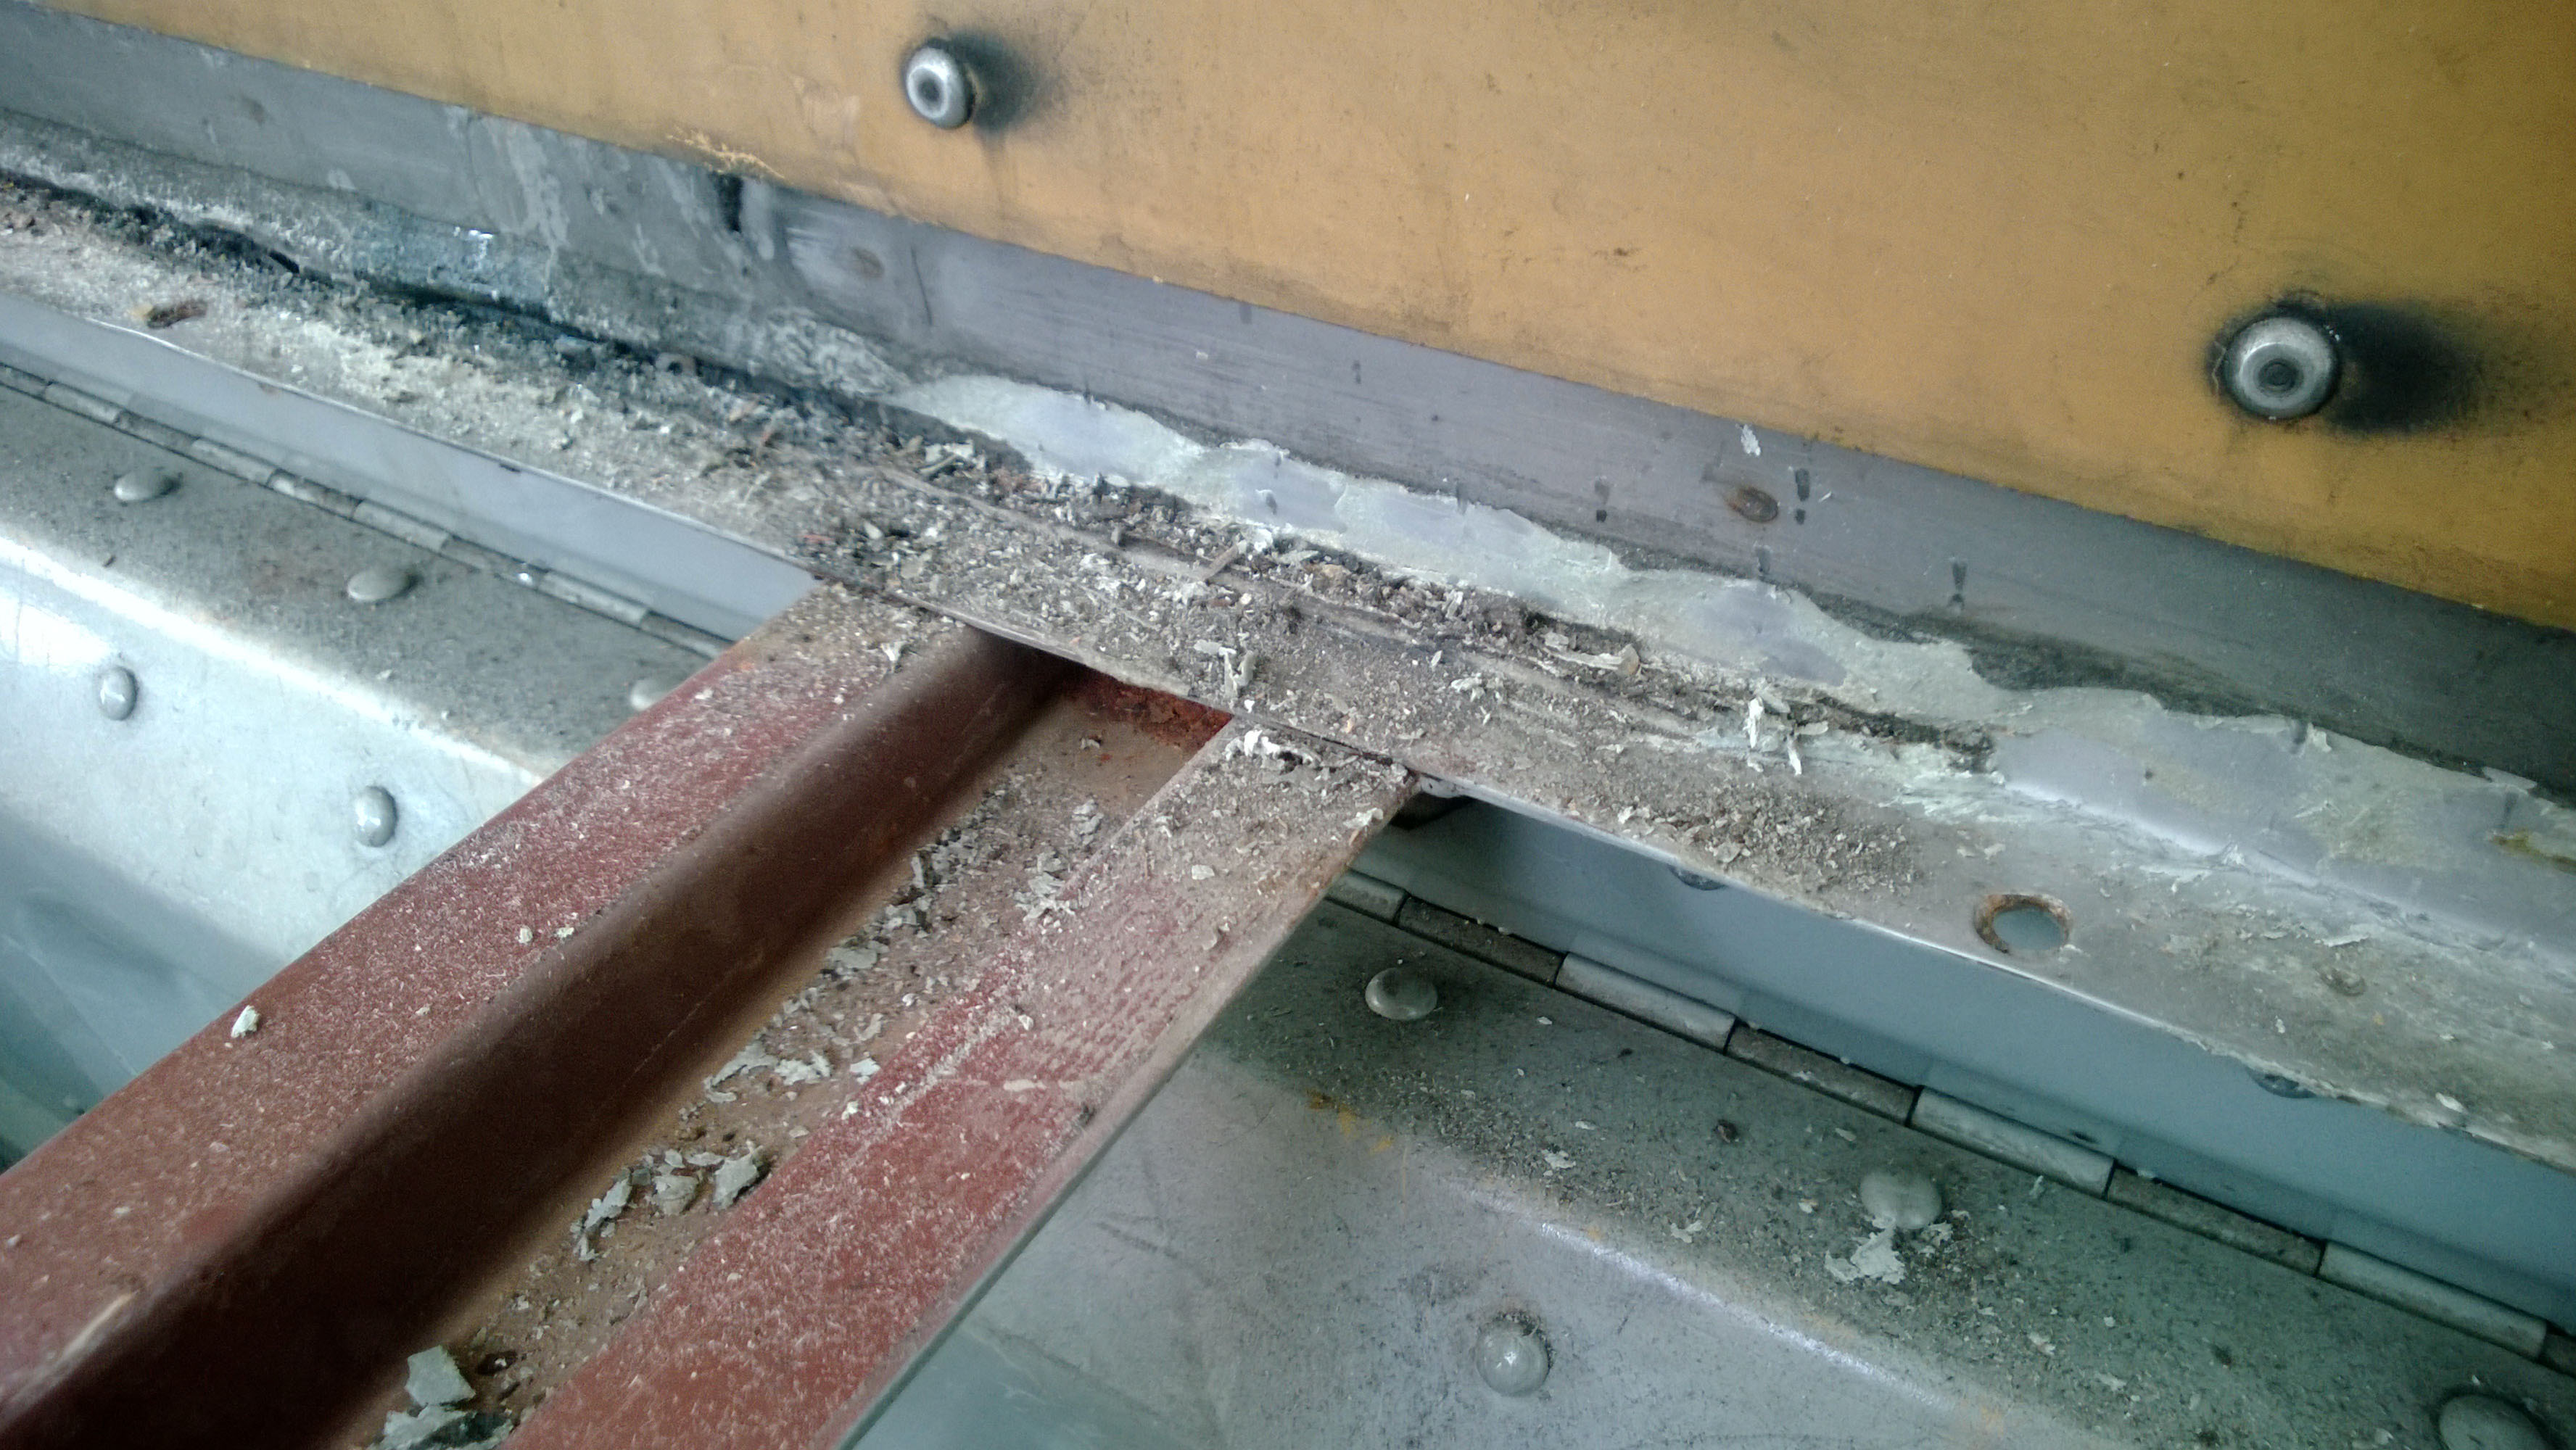
I should mention that there was very solid construction glue along all of the frame that needed to be scraped off (not fun). I did put new stuff back down to help hold everything in place. I also managed to find the same self-tapping screws that they used in the factory to screw the sheets down (though I went through 5 drill bits trying to pre-drill the stainless steel along the edges)
We decided to keep the original heating/ventilation layout to save time, effort and money. For those who care there are two (used to be 4) returns at the back and two at the front (plus two fresh air intakes). The output is two large vents at the front (on either side). The plan is to rout one of them under the benches and kitchen counter to the back of the bus.
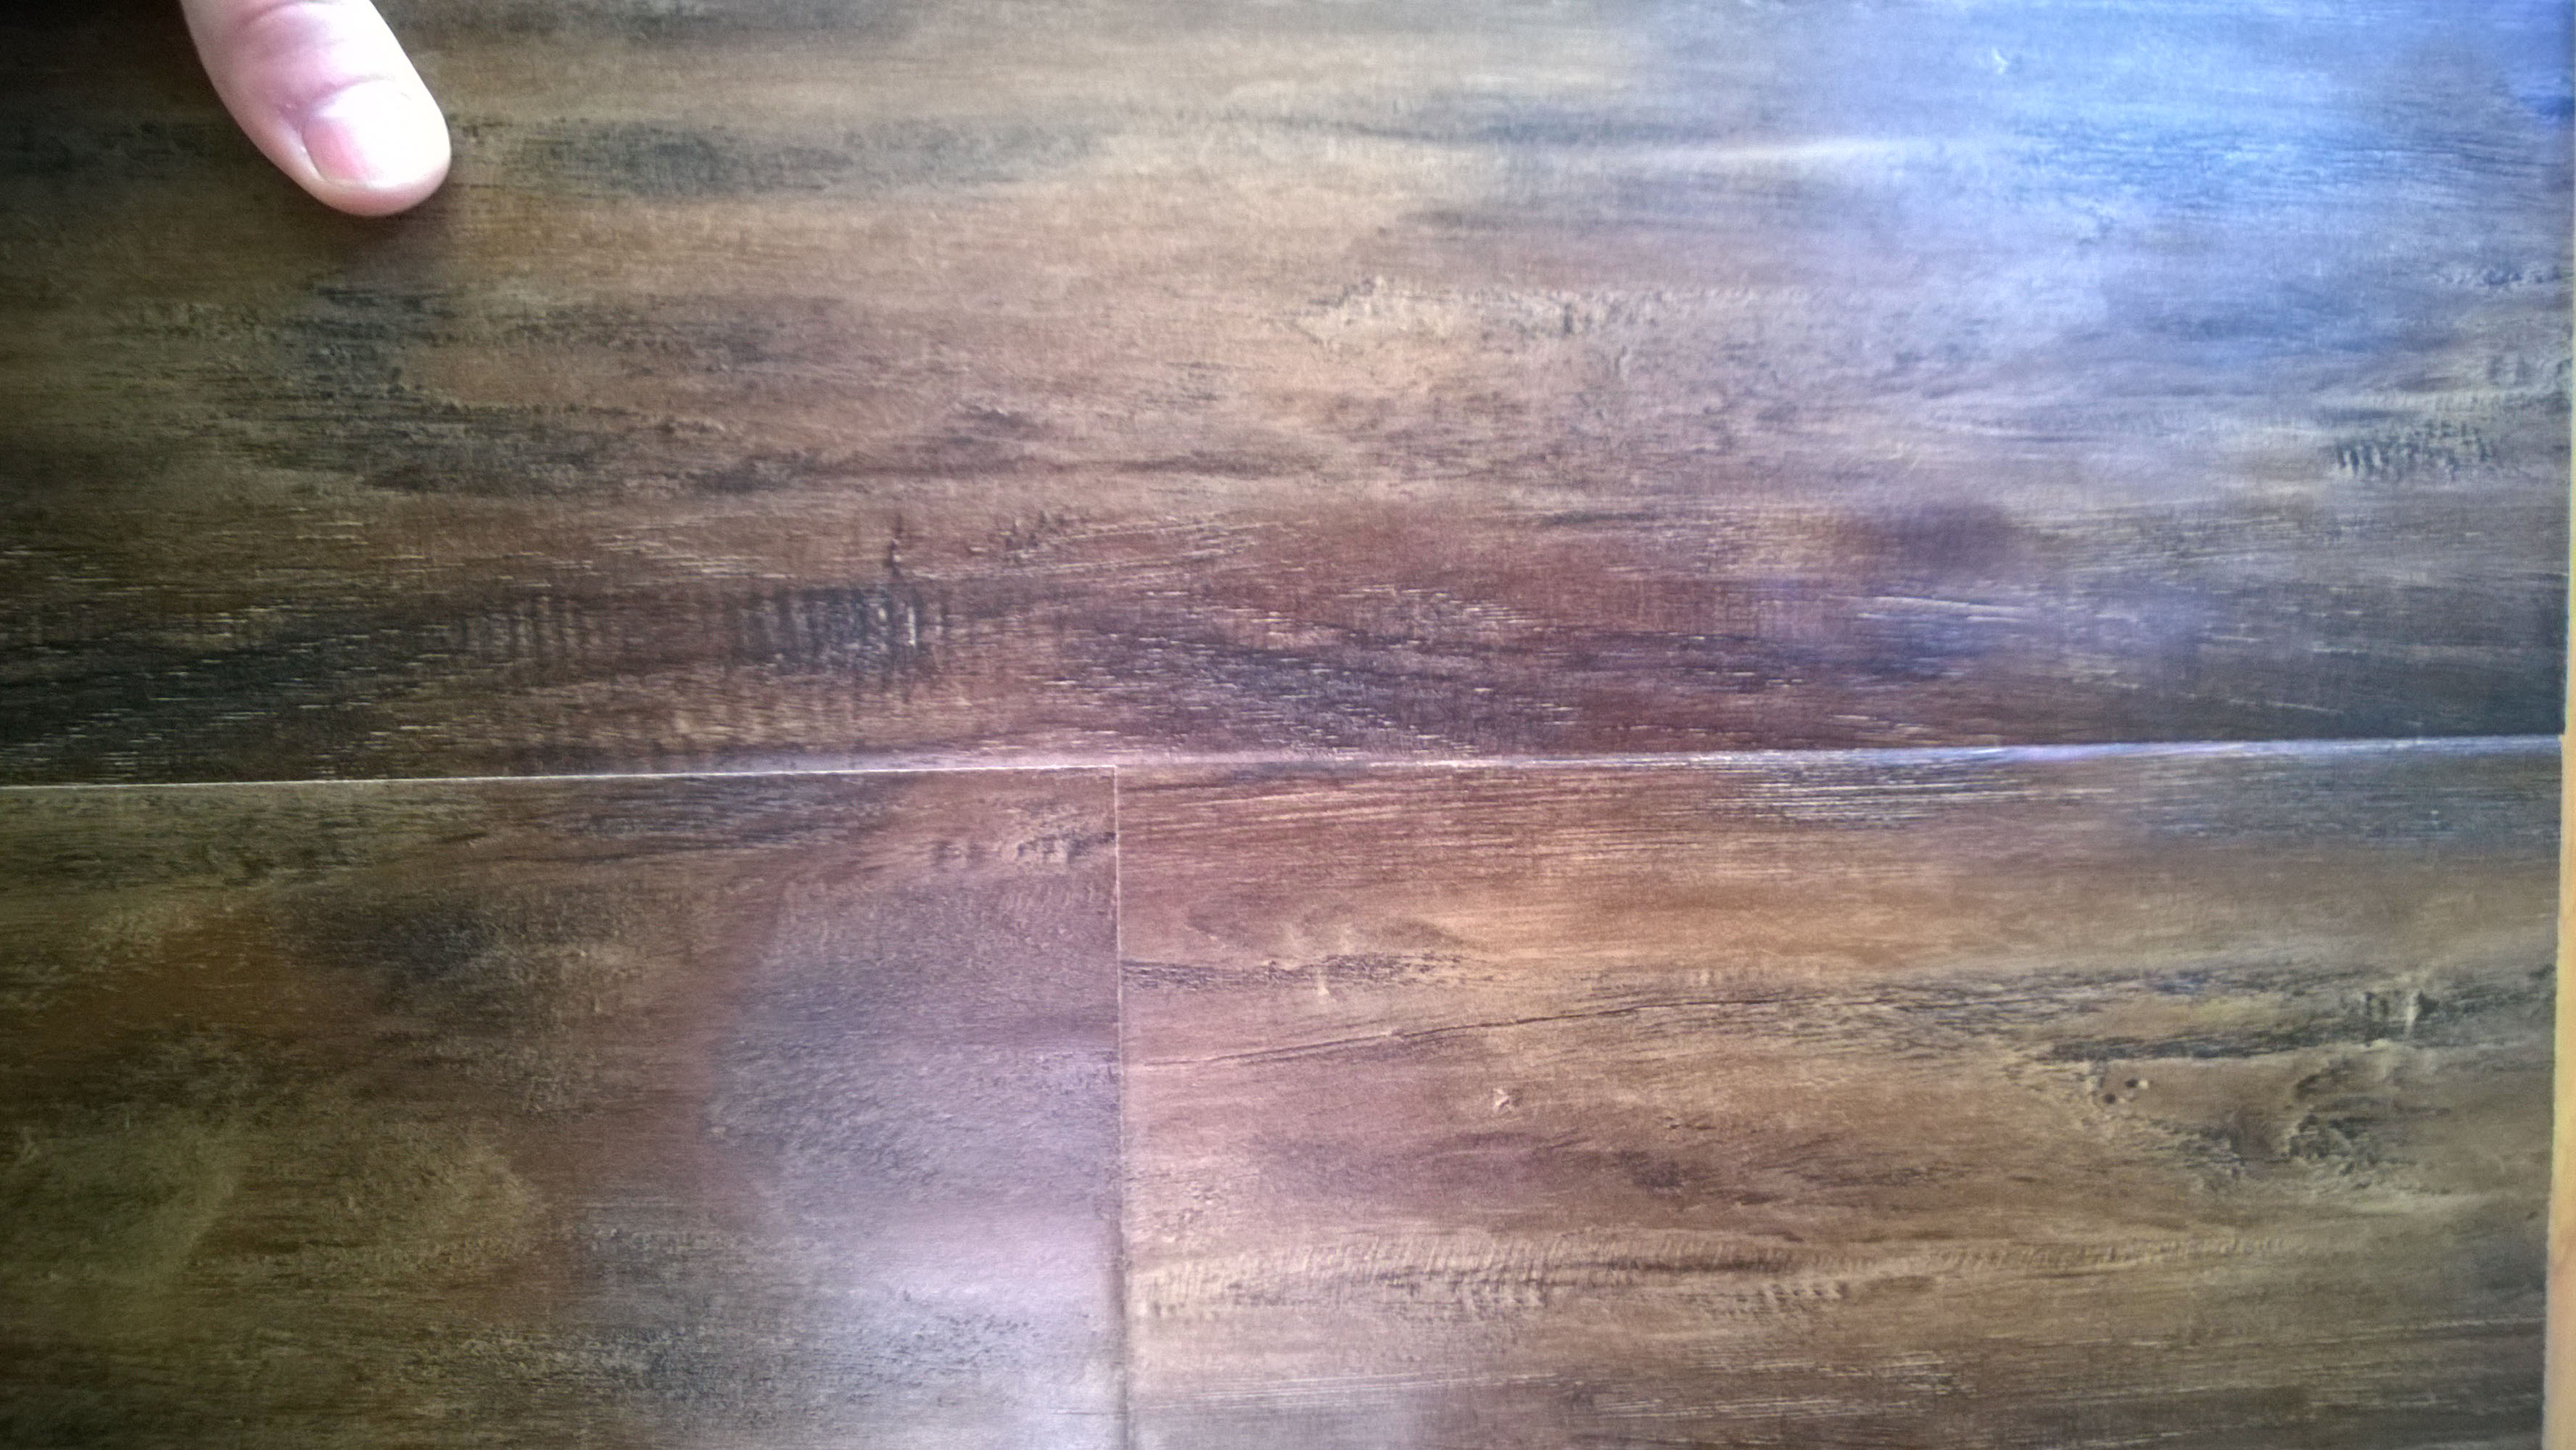
While I was in Toronto during the same week I found some hugely discounted flooring. It’s 12mm laminate with a pre-attached foam pad on the bottom. Every piece is hand shaved for texture. I’m really excited to get this in:
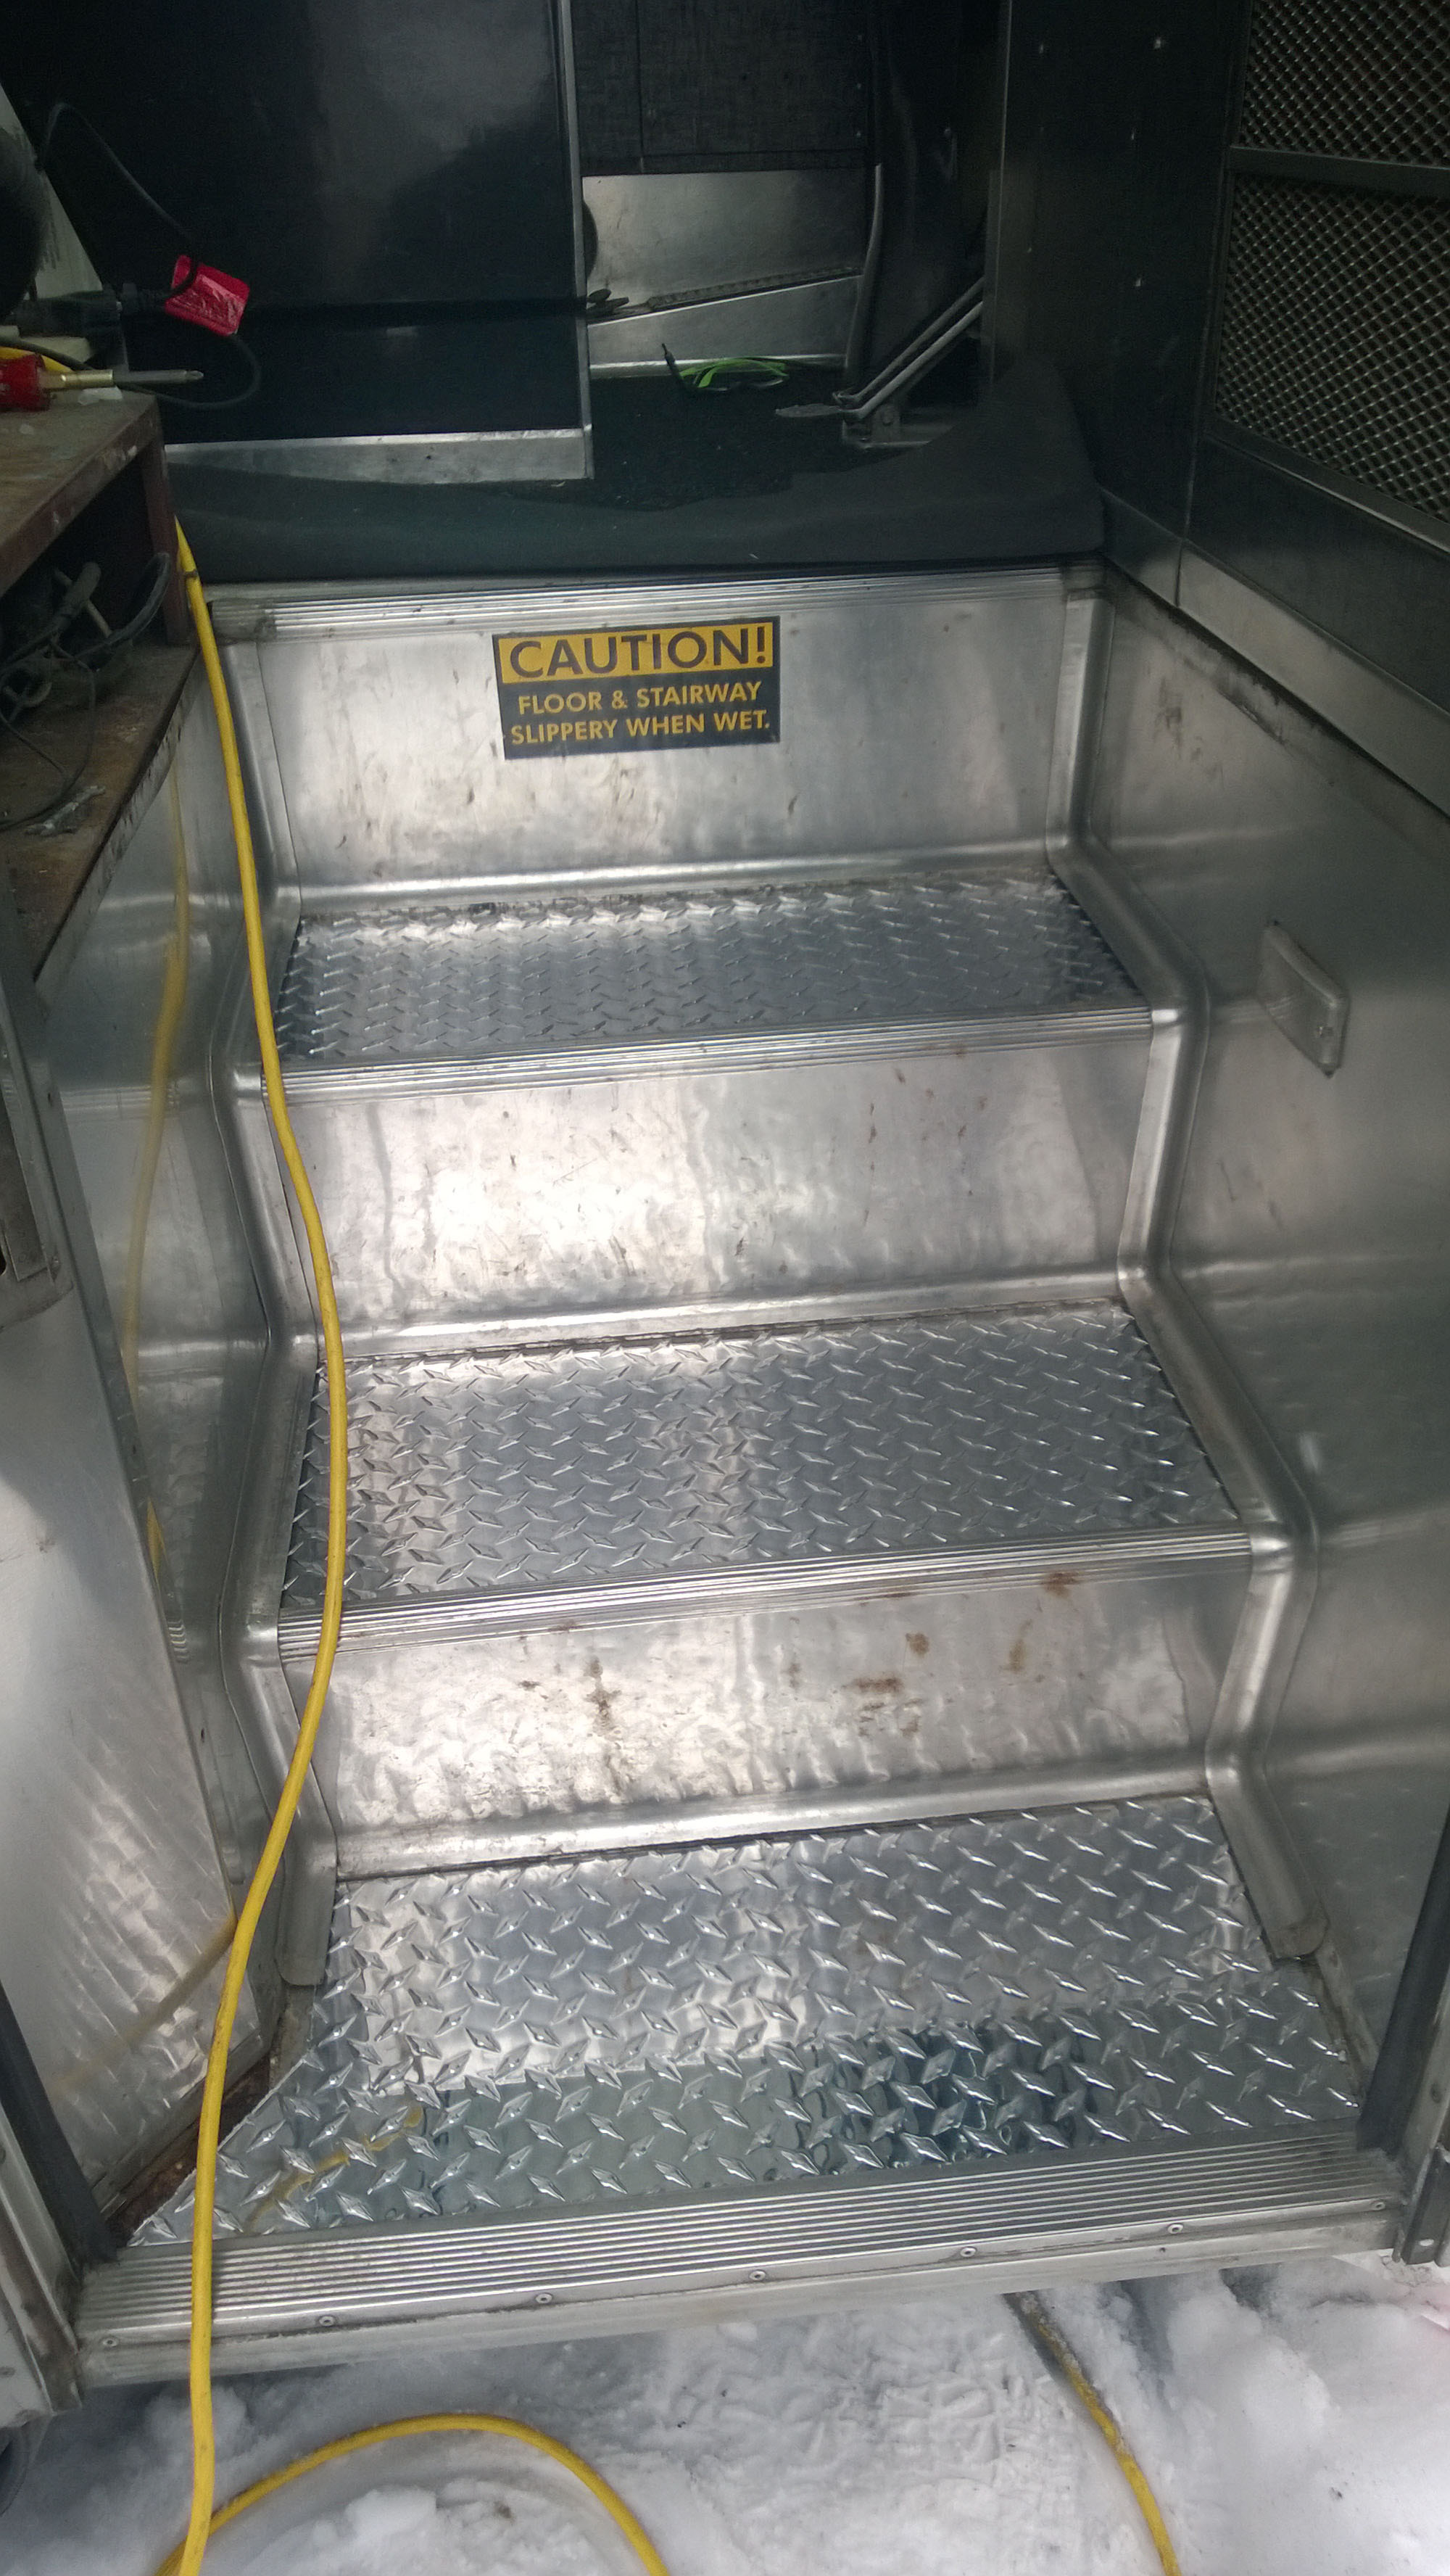
AND FINALLY: last week I ordered some aluminium diamond plating for the stairs and went over to put them in today. It looks awesome! Just gotta put all the stairwell pieces back in and add another layer of caulking (when it warms up):
Thanks for reading!
Hey Ryan (is it?)
Your job so far looks great. I just started doing a conversion on a 1996 MC12 so we are looking at pretty much the exact same bus and workload. I am at the point of striping the inner wall panels and ripping up the floor. I have subscribed so keep the pics coming.