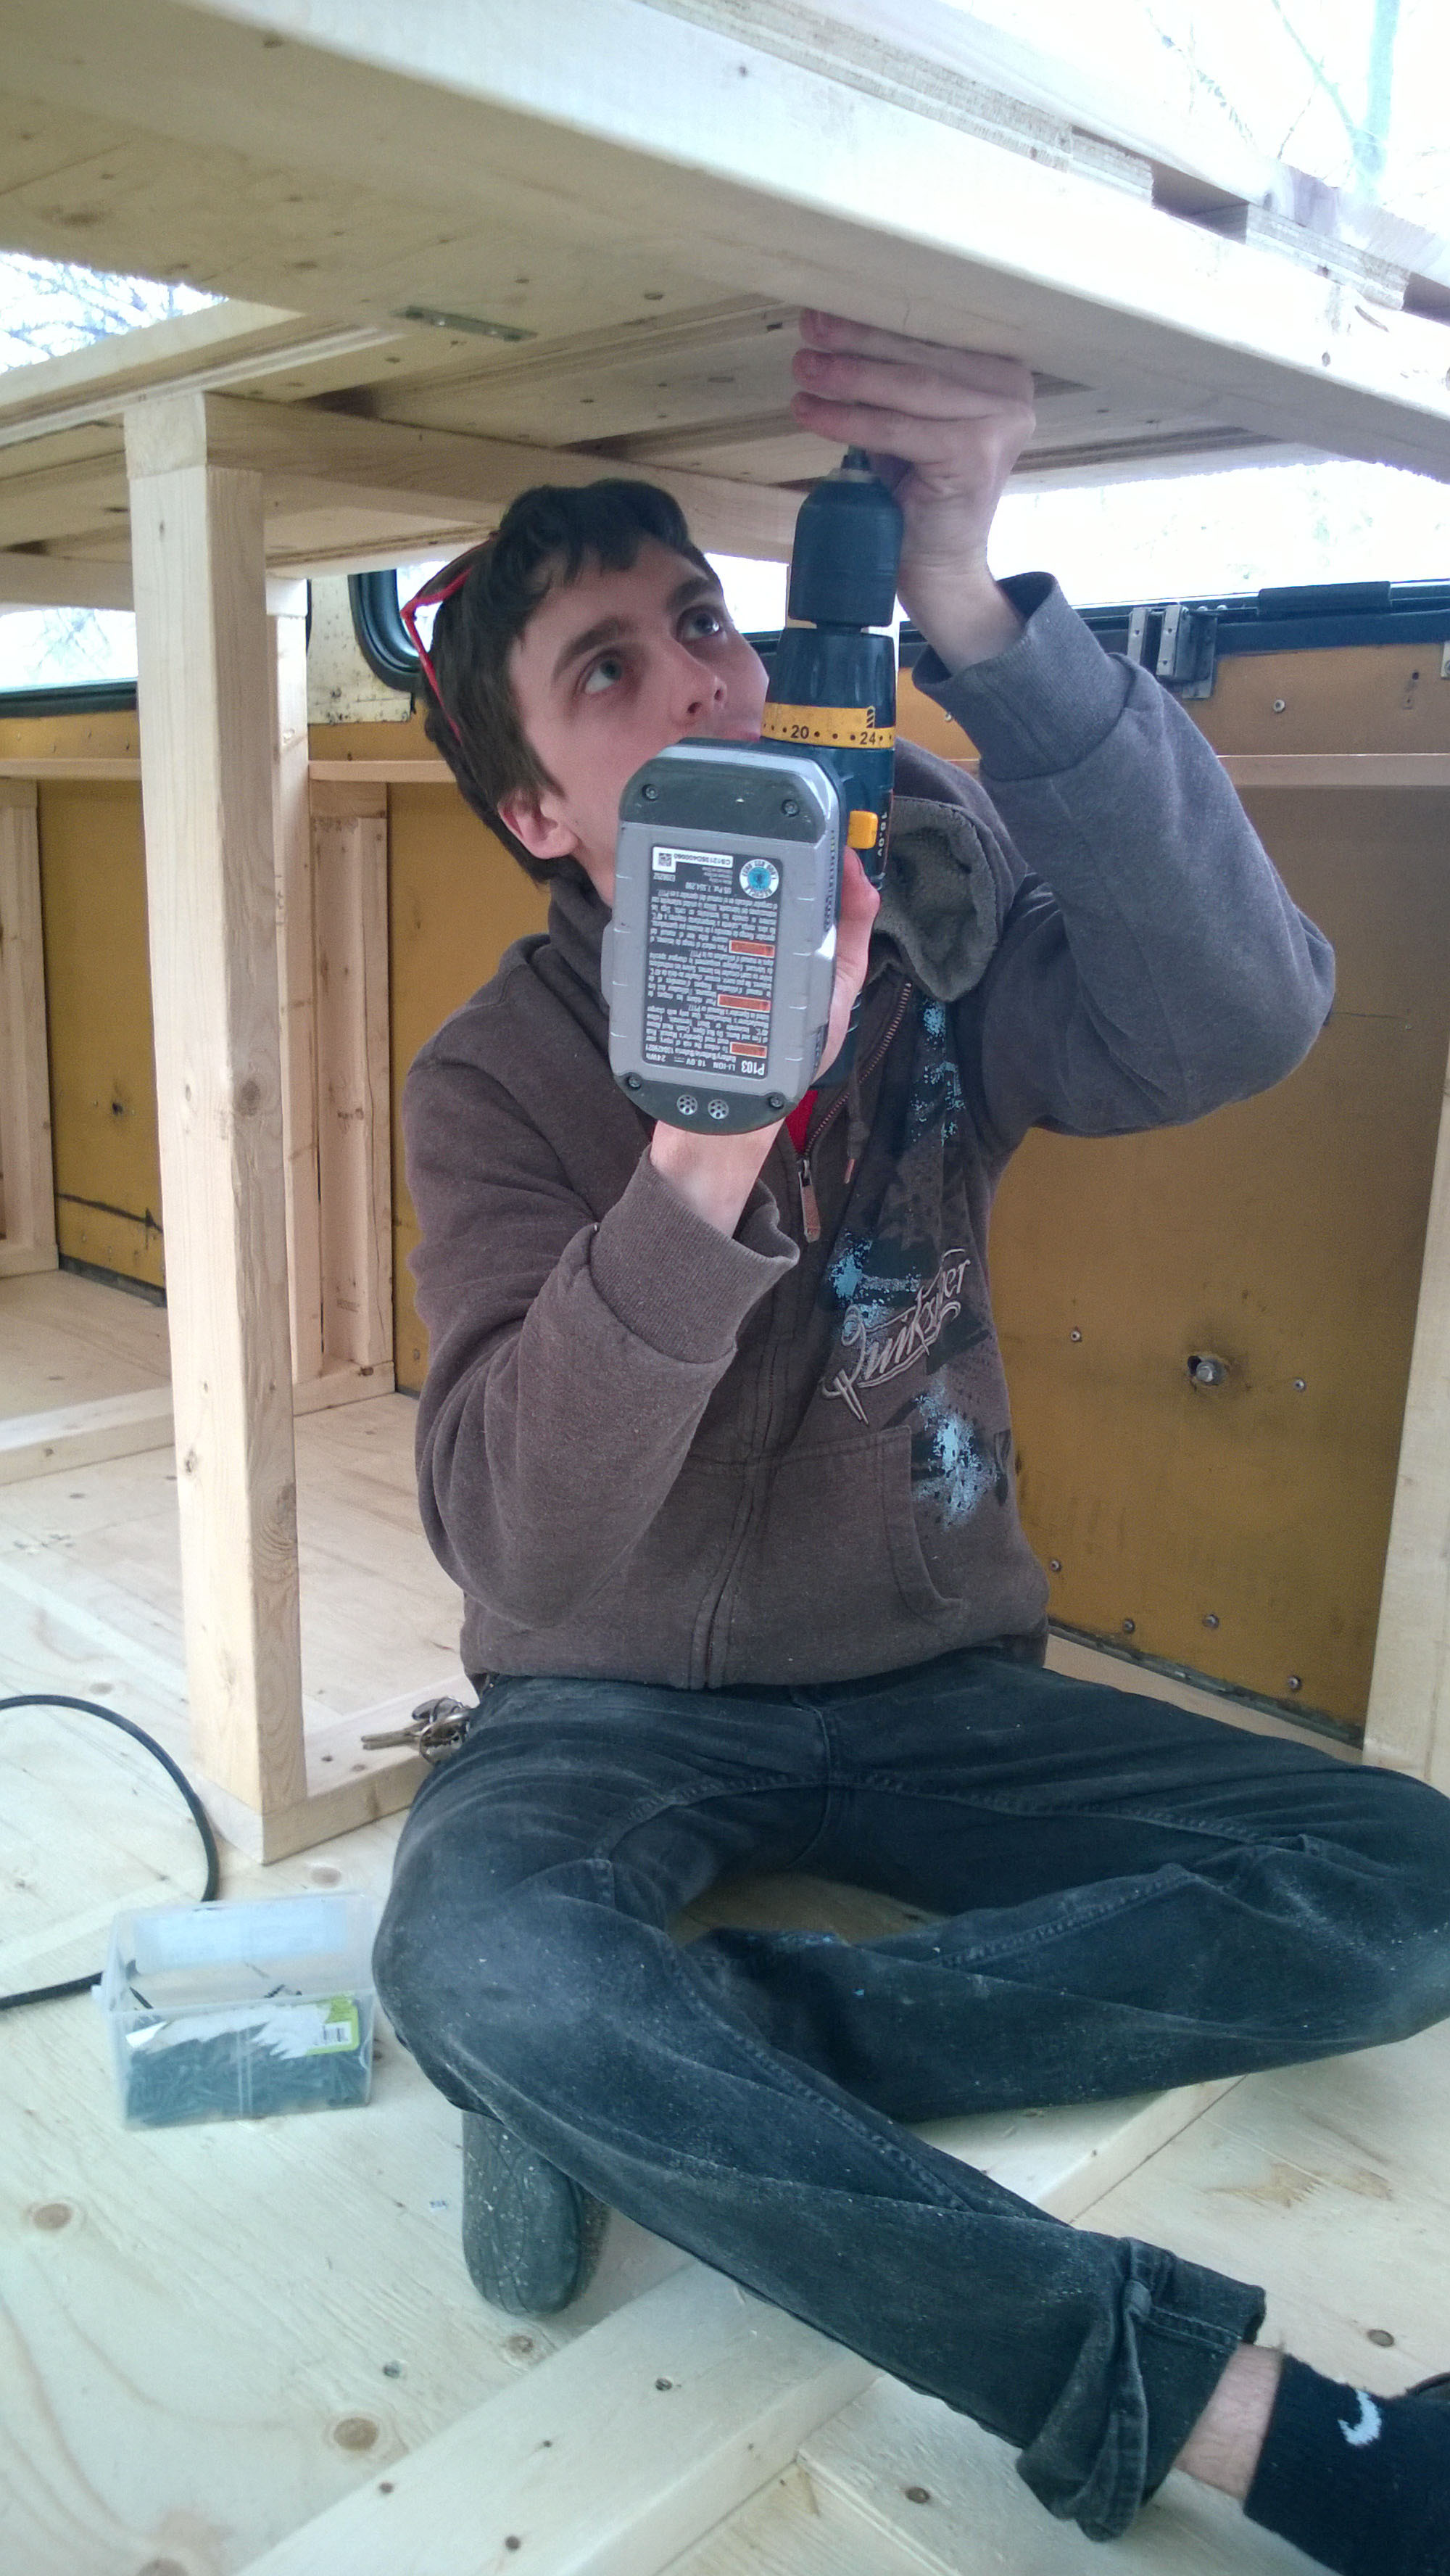
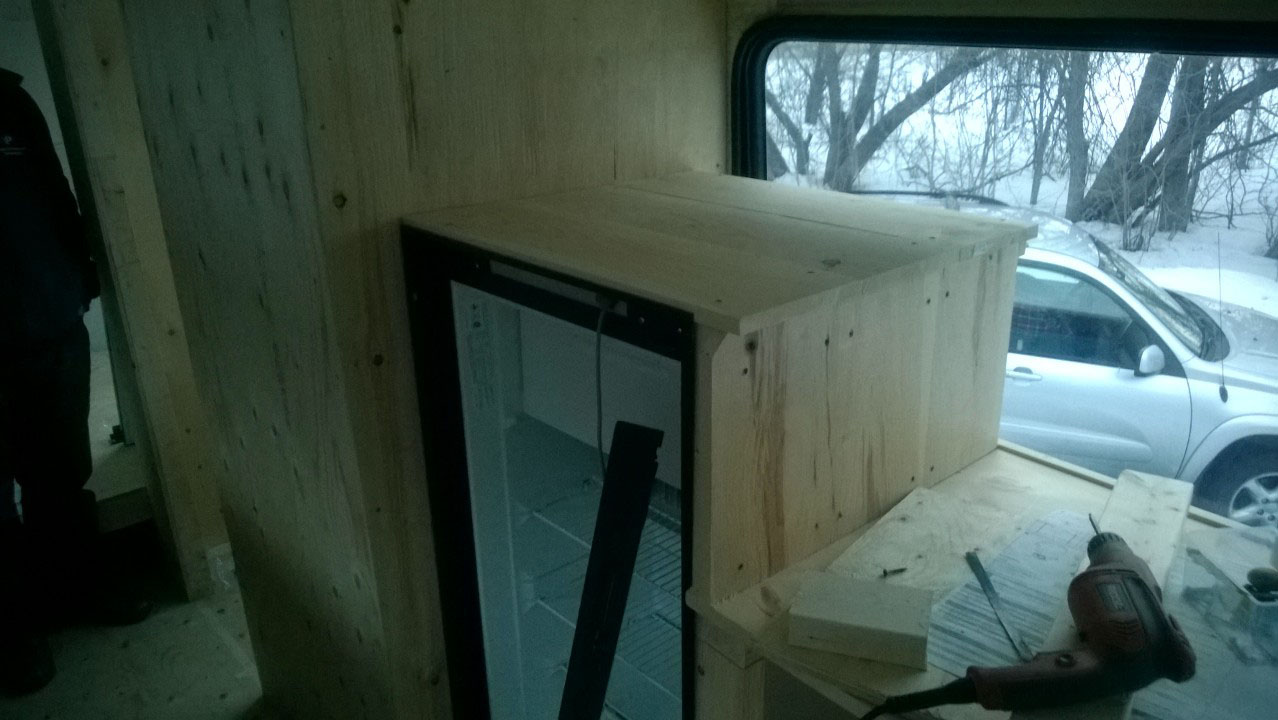
I’ve got a lot to talk about in this post, but also a lot of good pictures to go with it 🙂 I thought I’d just start with this picture that I forgot to put in the last post of me putting together the kitchen counter…
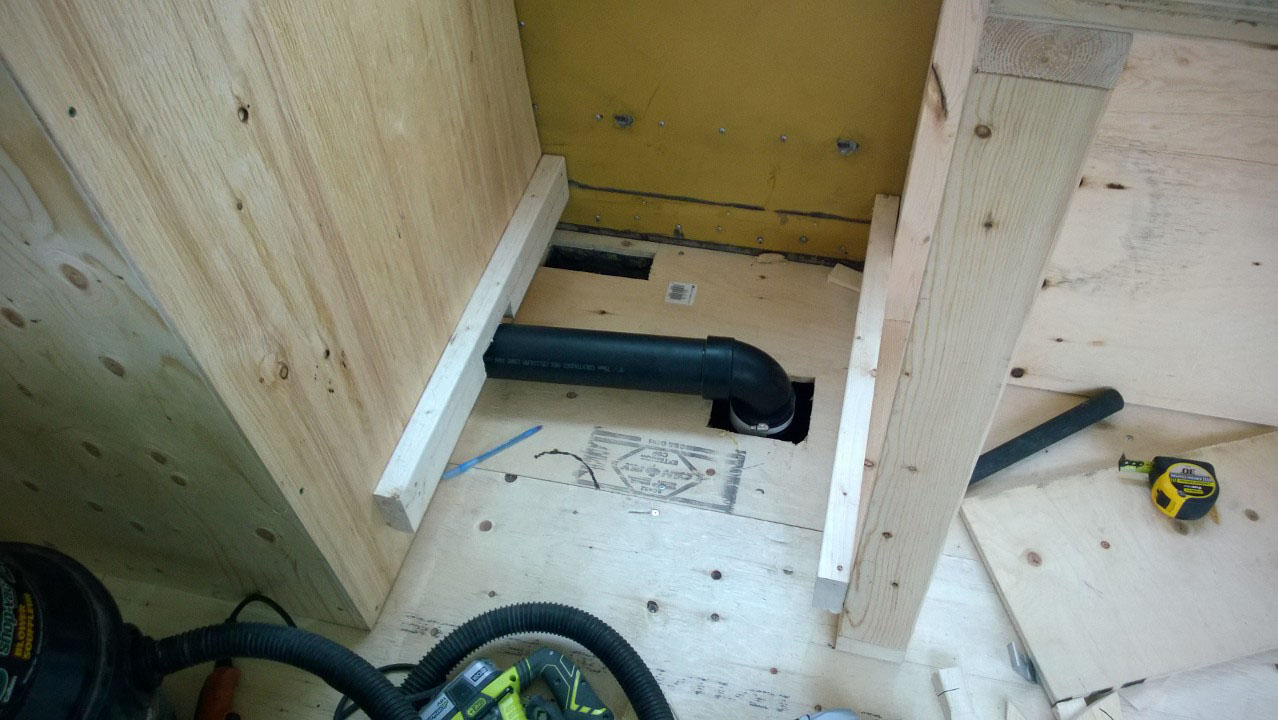
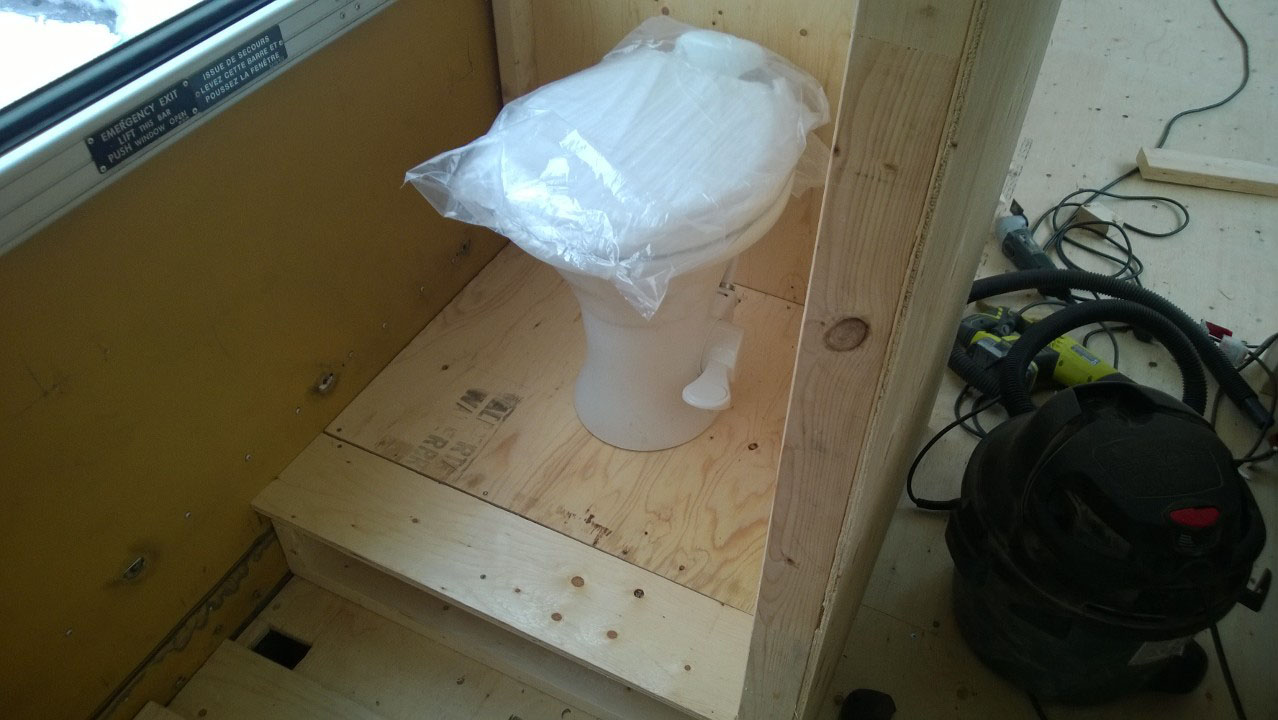
The next thing that we did after the counter was the toilet and fridge. We realized that the washroom wasn’t quite as far forward as we’d hoped and therefore not directly over the last luggage bay. It was decided that the best and probably only course of action was to raise the toilet off of the ground 6 inches and run the pipes forward before going down through the floor. This works out quite nicely as we needed to raise the fridge up anyway and keep the return vent open. Here’s a picture of the pipe coming out of the front of the bathroom, and then one of the toilet in place:
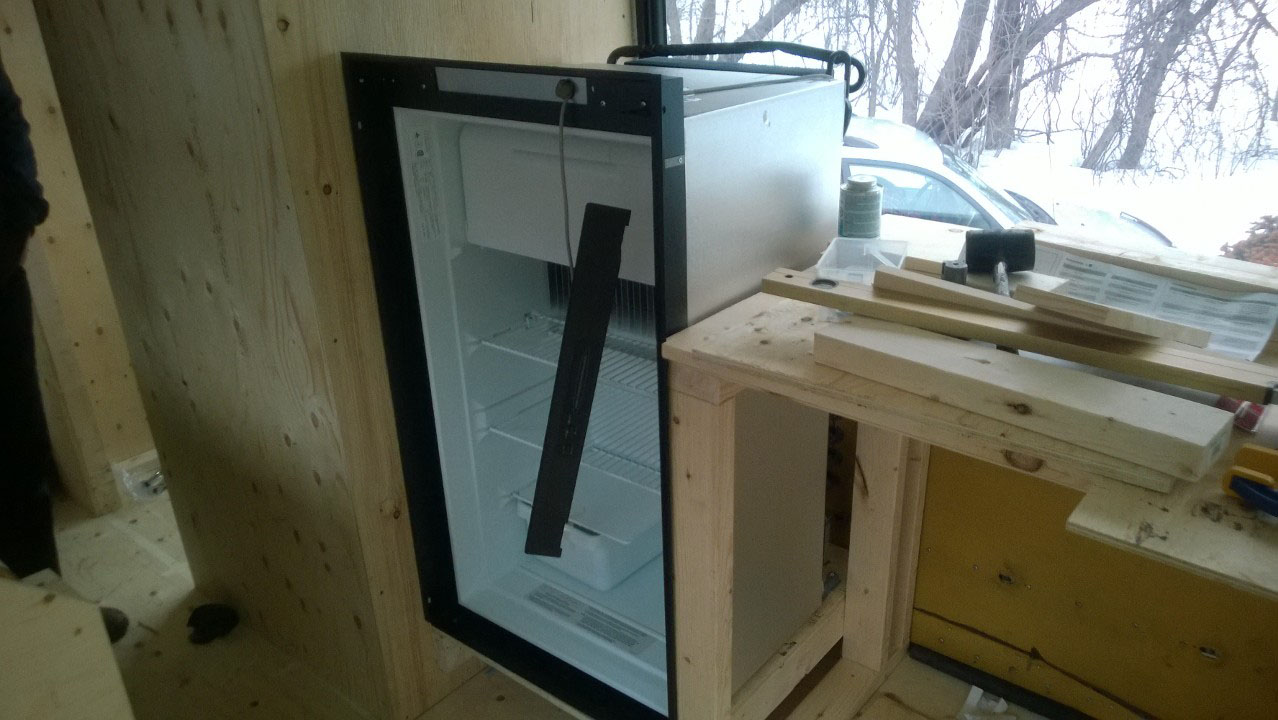
The fridge fit perfectly in it’s new home, and we built the counter nicely over top of it. The wood supports underneath are a bit all over the place but it looks very nice. As you’ll notice, the fridge has no door. We realized that we needed to flip the door in order to have it open in a useful way. It was only after we got it off, however that we discovered the need for a ‘door reversing kit’ … It’s in the mail now 😛
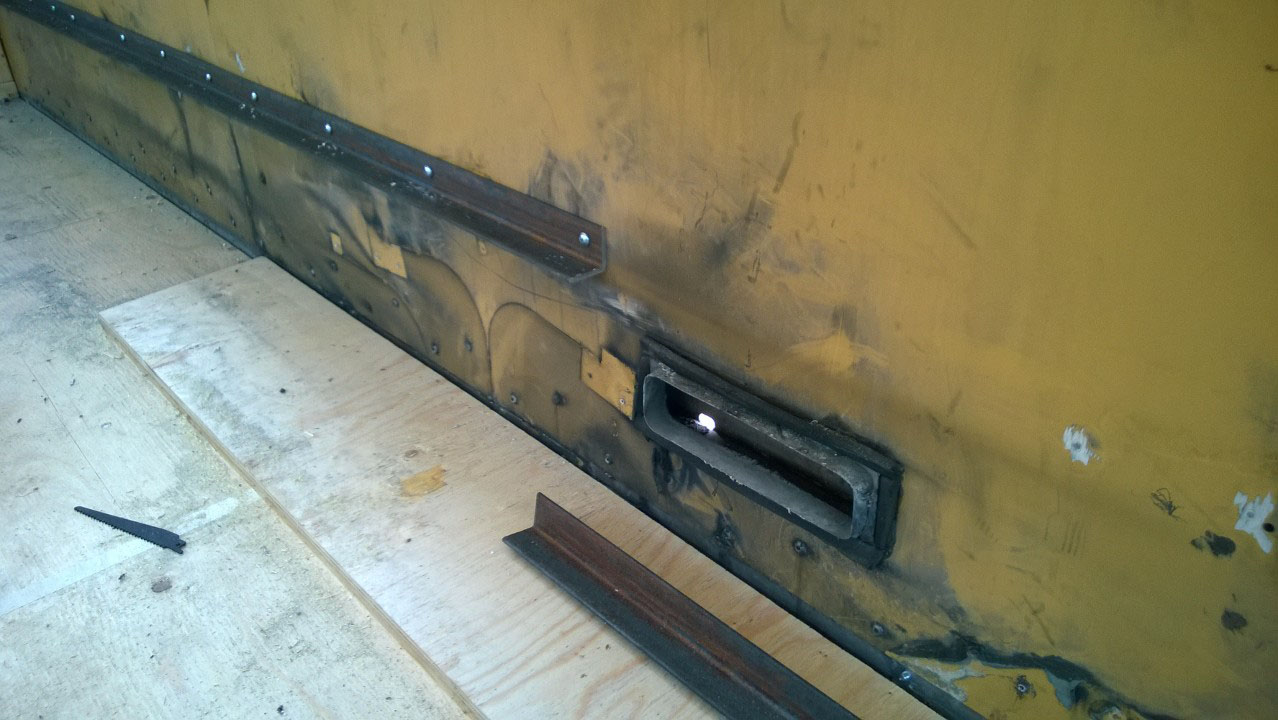
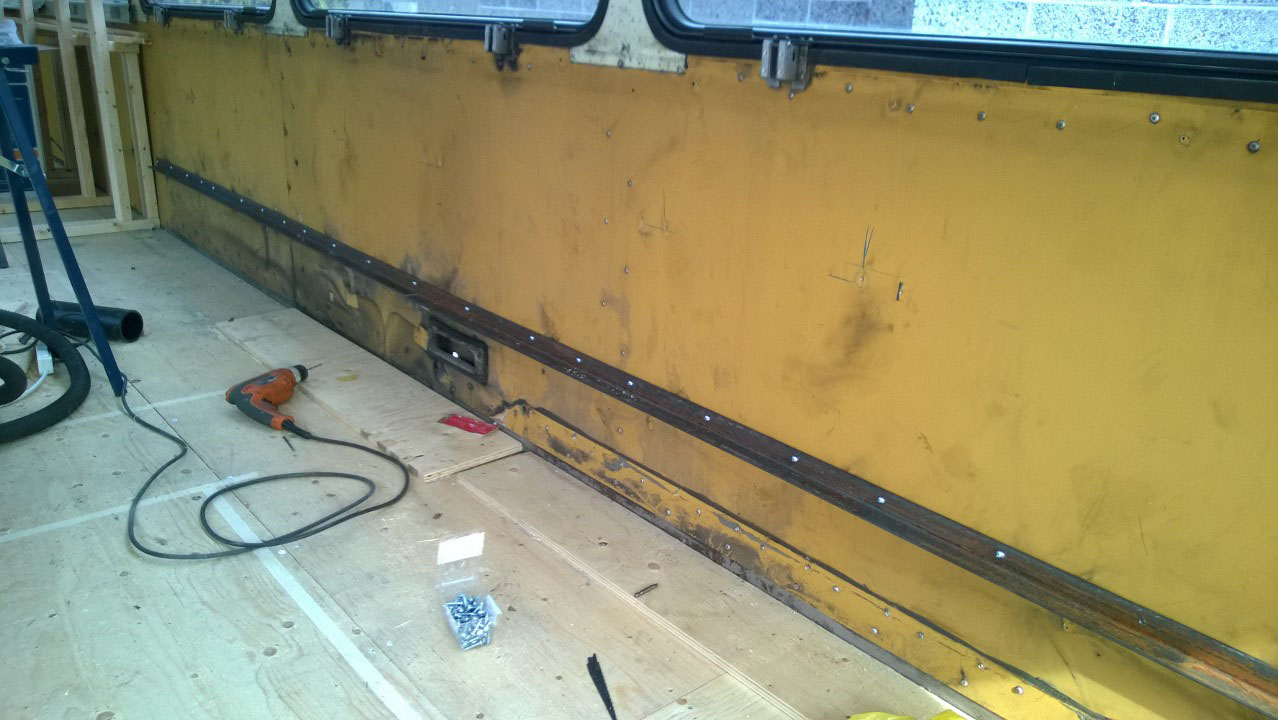
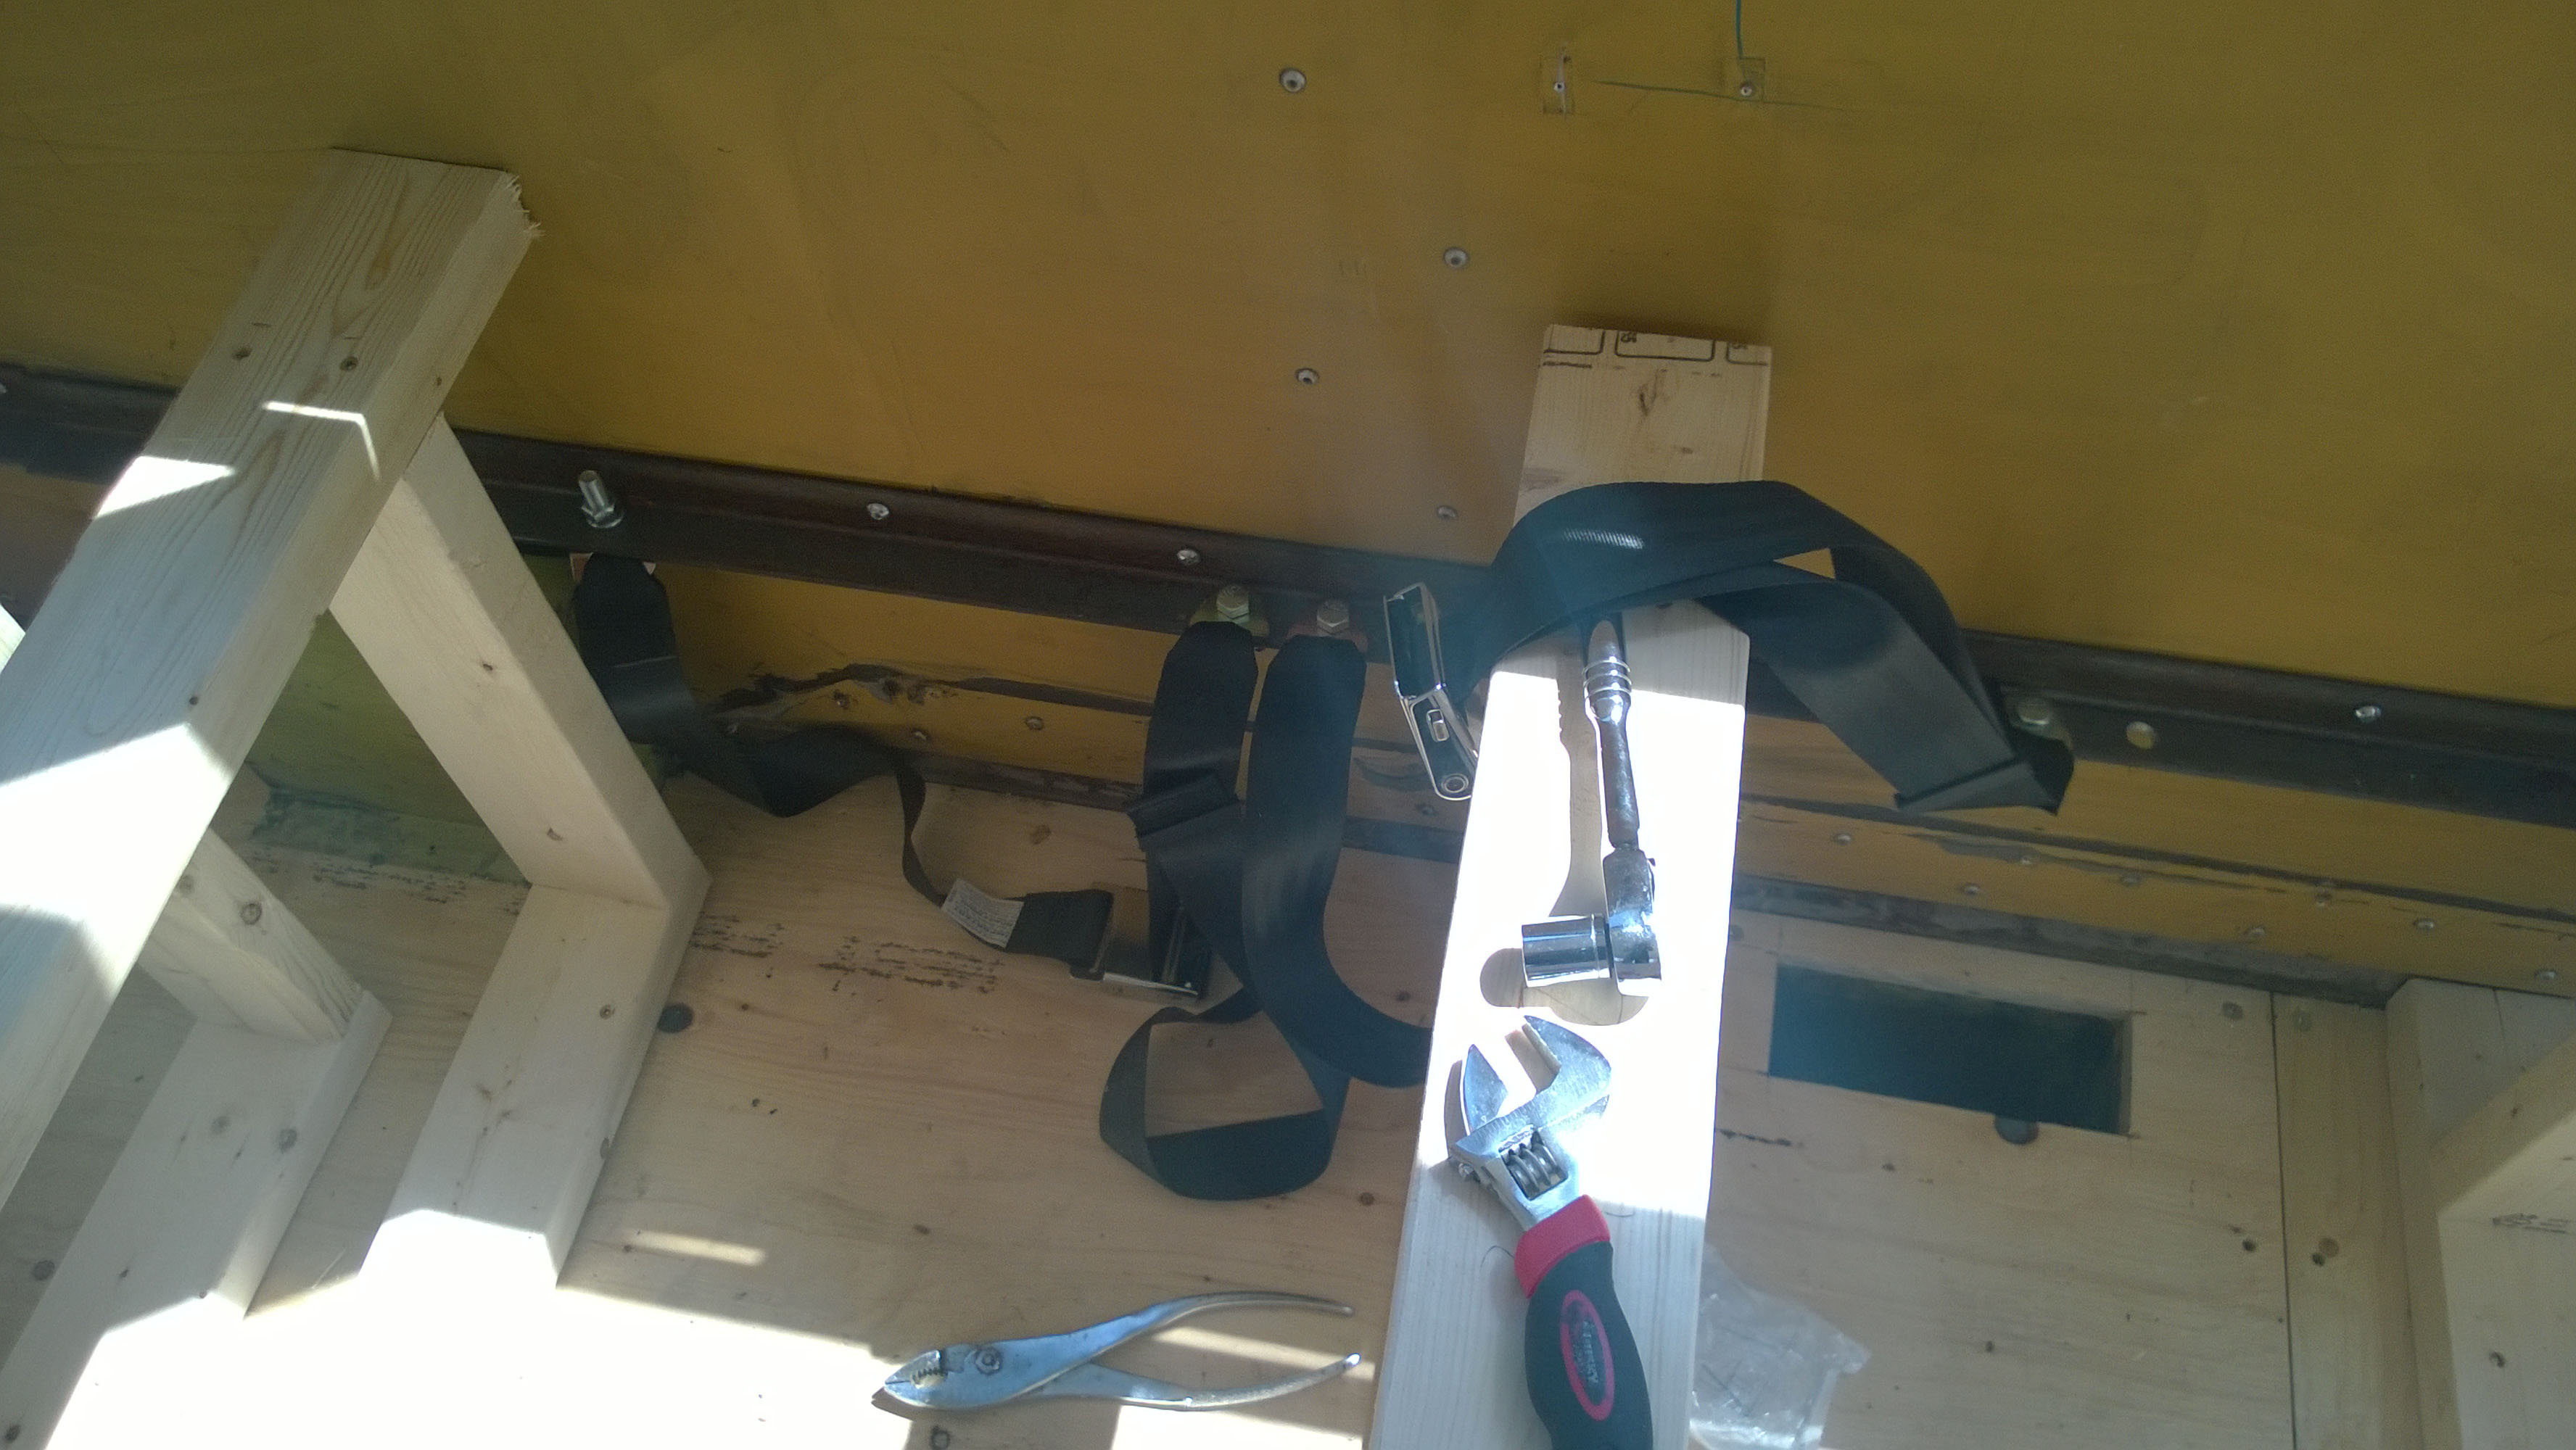
With the main parts of the kitchen done, it was time to move forward and focus on the seating area at the front of the bus. The first step was installing seat belts…! This is a 1/4 inch piece of hot rolled steel. We drilled it and mounted it to the frame along the side of the bus where the seats were fastened originally.
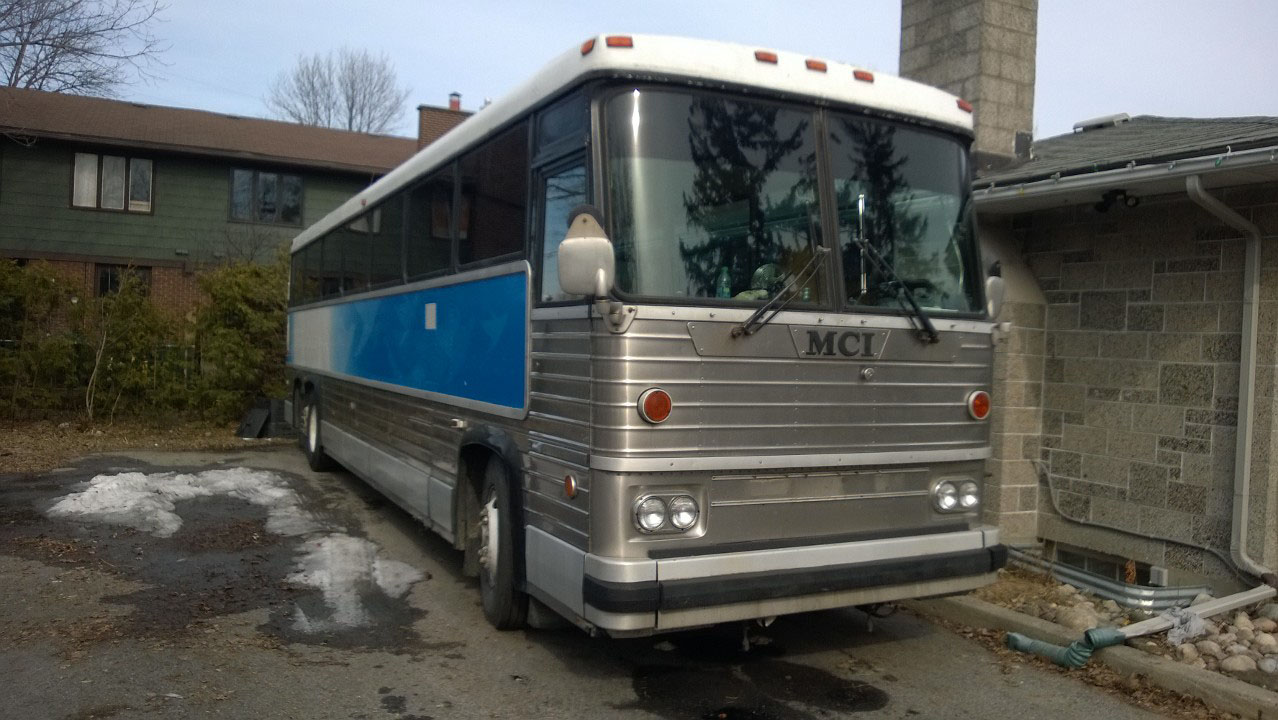
And then we finally had a warm weekend!!! With the temperatures rising, the brake lines finally unfroze and I was able to turn the bus around to make it more accessible. I had some trouble with one of my rear parking brakes not releasing. There’s a couple of videos here of me trying to get it unstuck (you can really hear the engine pushing) and then another when it’s rolling free.
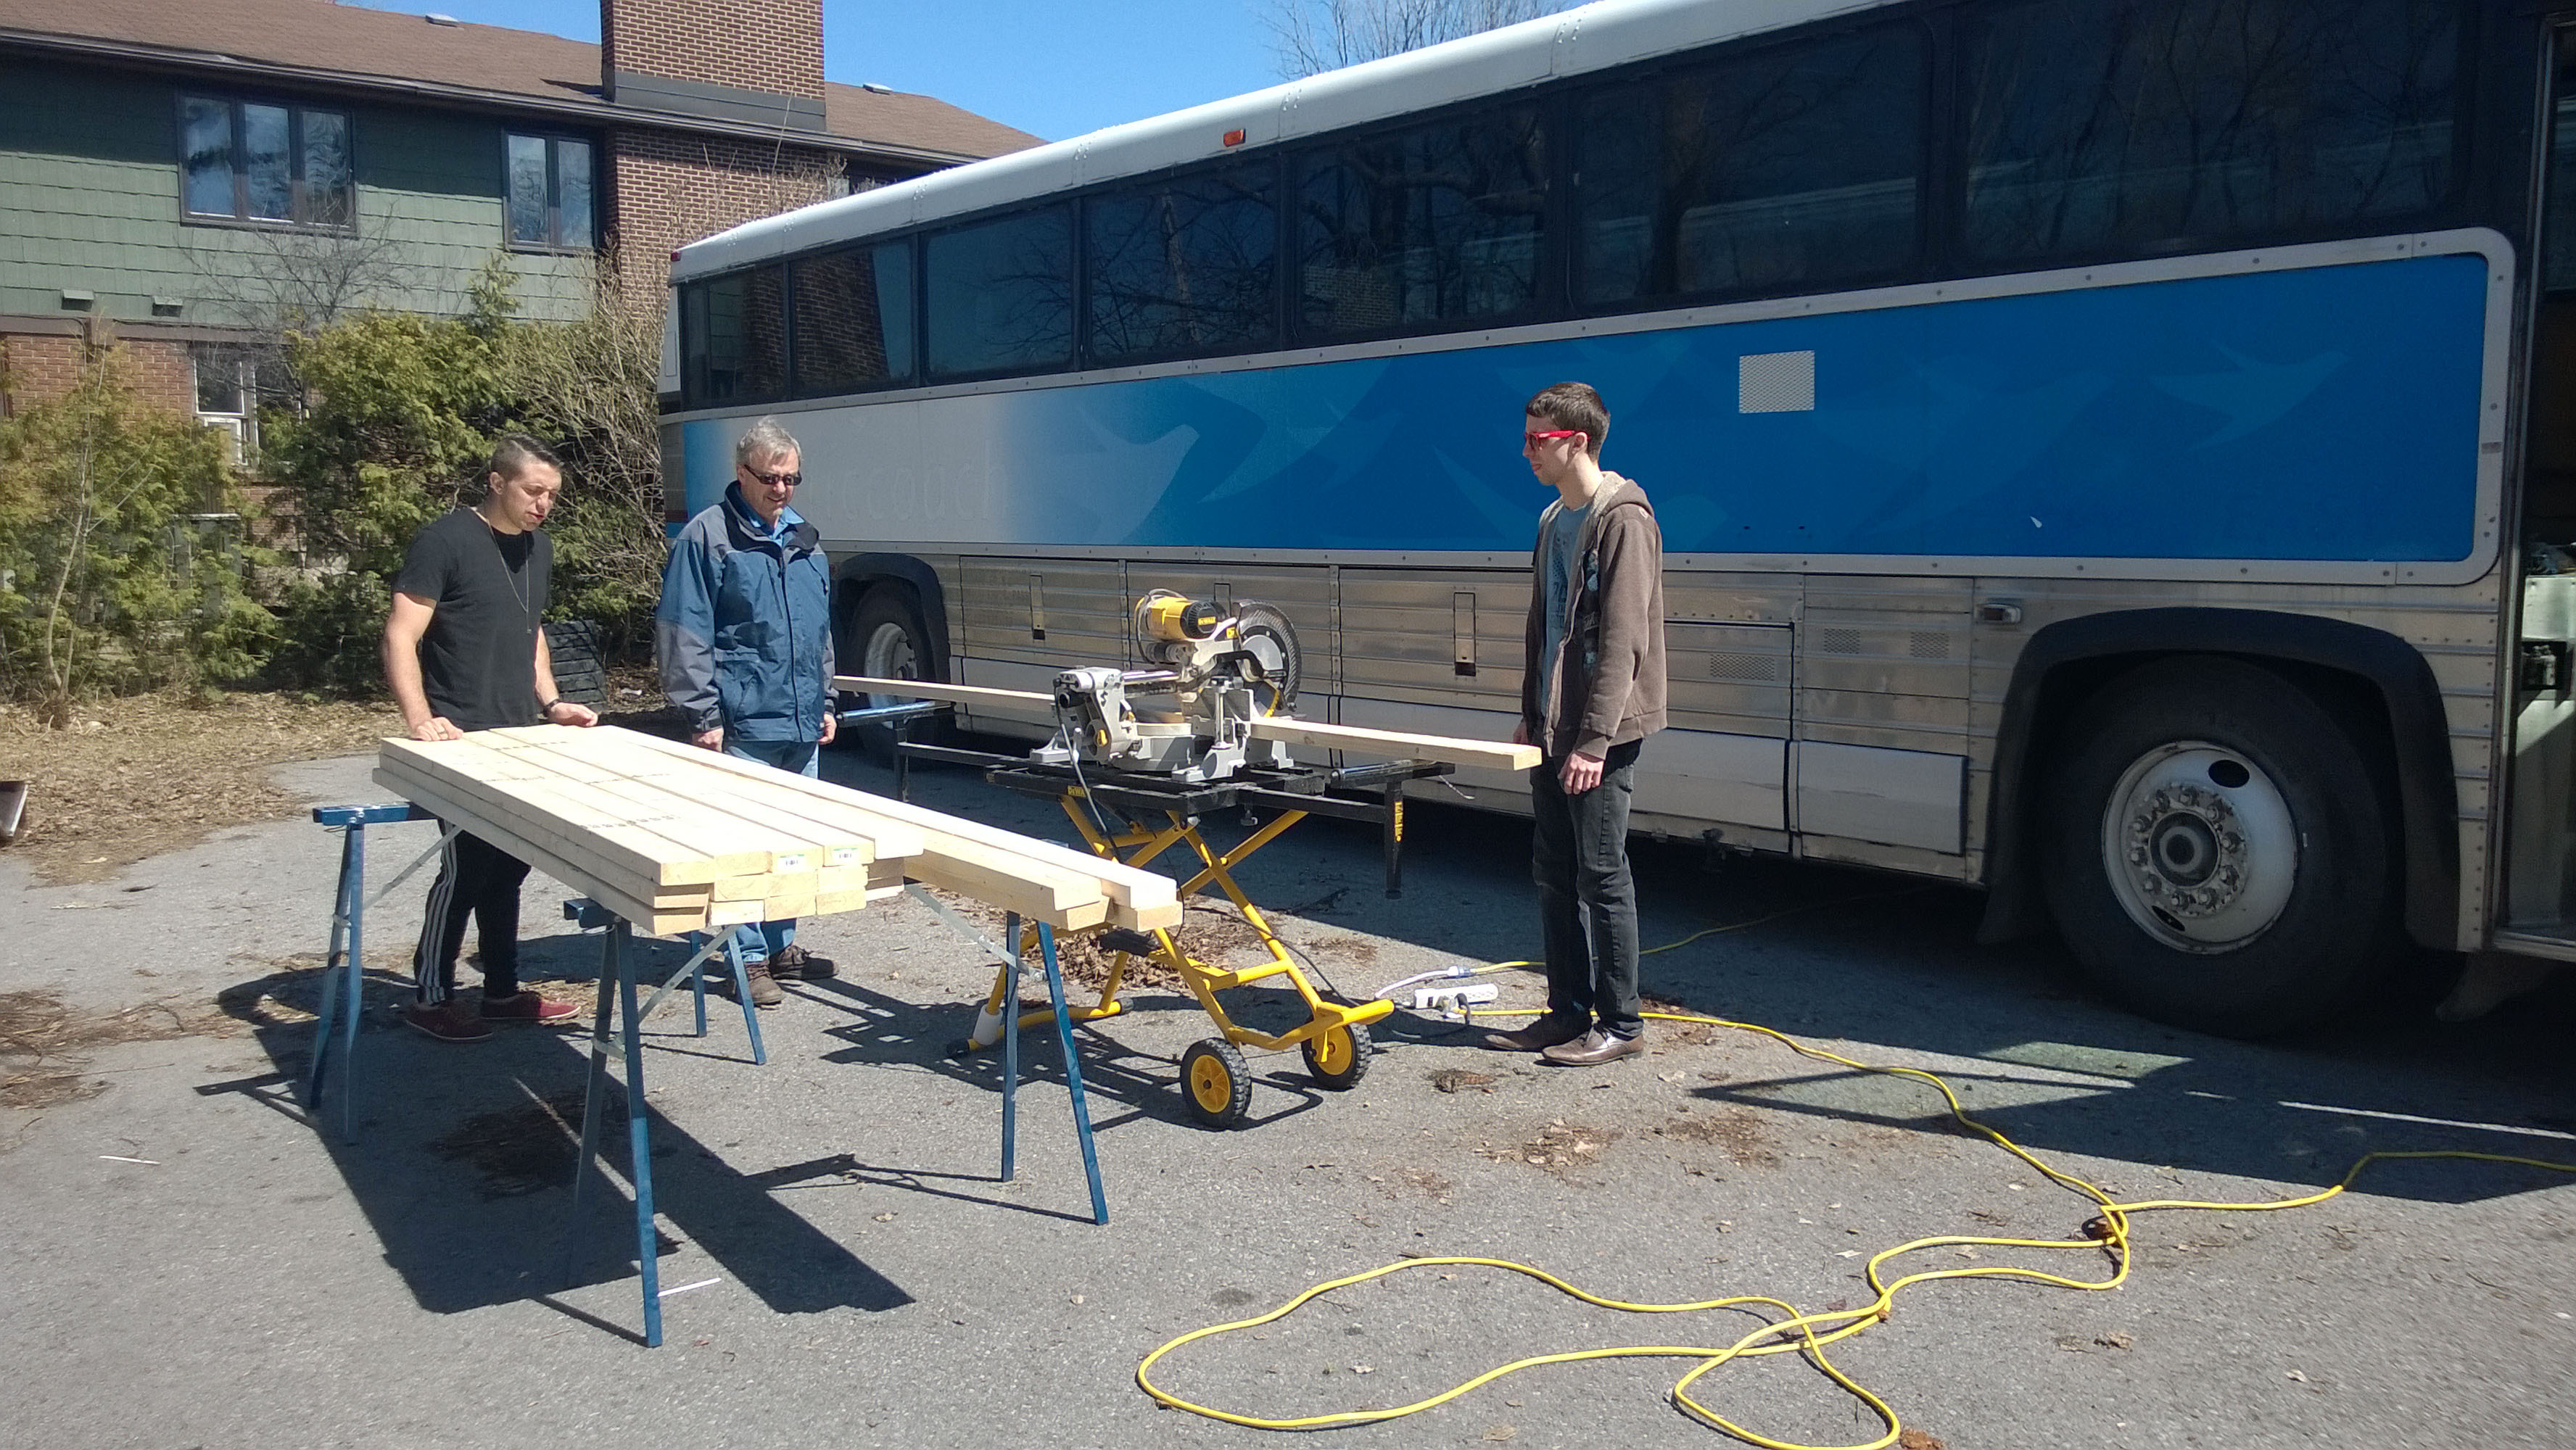
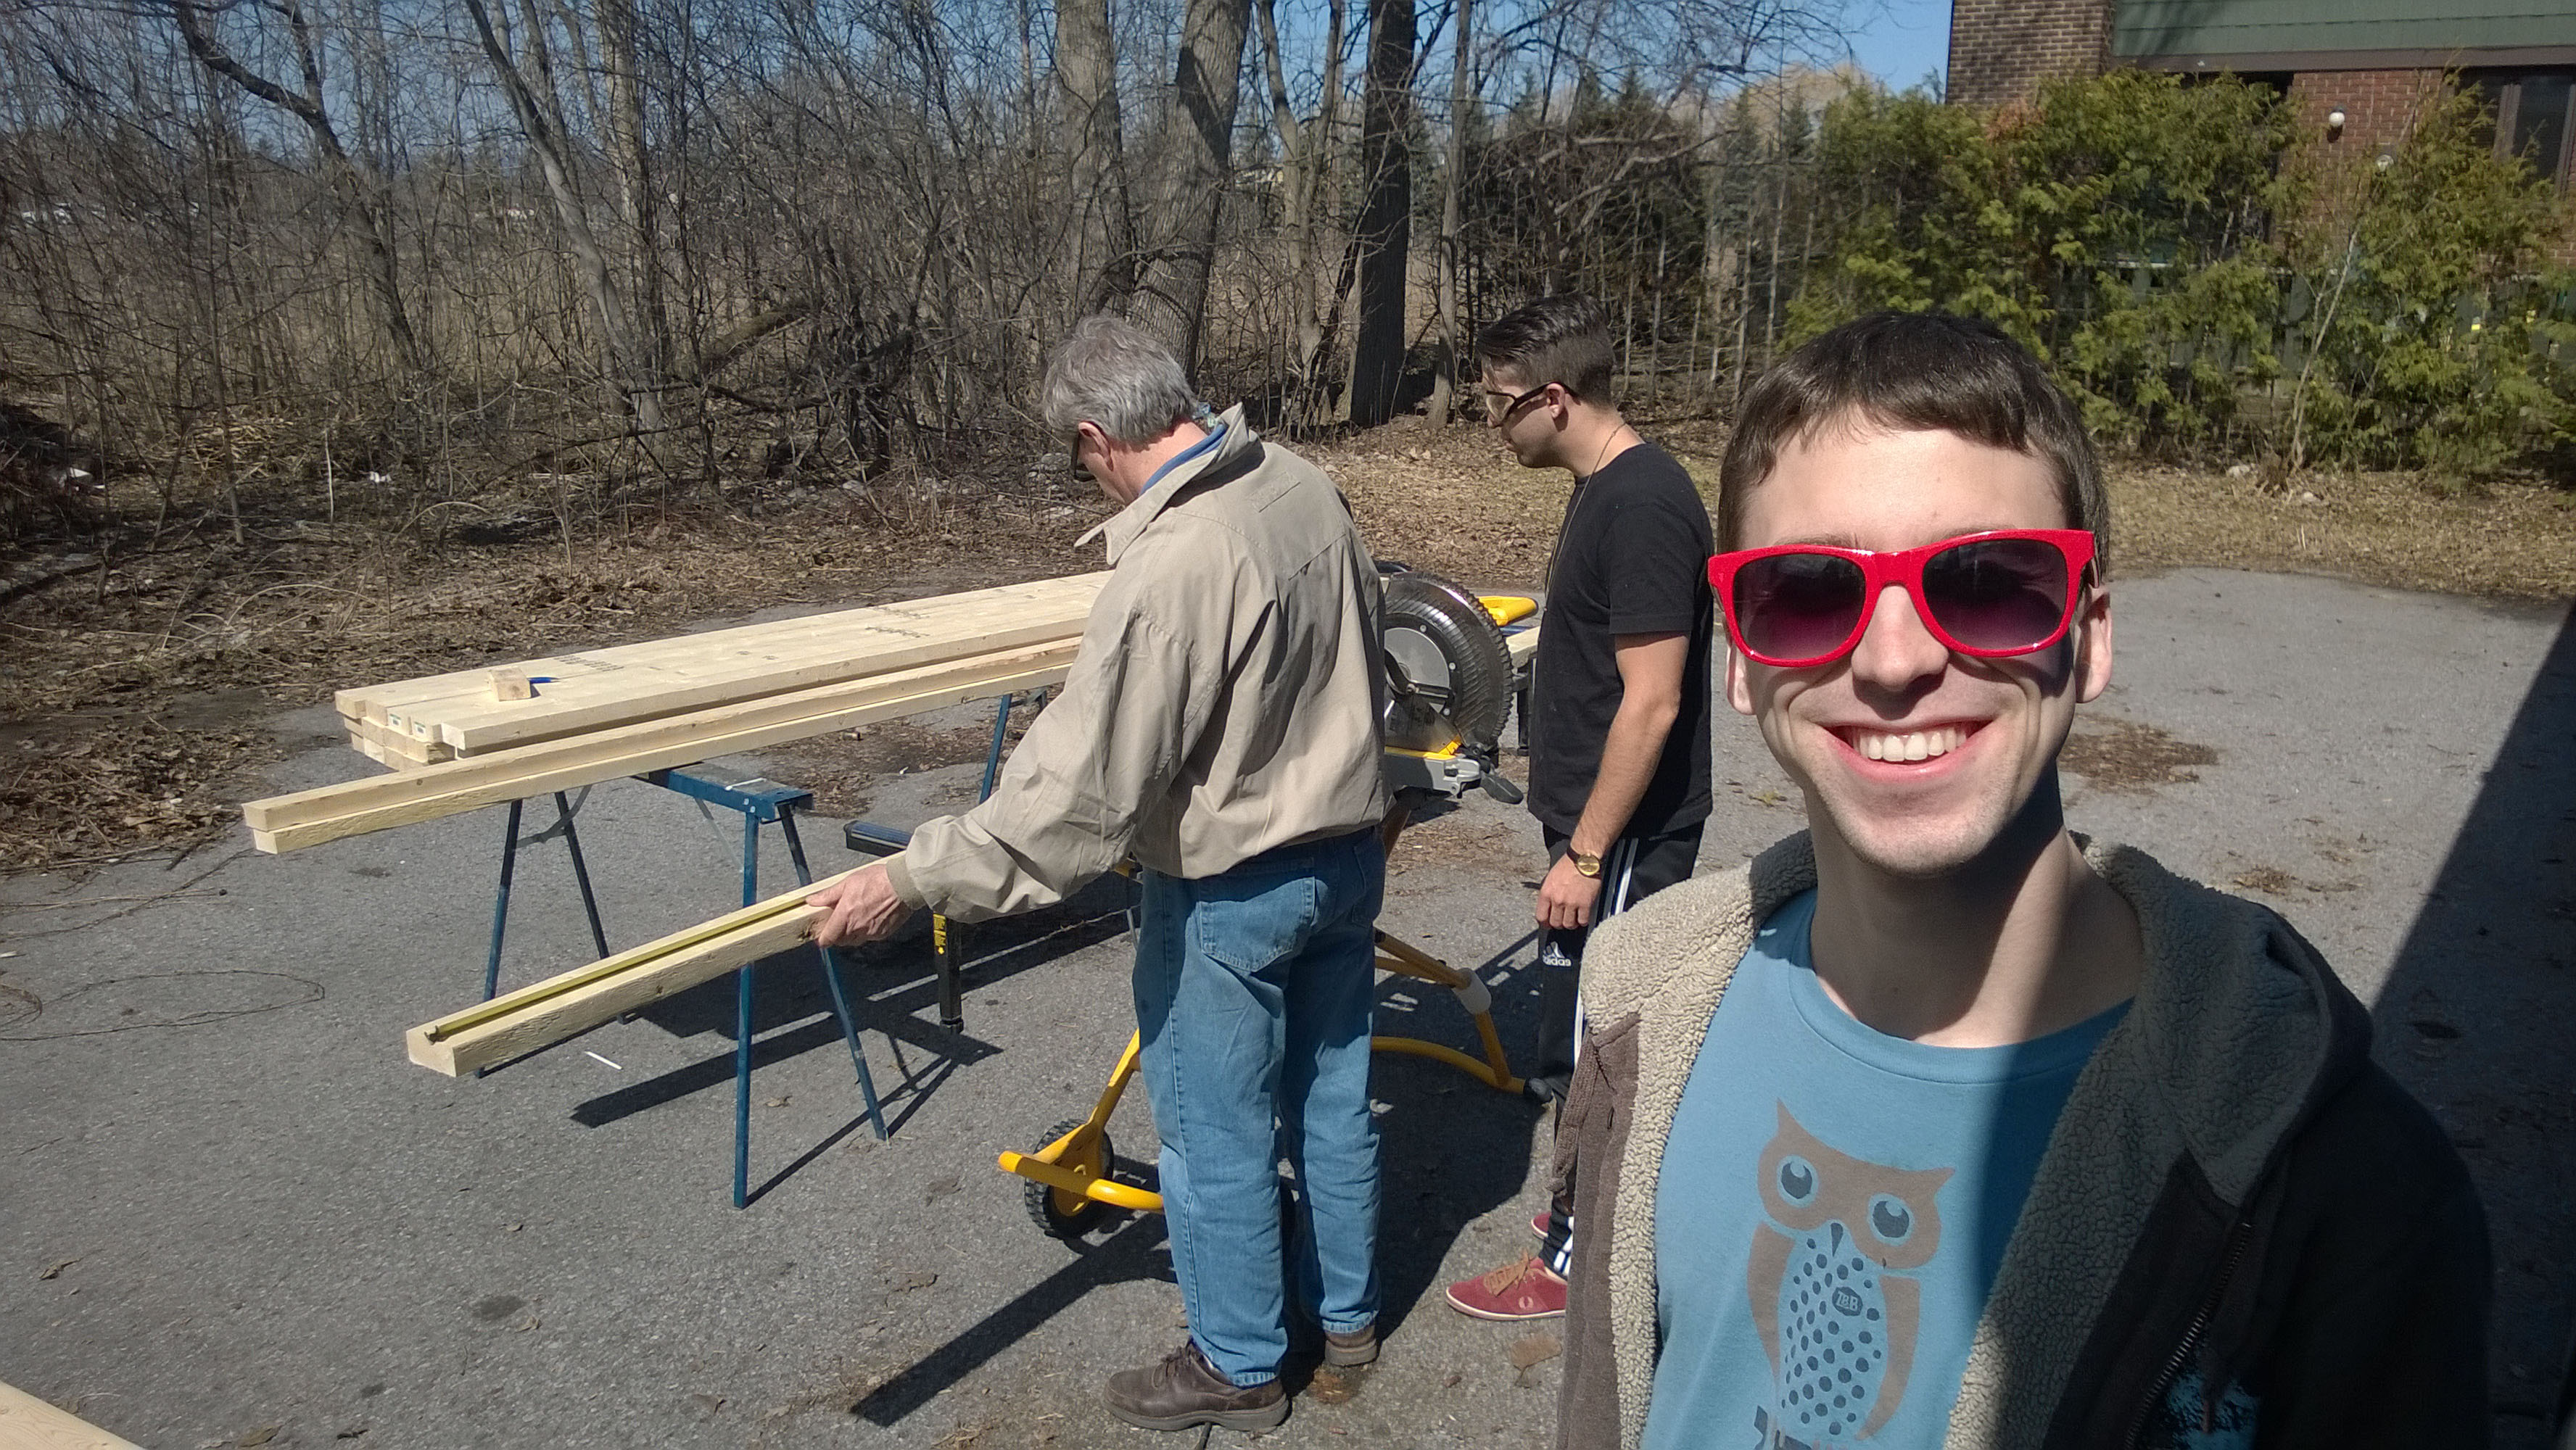
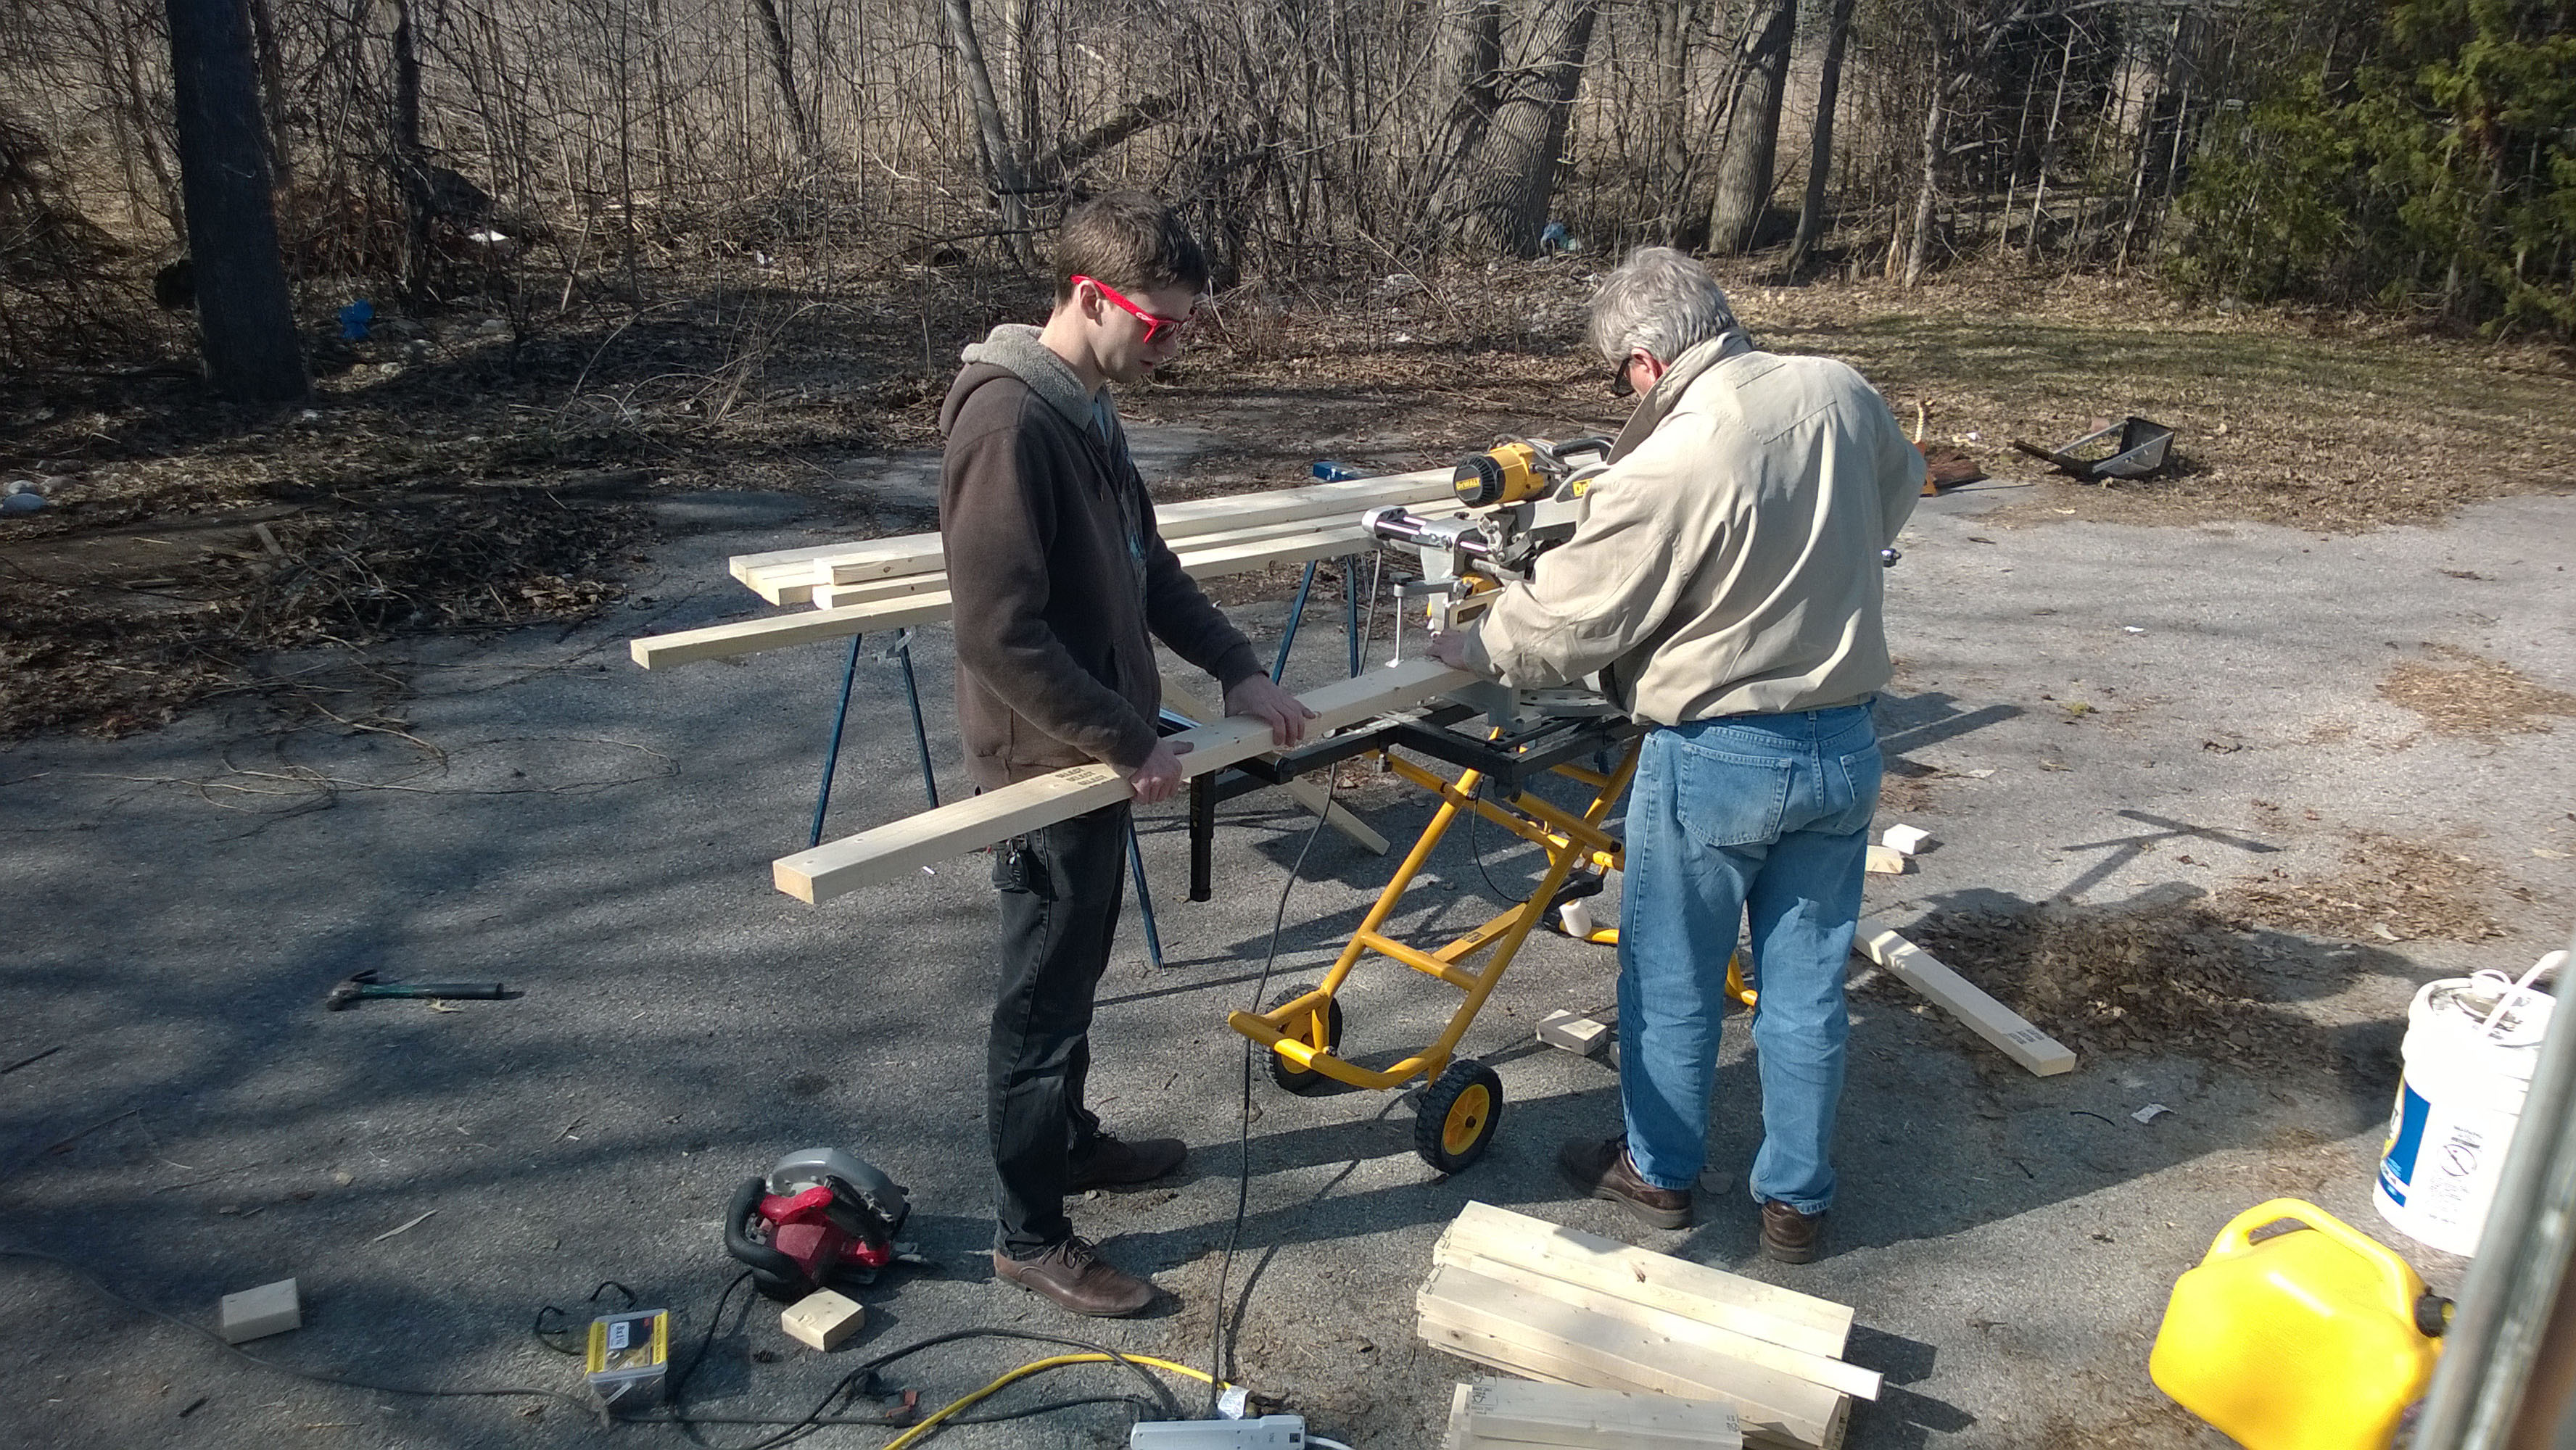
Now it was easter, and I had another set of hands to help out. Here’s my dad, brother and I getting set up to frame out the front benches.
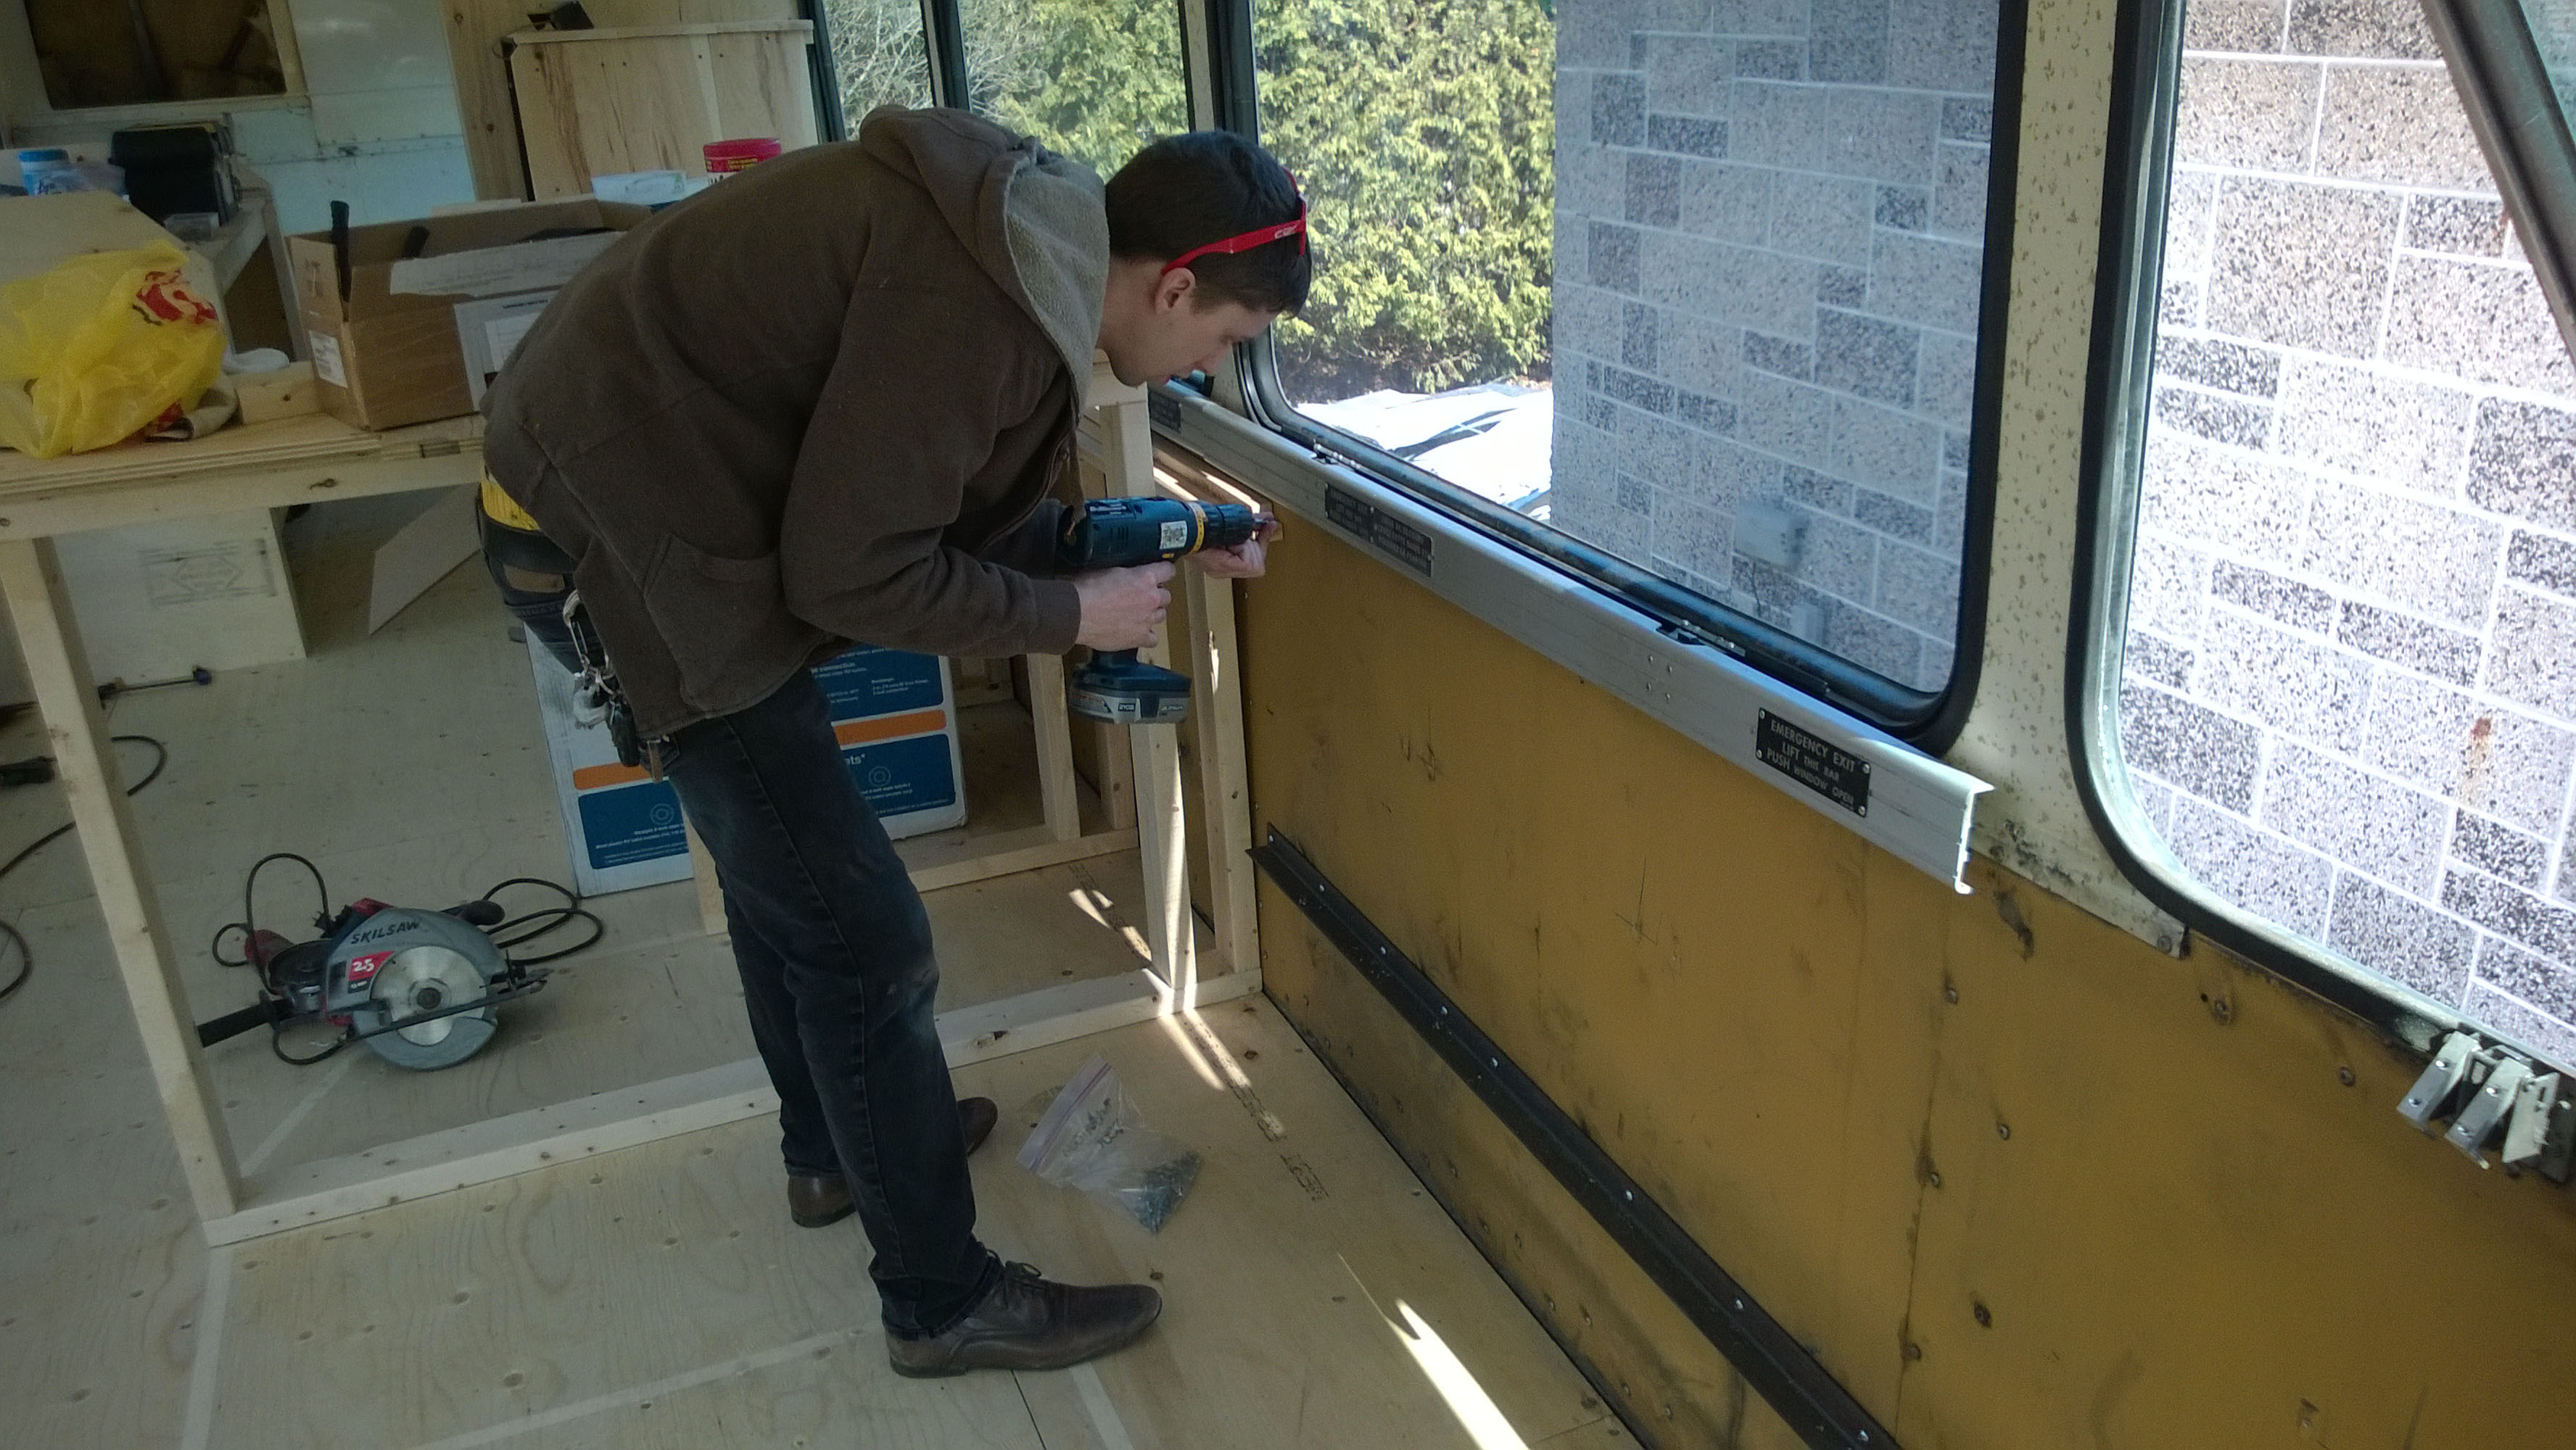
I’ve also started putting the window release bars back up…
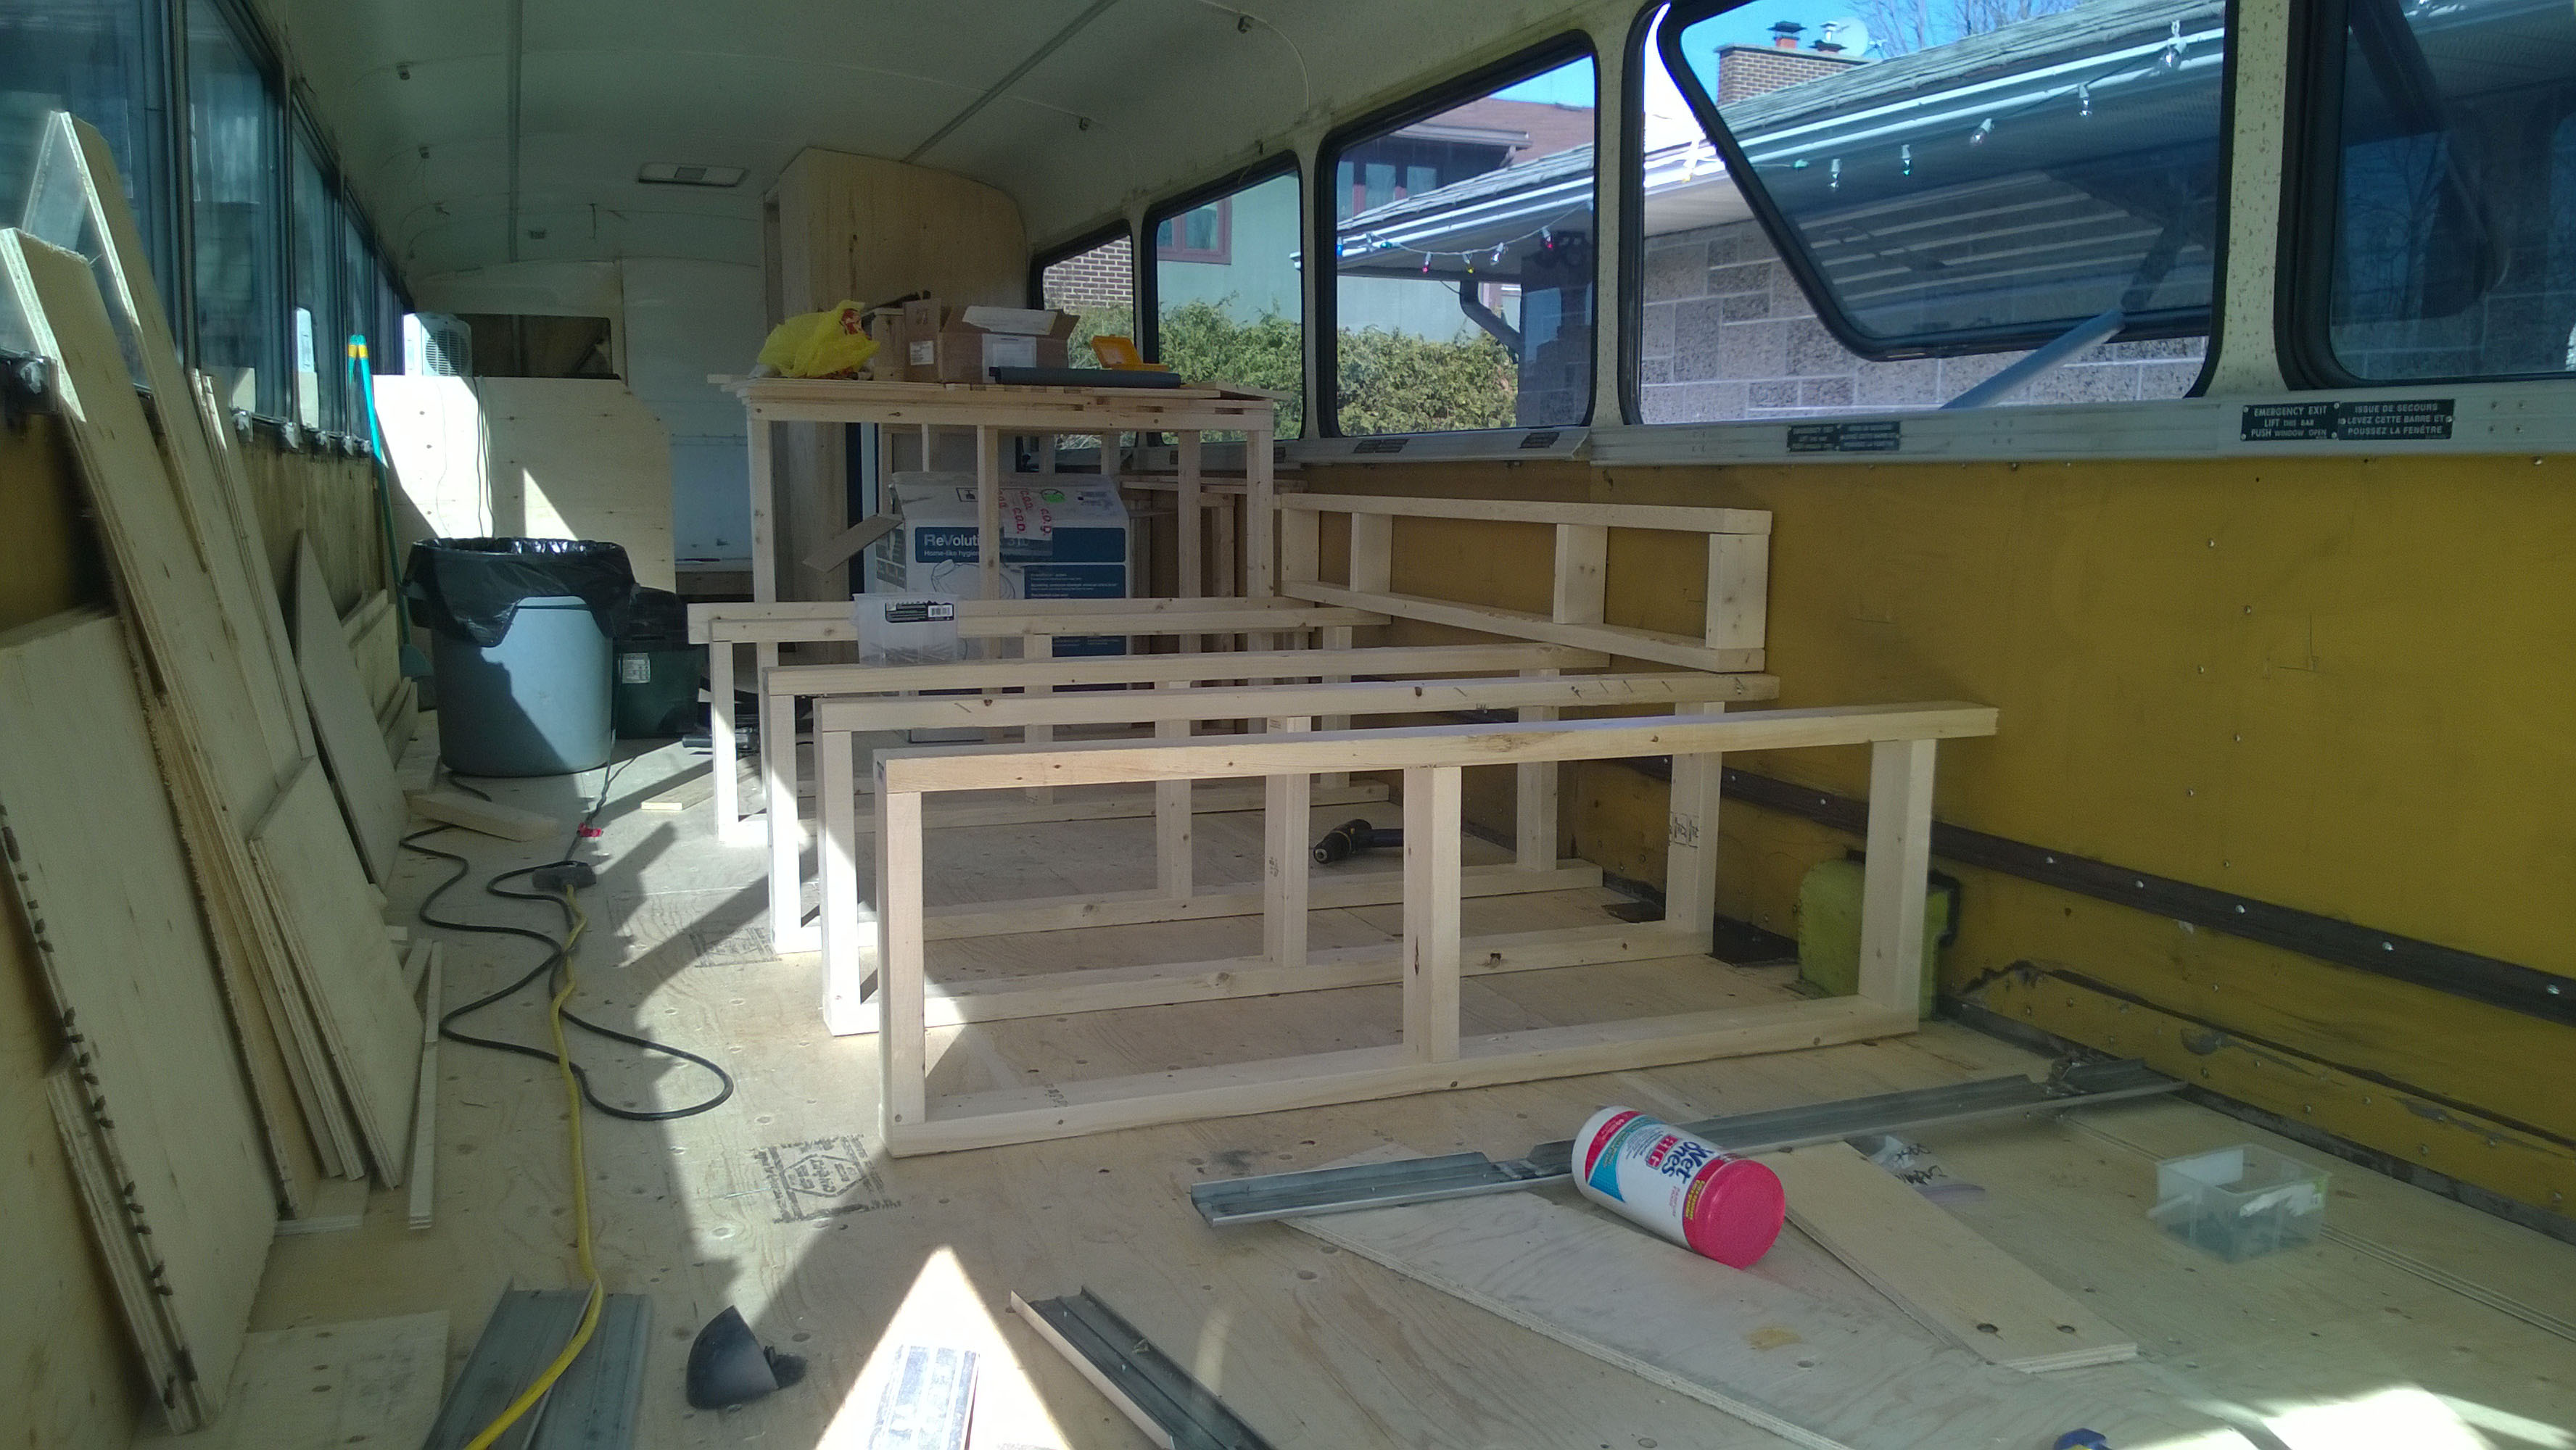
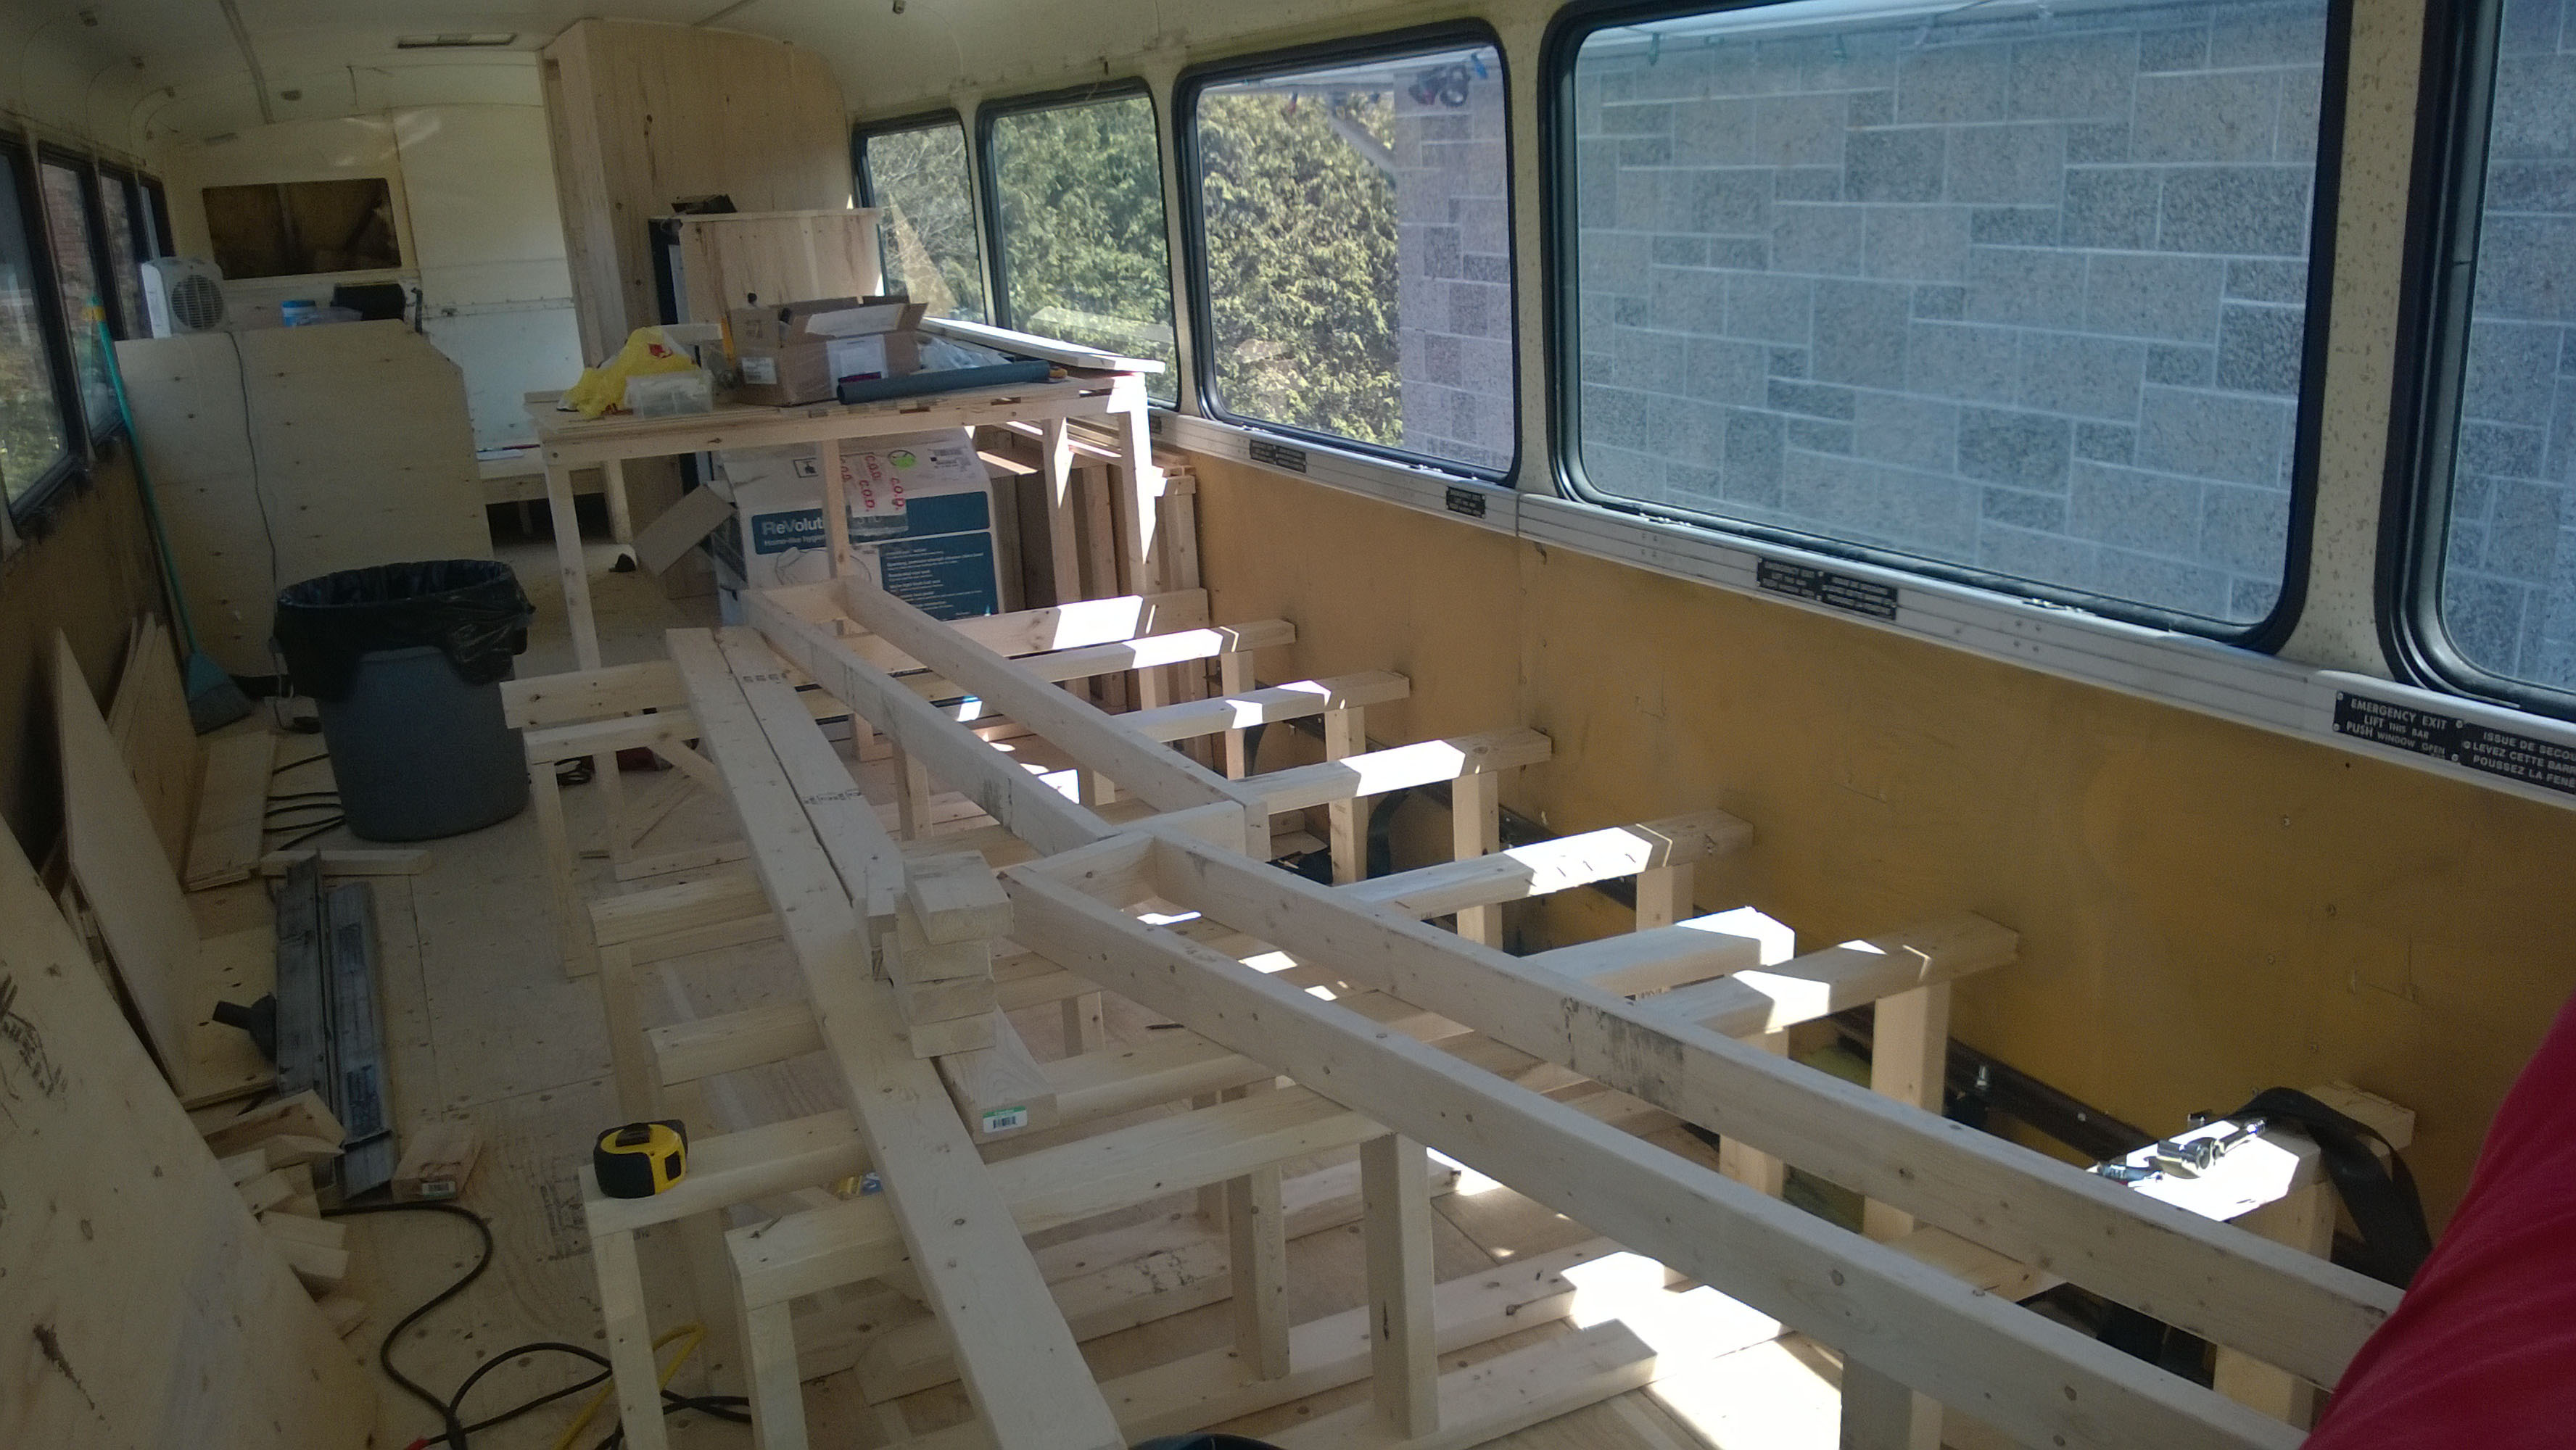
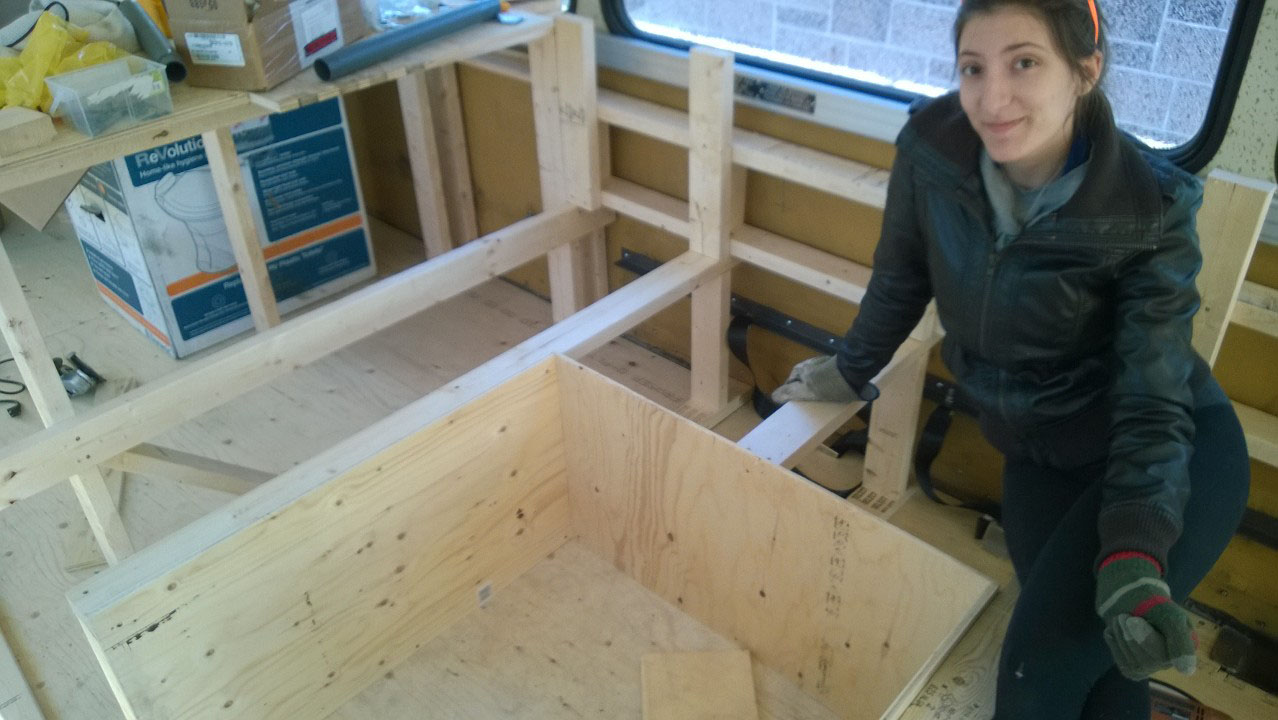
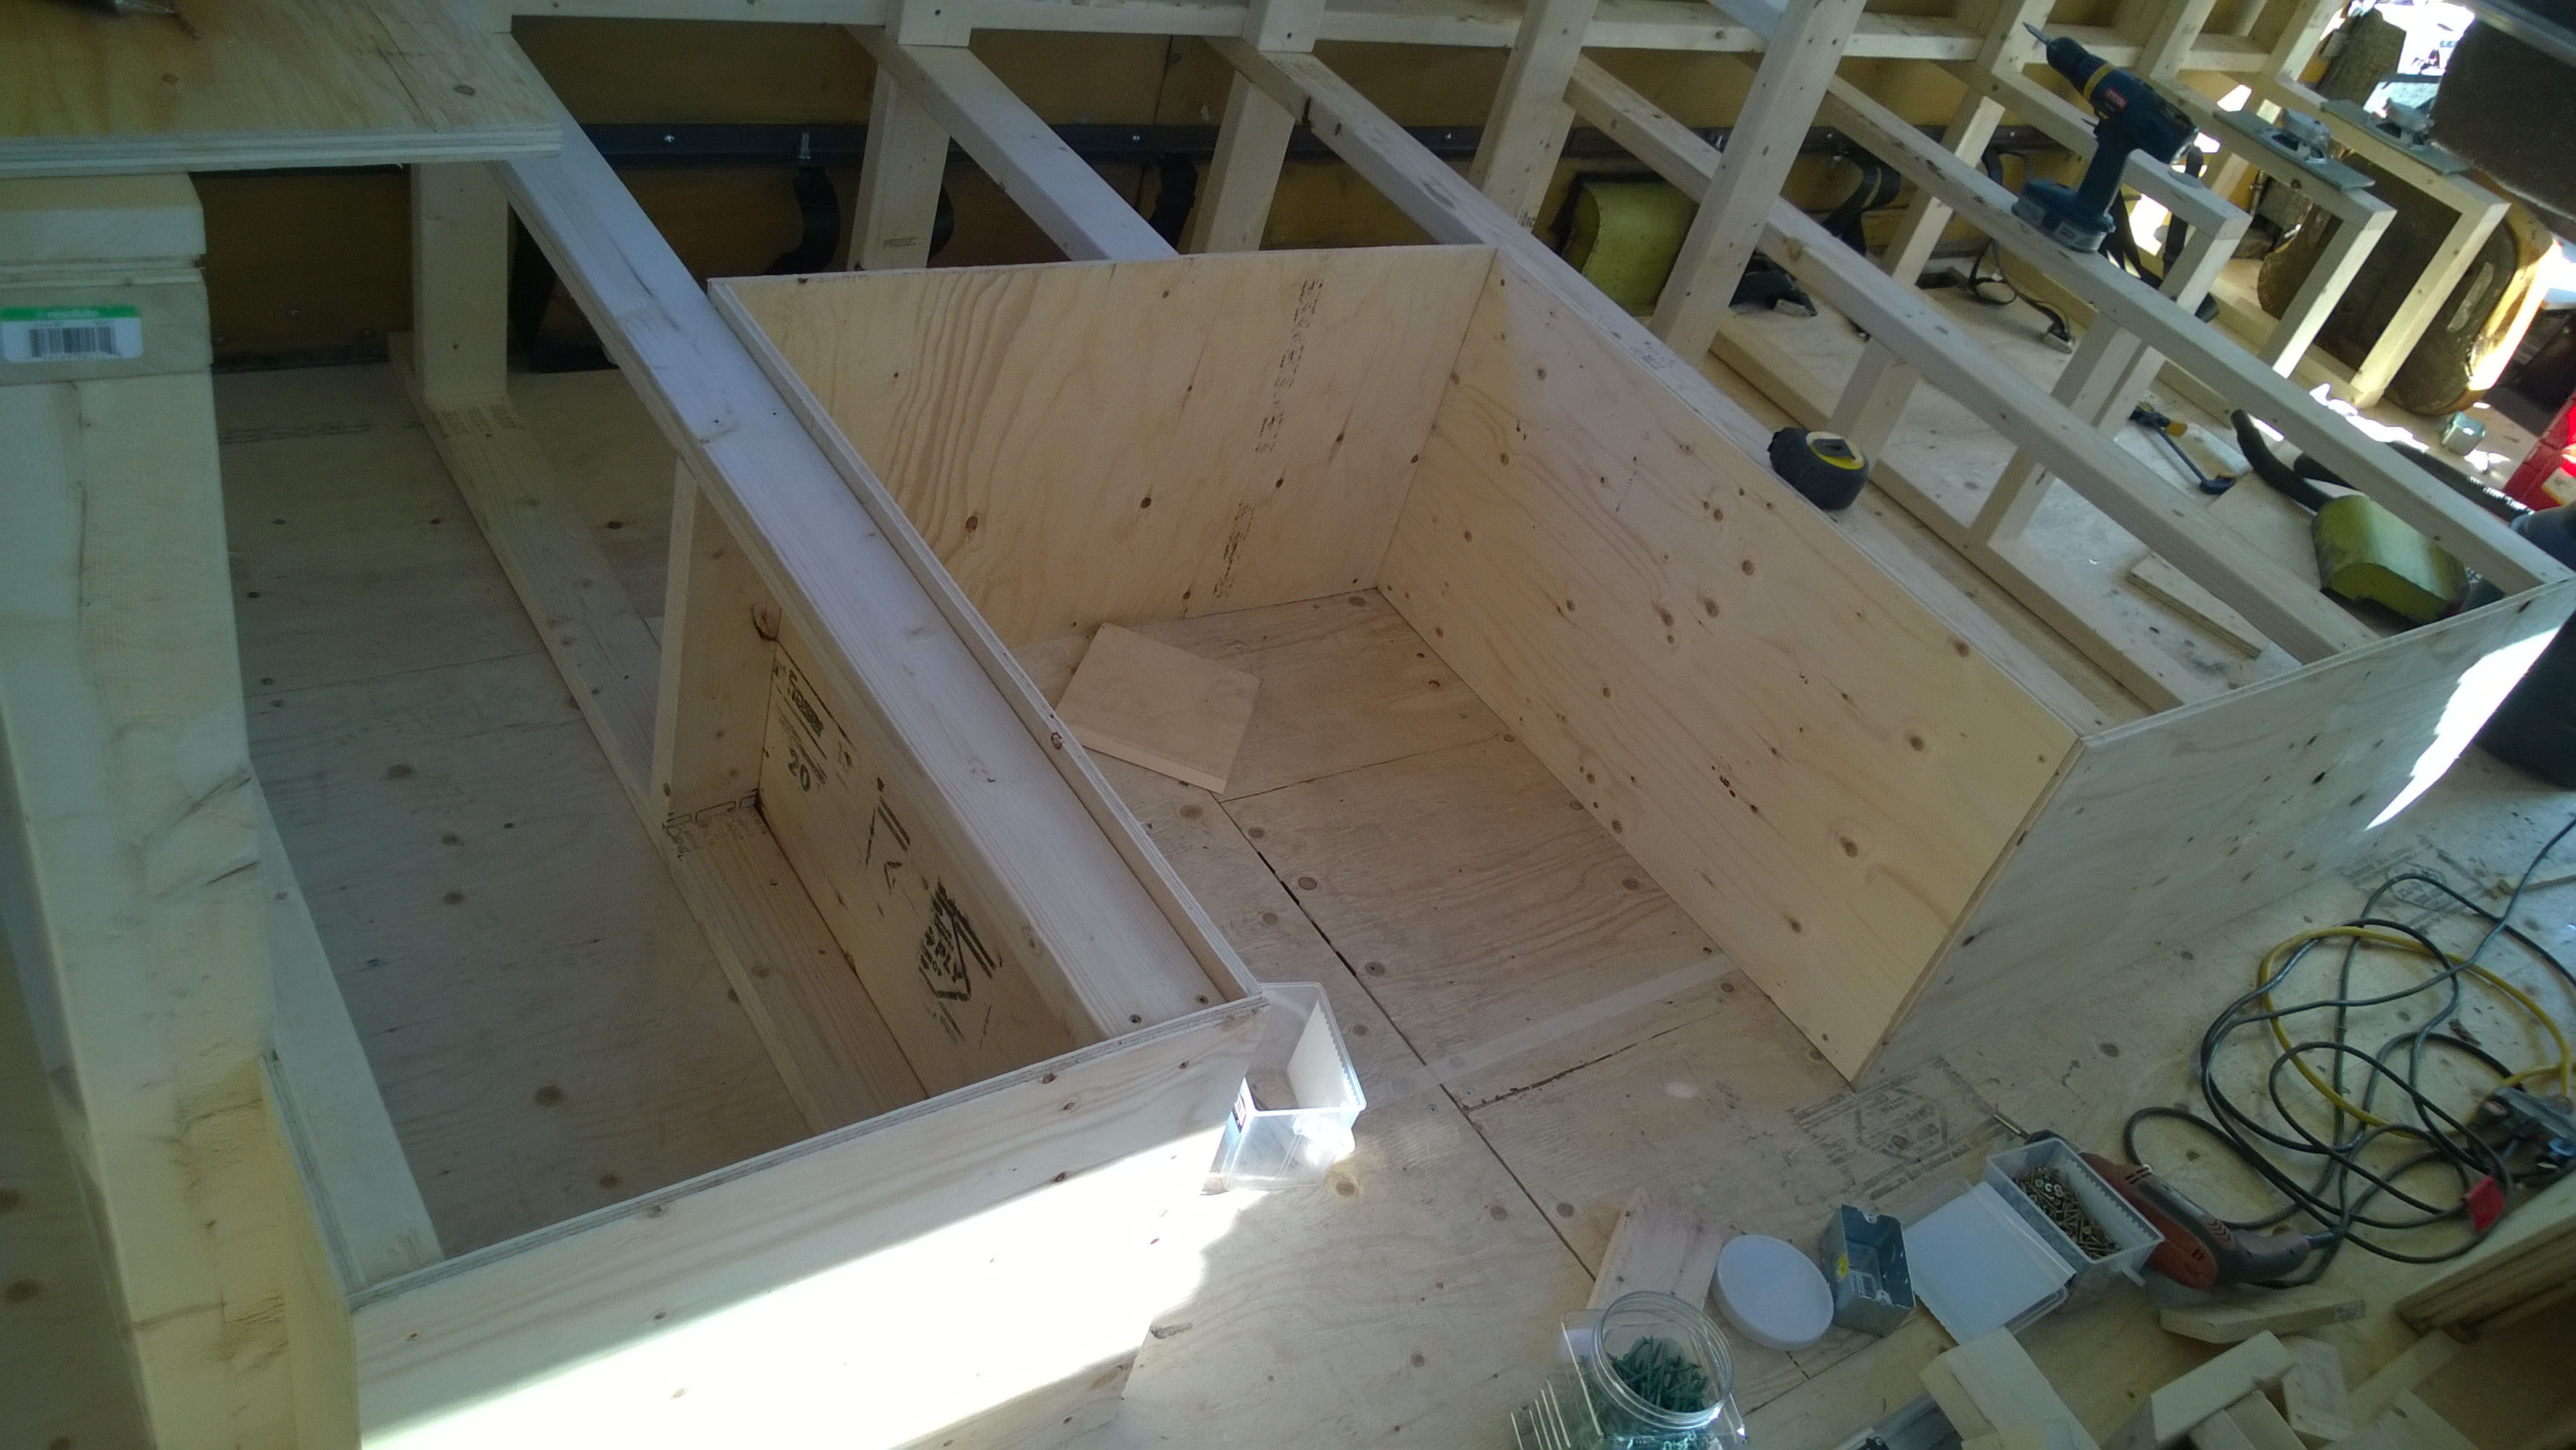
Over Easter weekend we framed out all of the front benches. There’s going to be a U-shaped booth directly in front of the kitchen and then an L bench along the side of the bus right up to the driver’s seat.
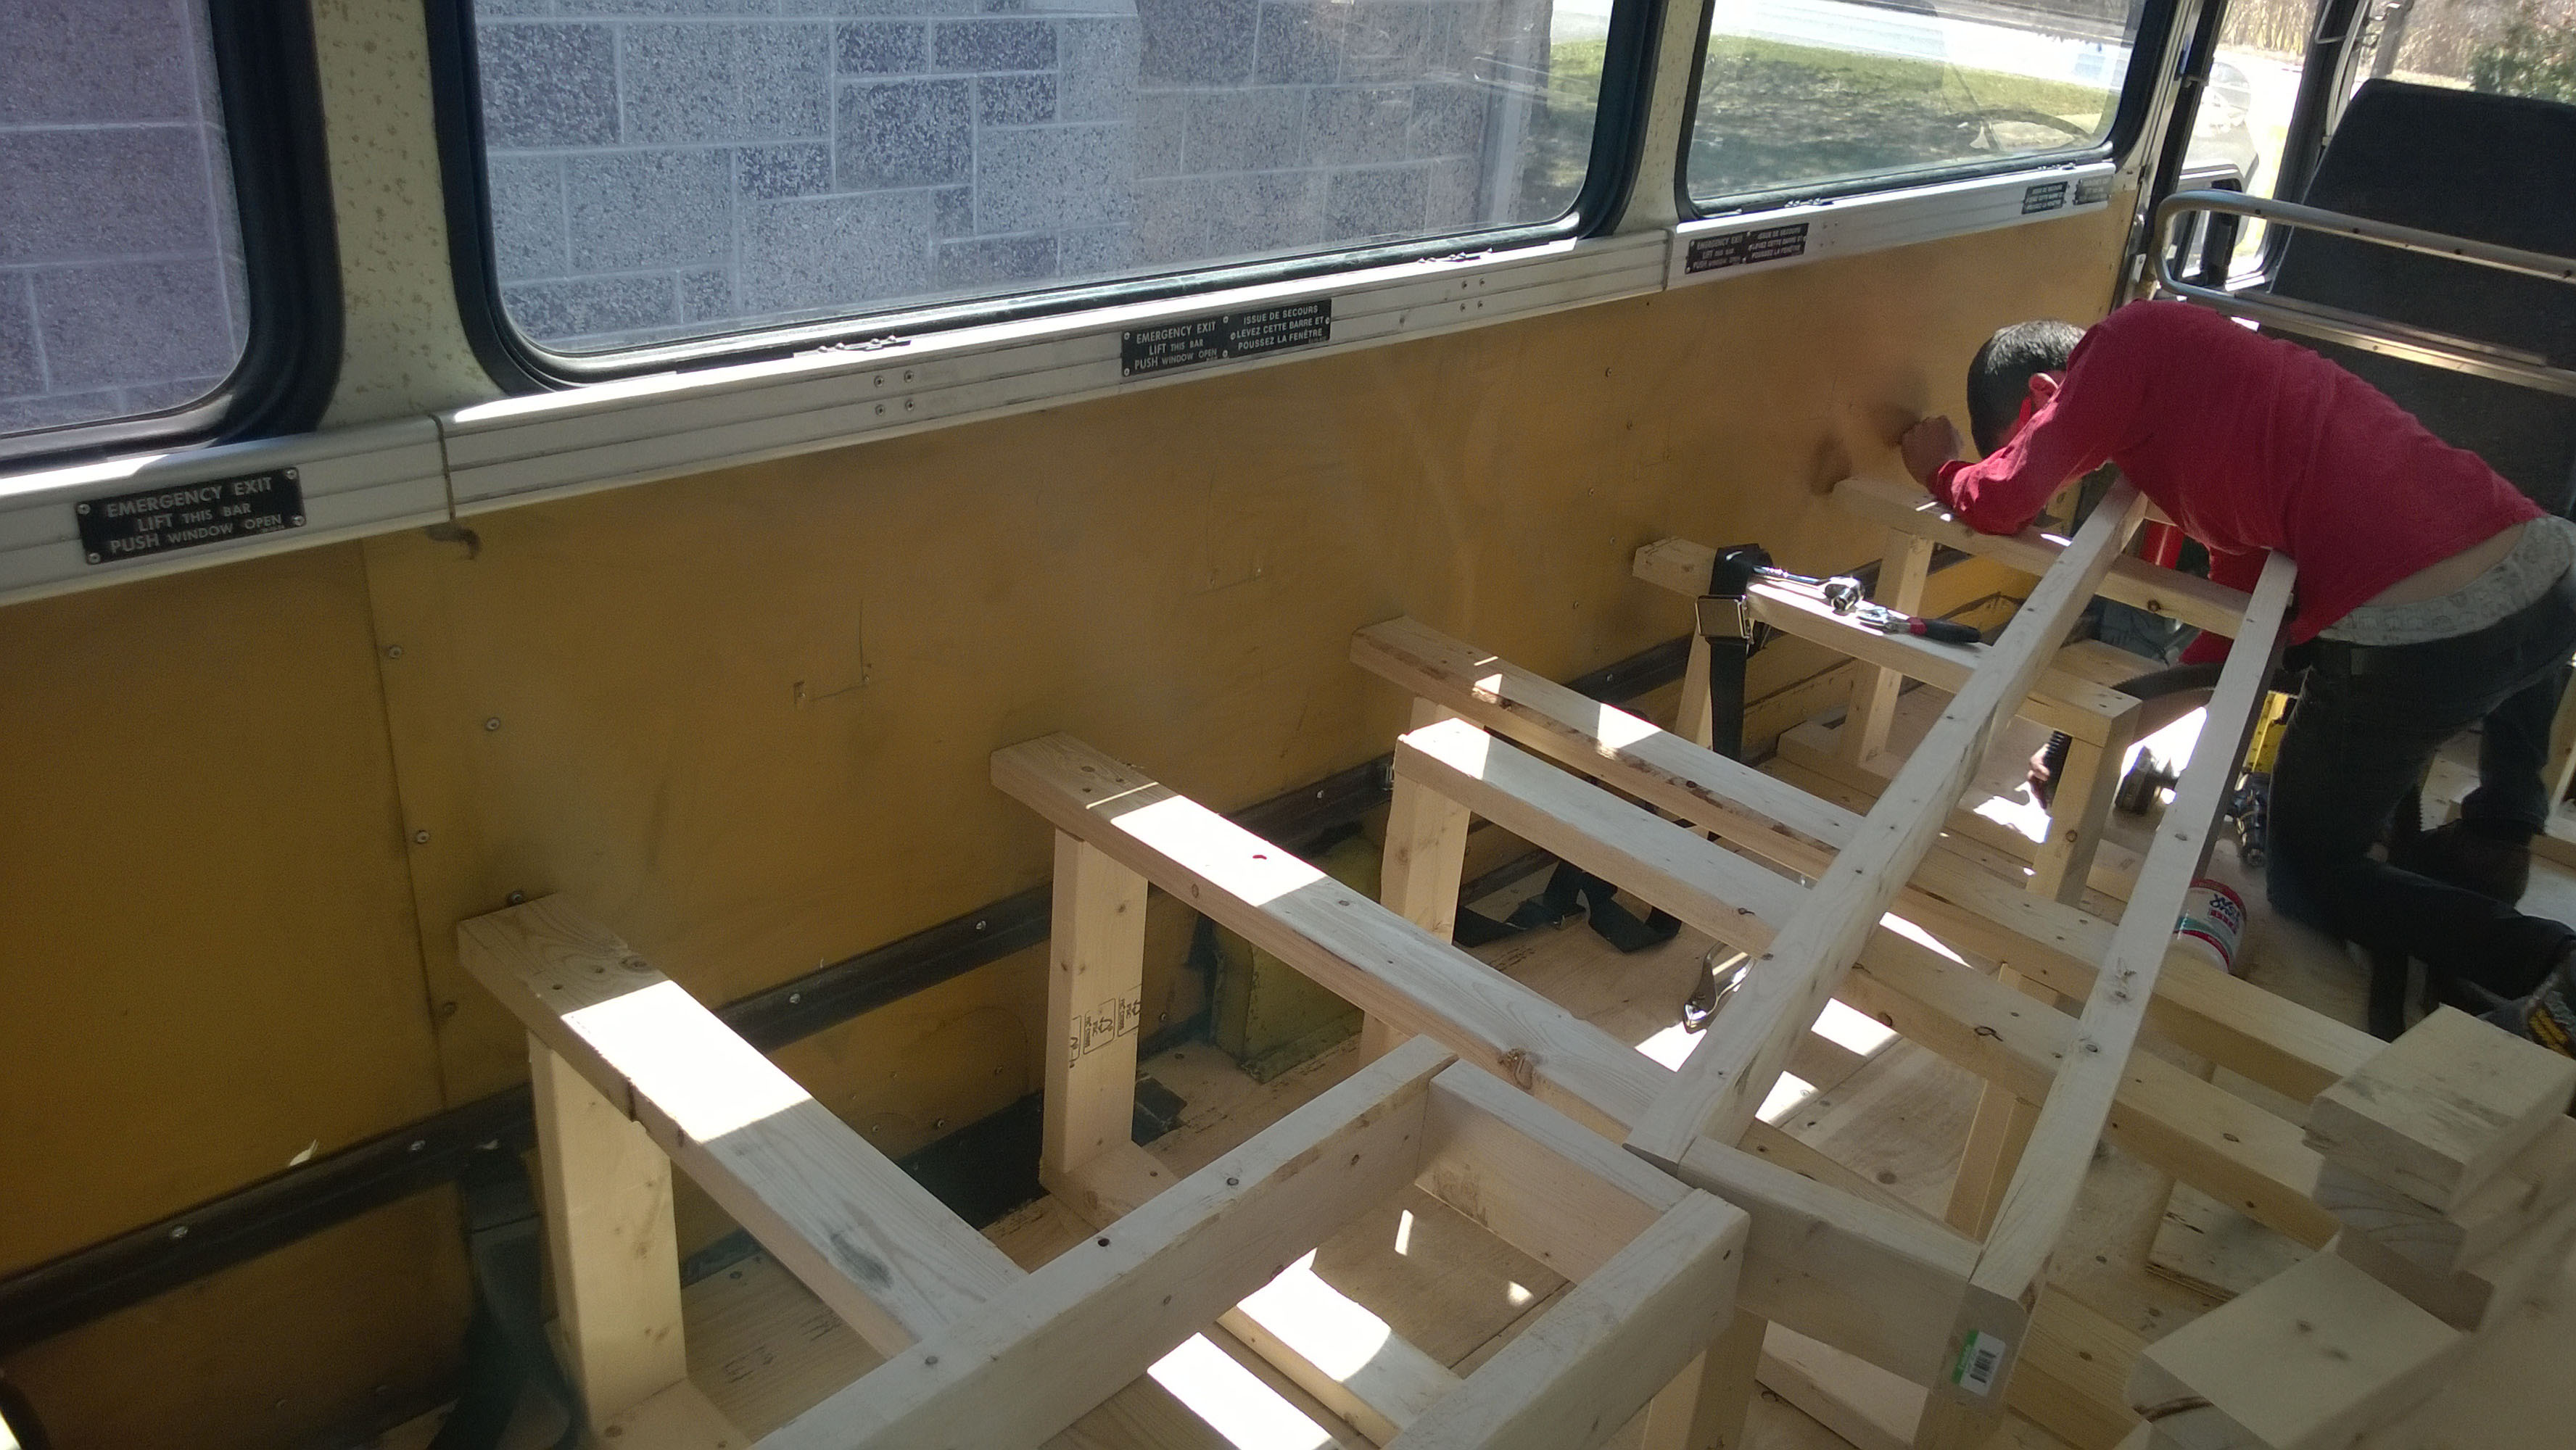
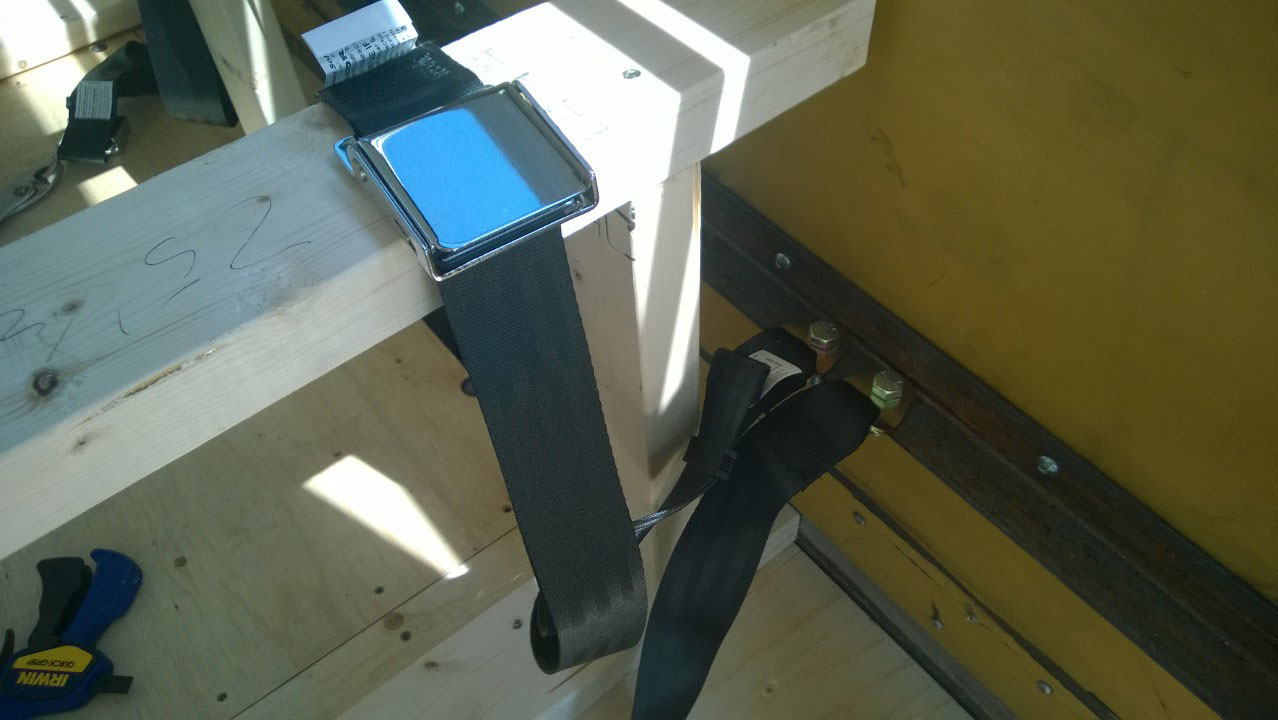
Before we could finish the bench frames and start covering them, I needed to install the seat belts. Drilling half inch holes in steel is not exactly an easy task but I got it done and the seat belts are in. I could then move on and frame the backs of the benches.
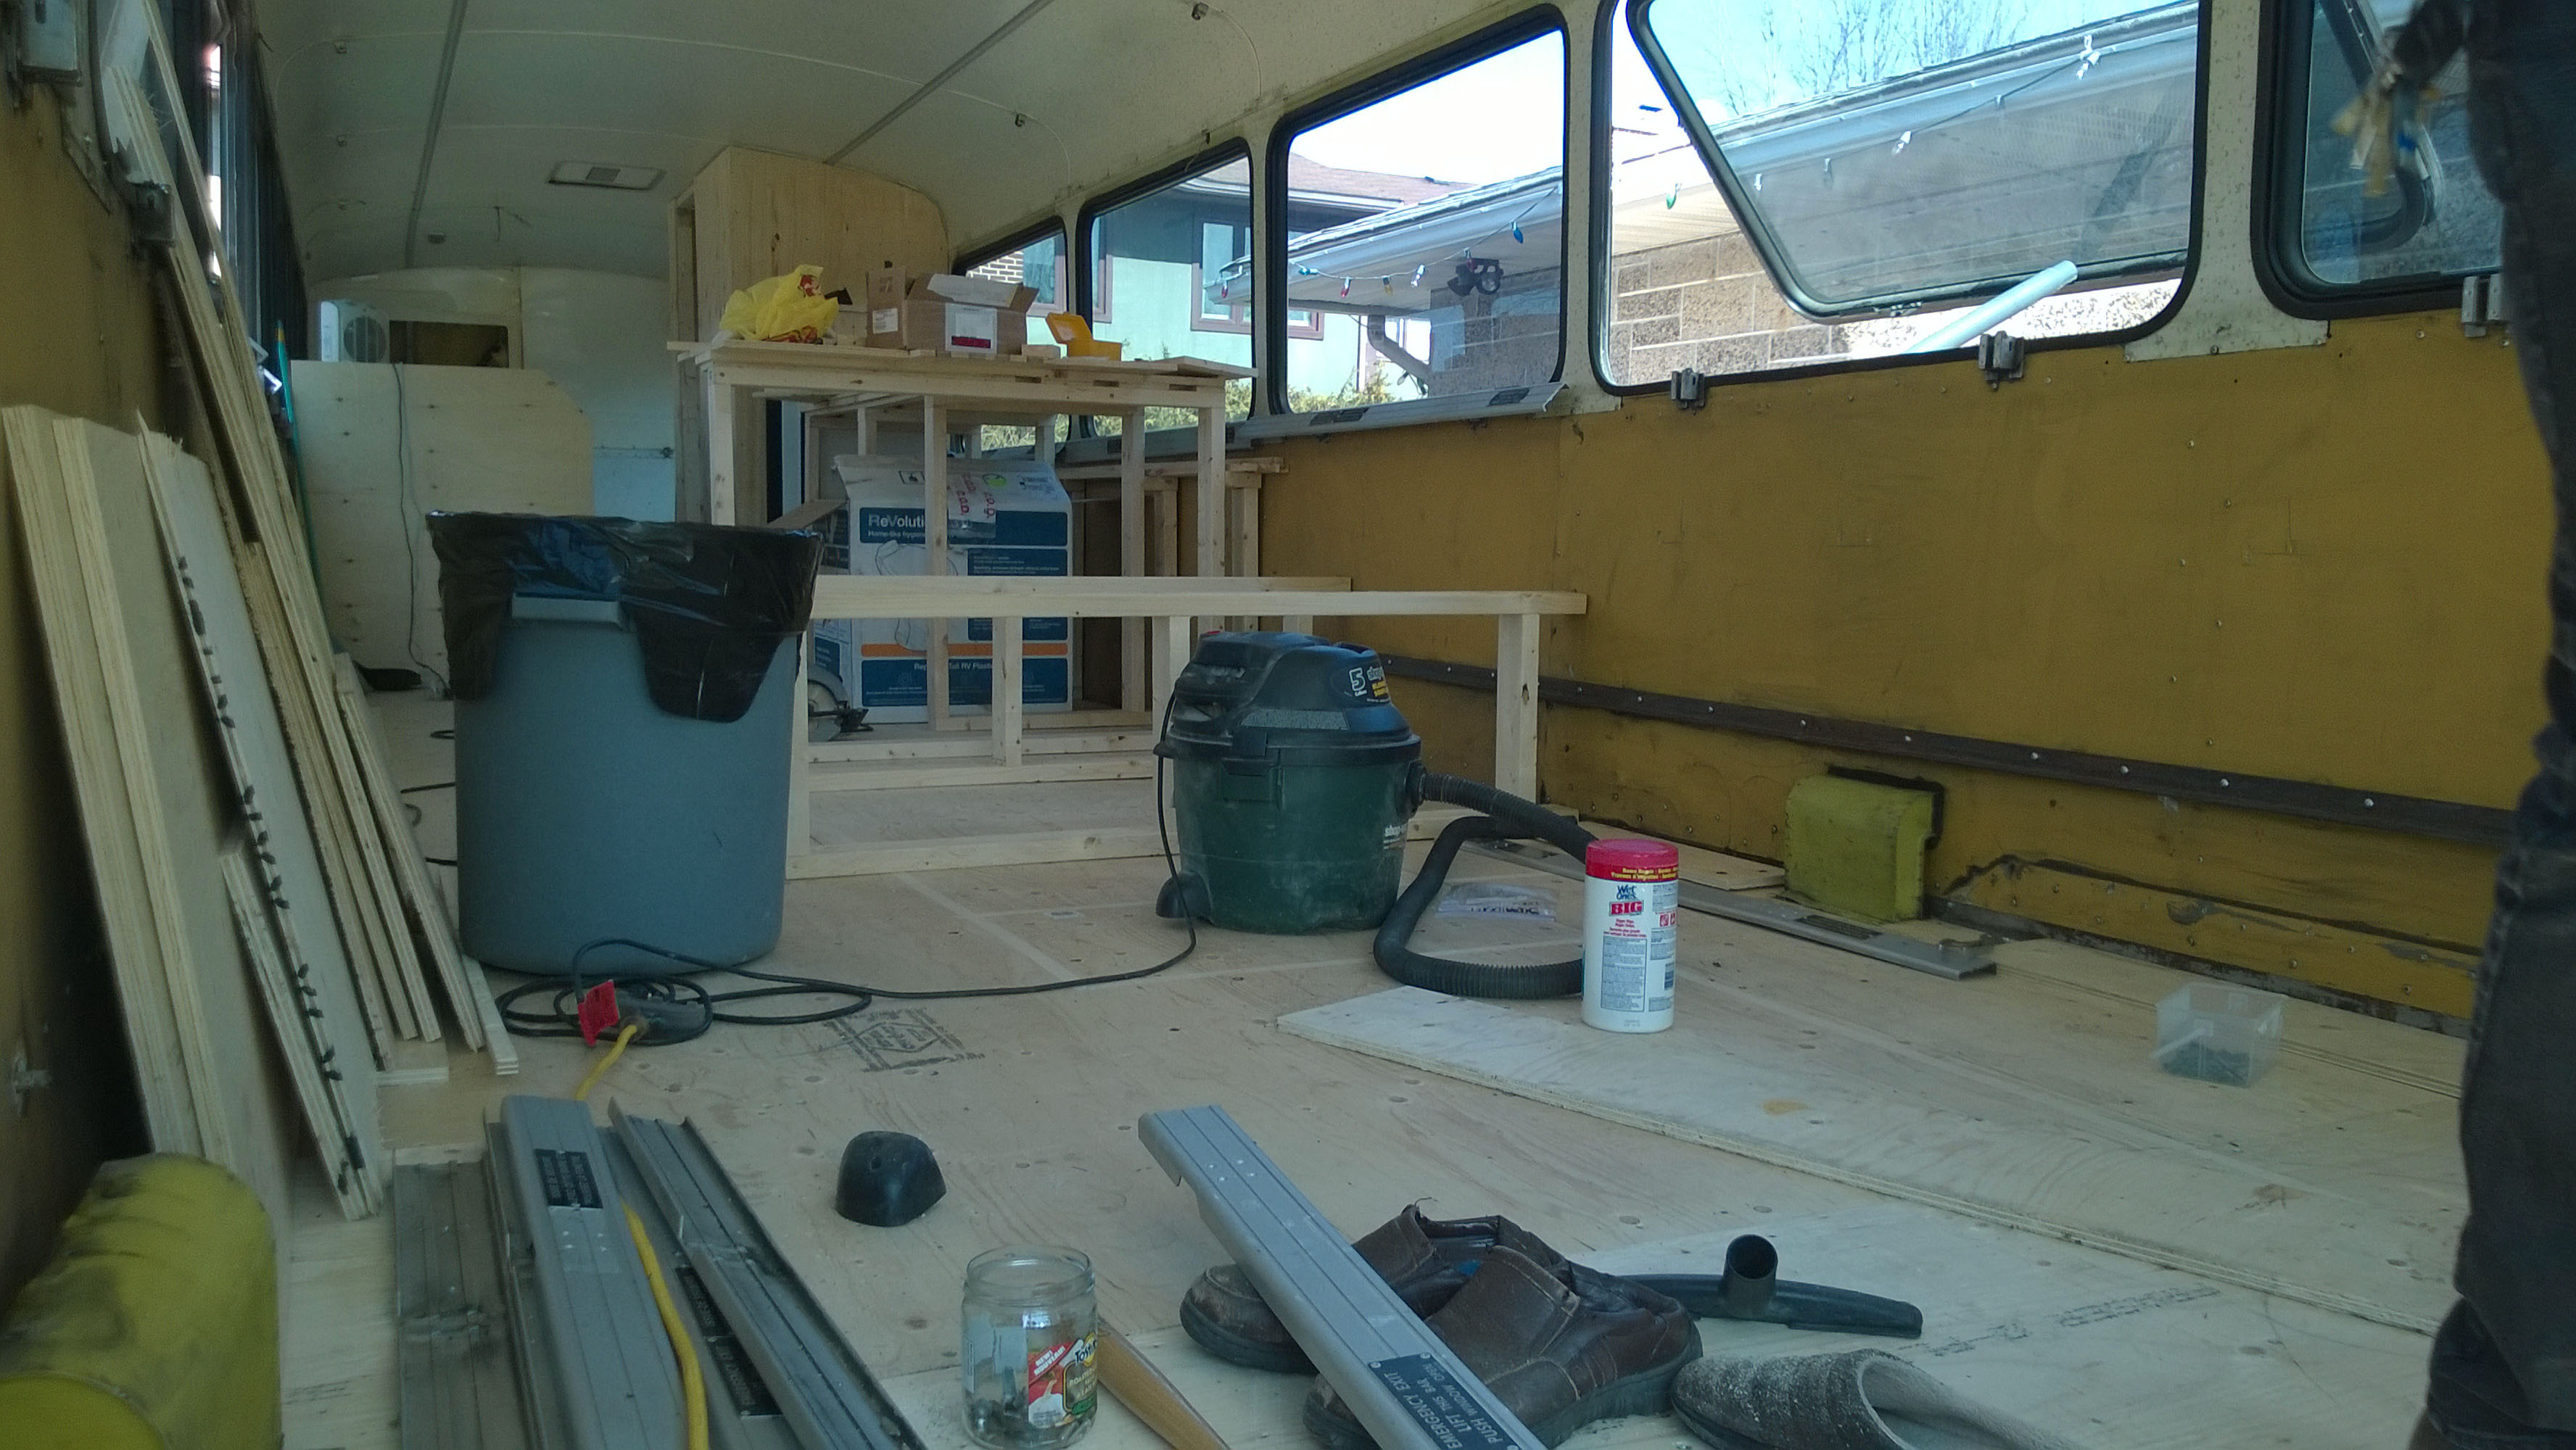
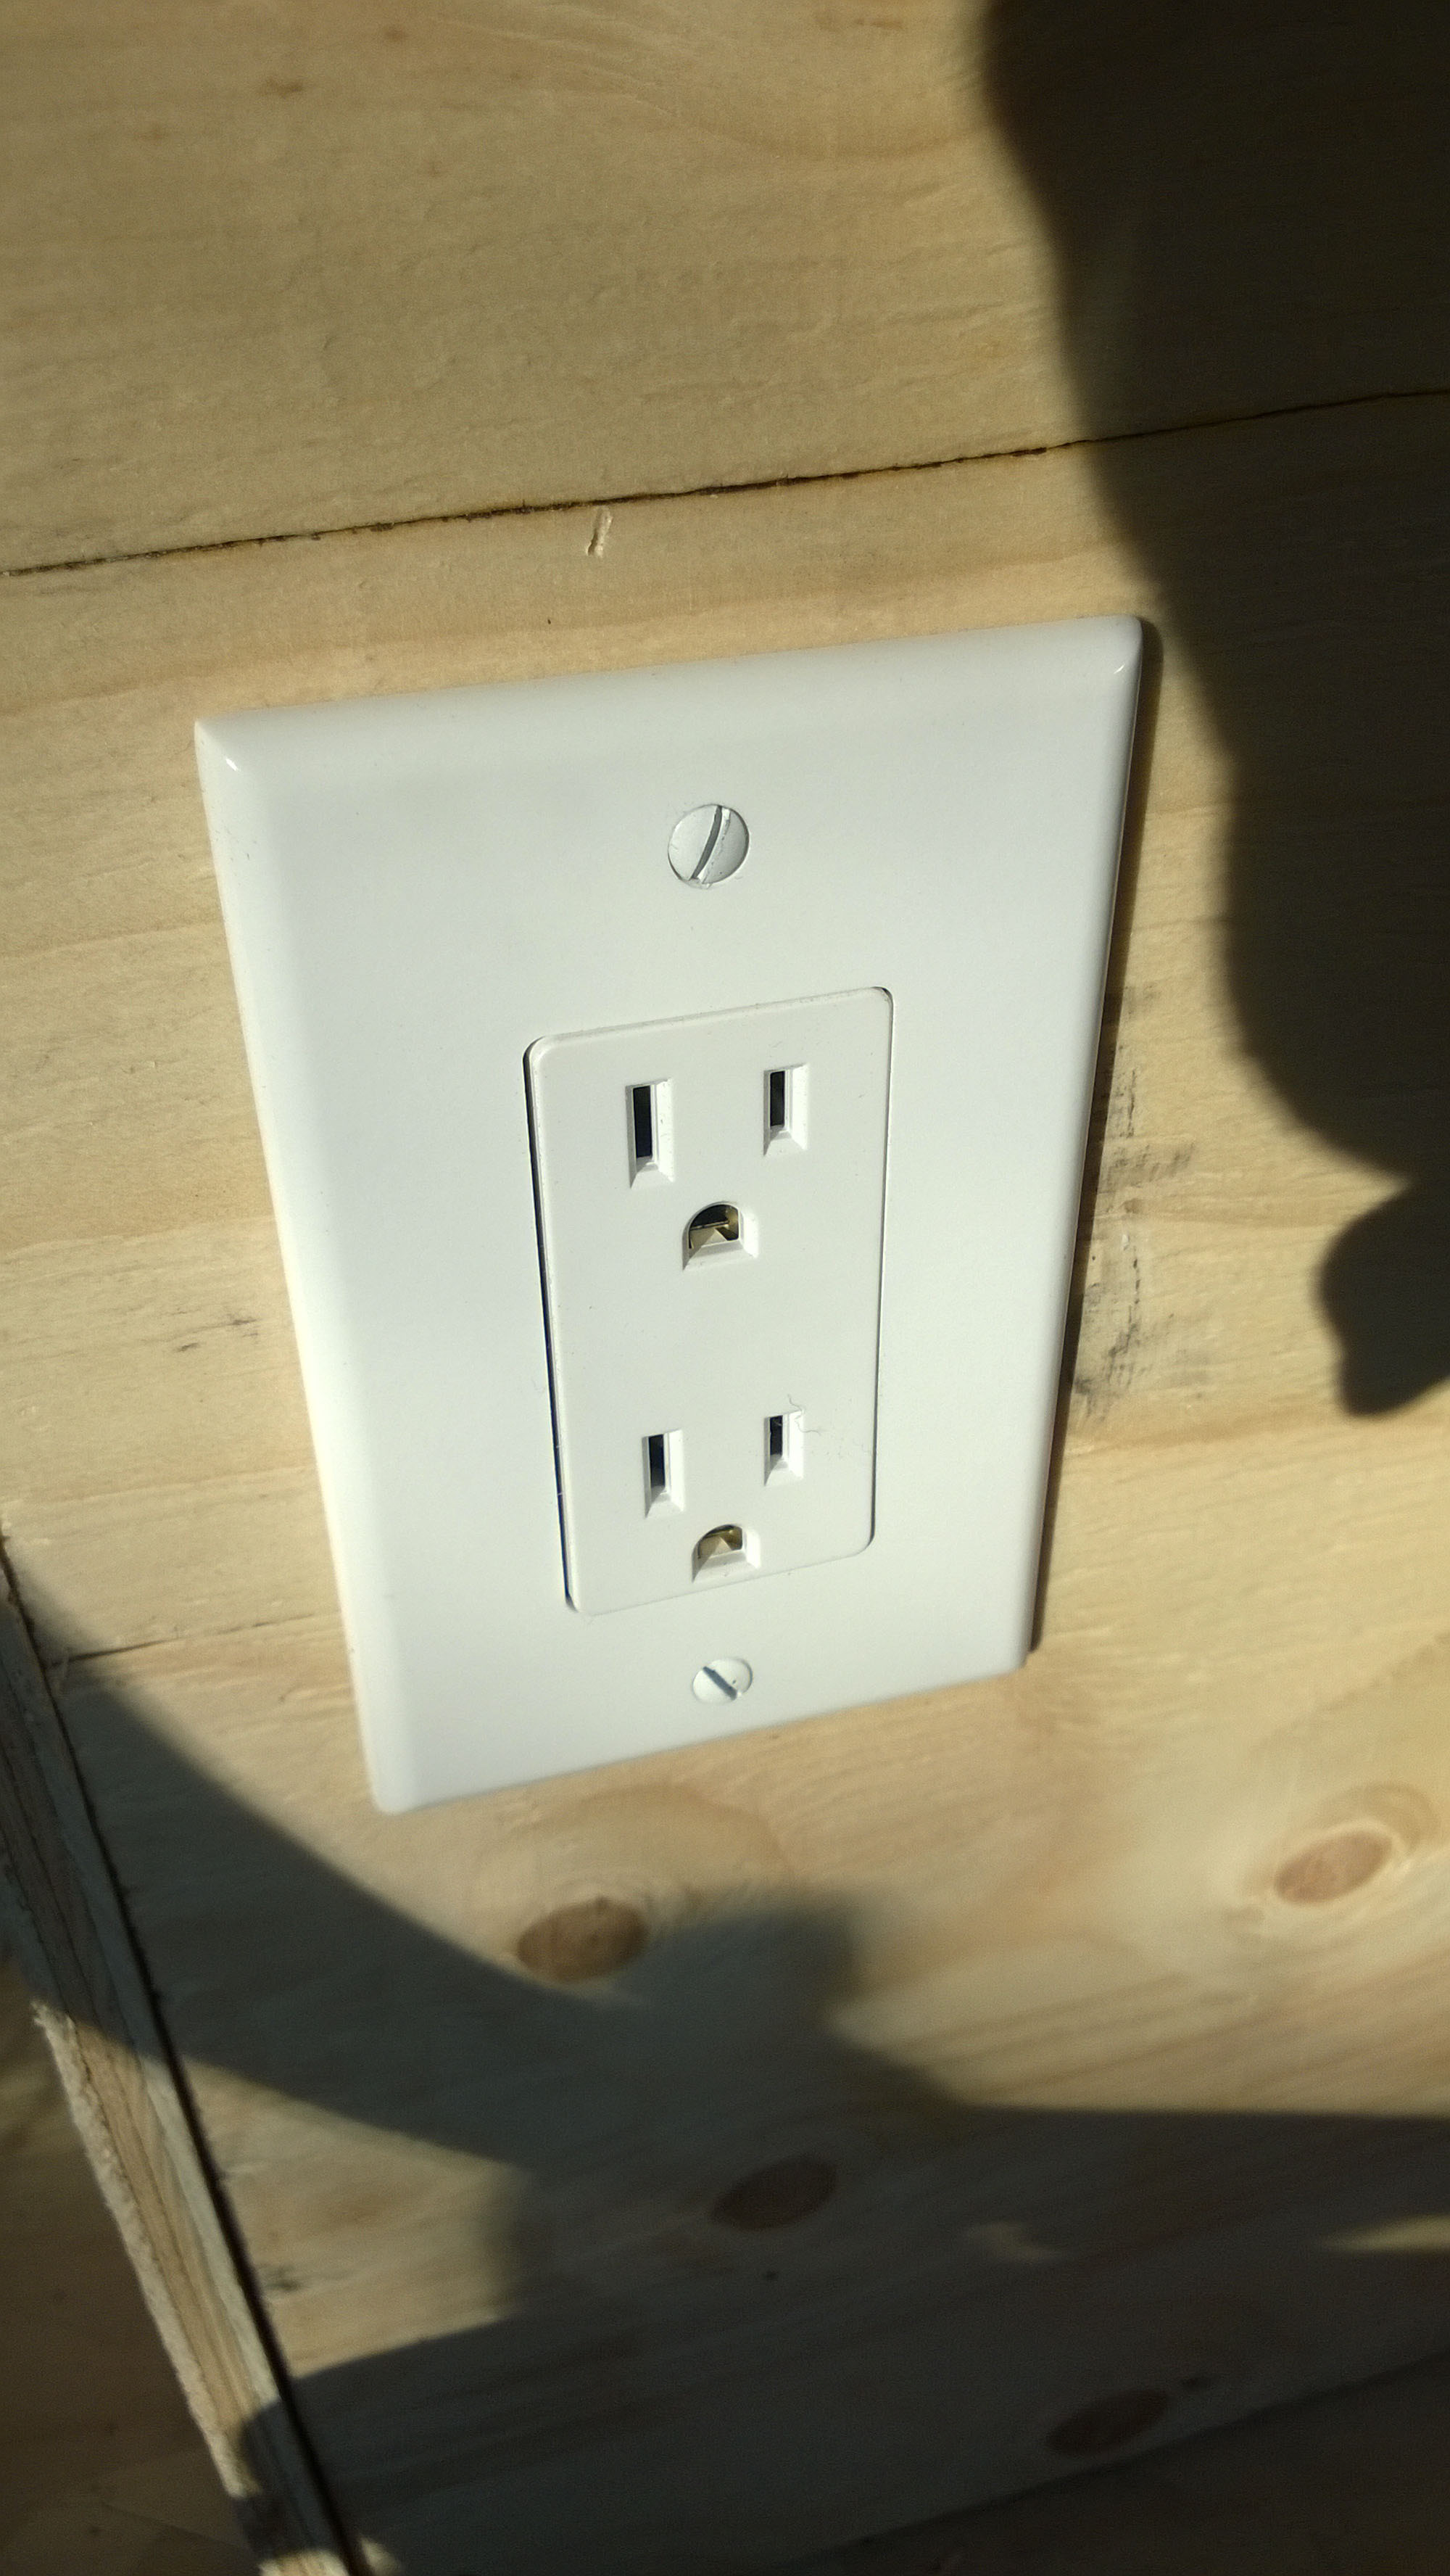
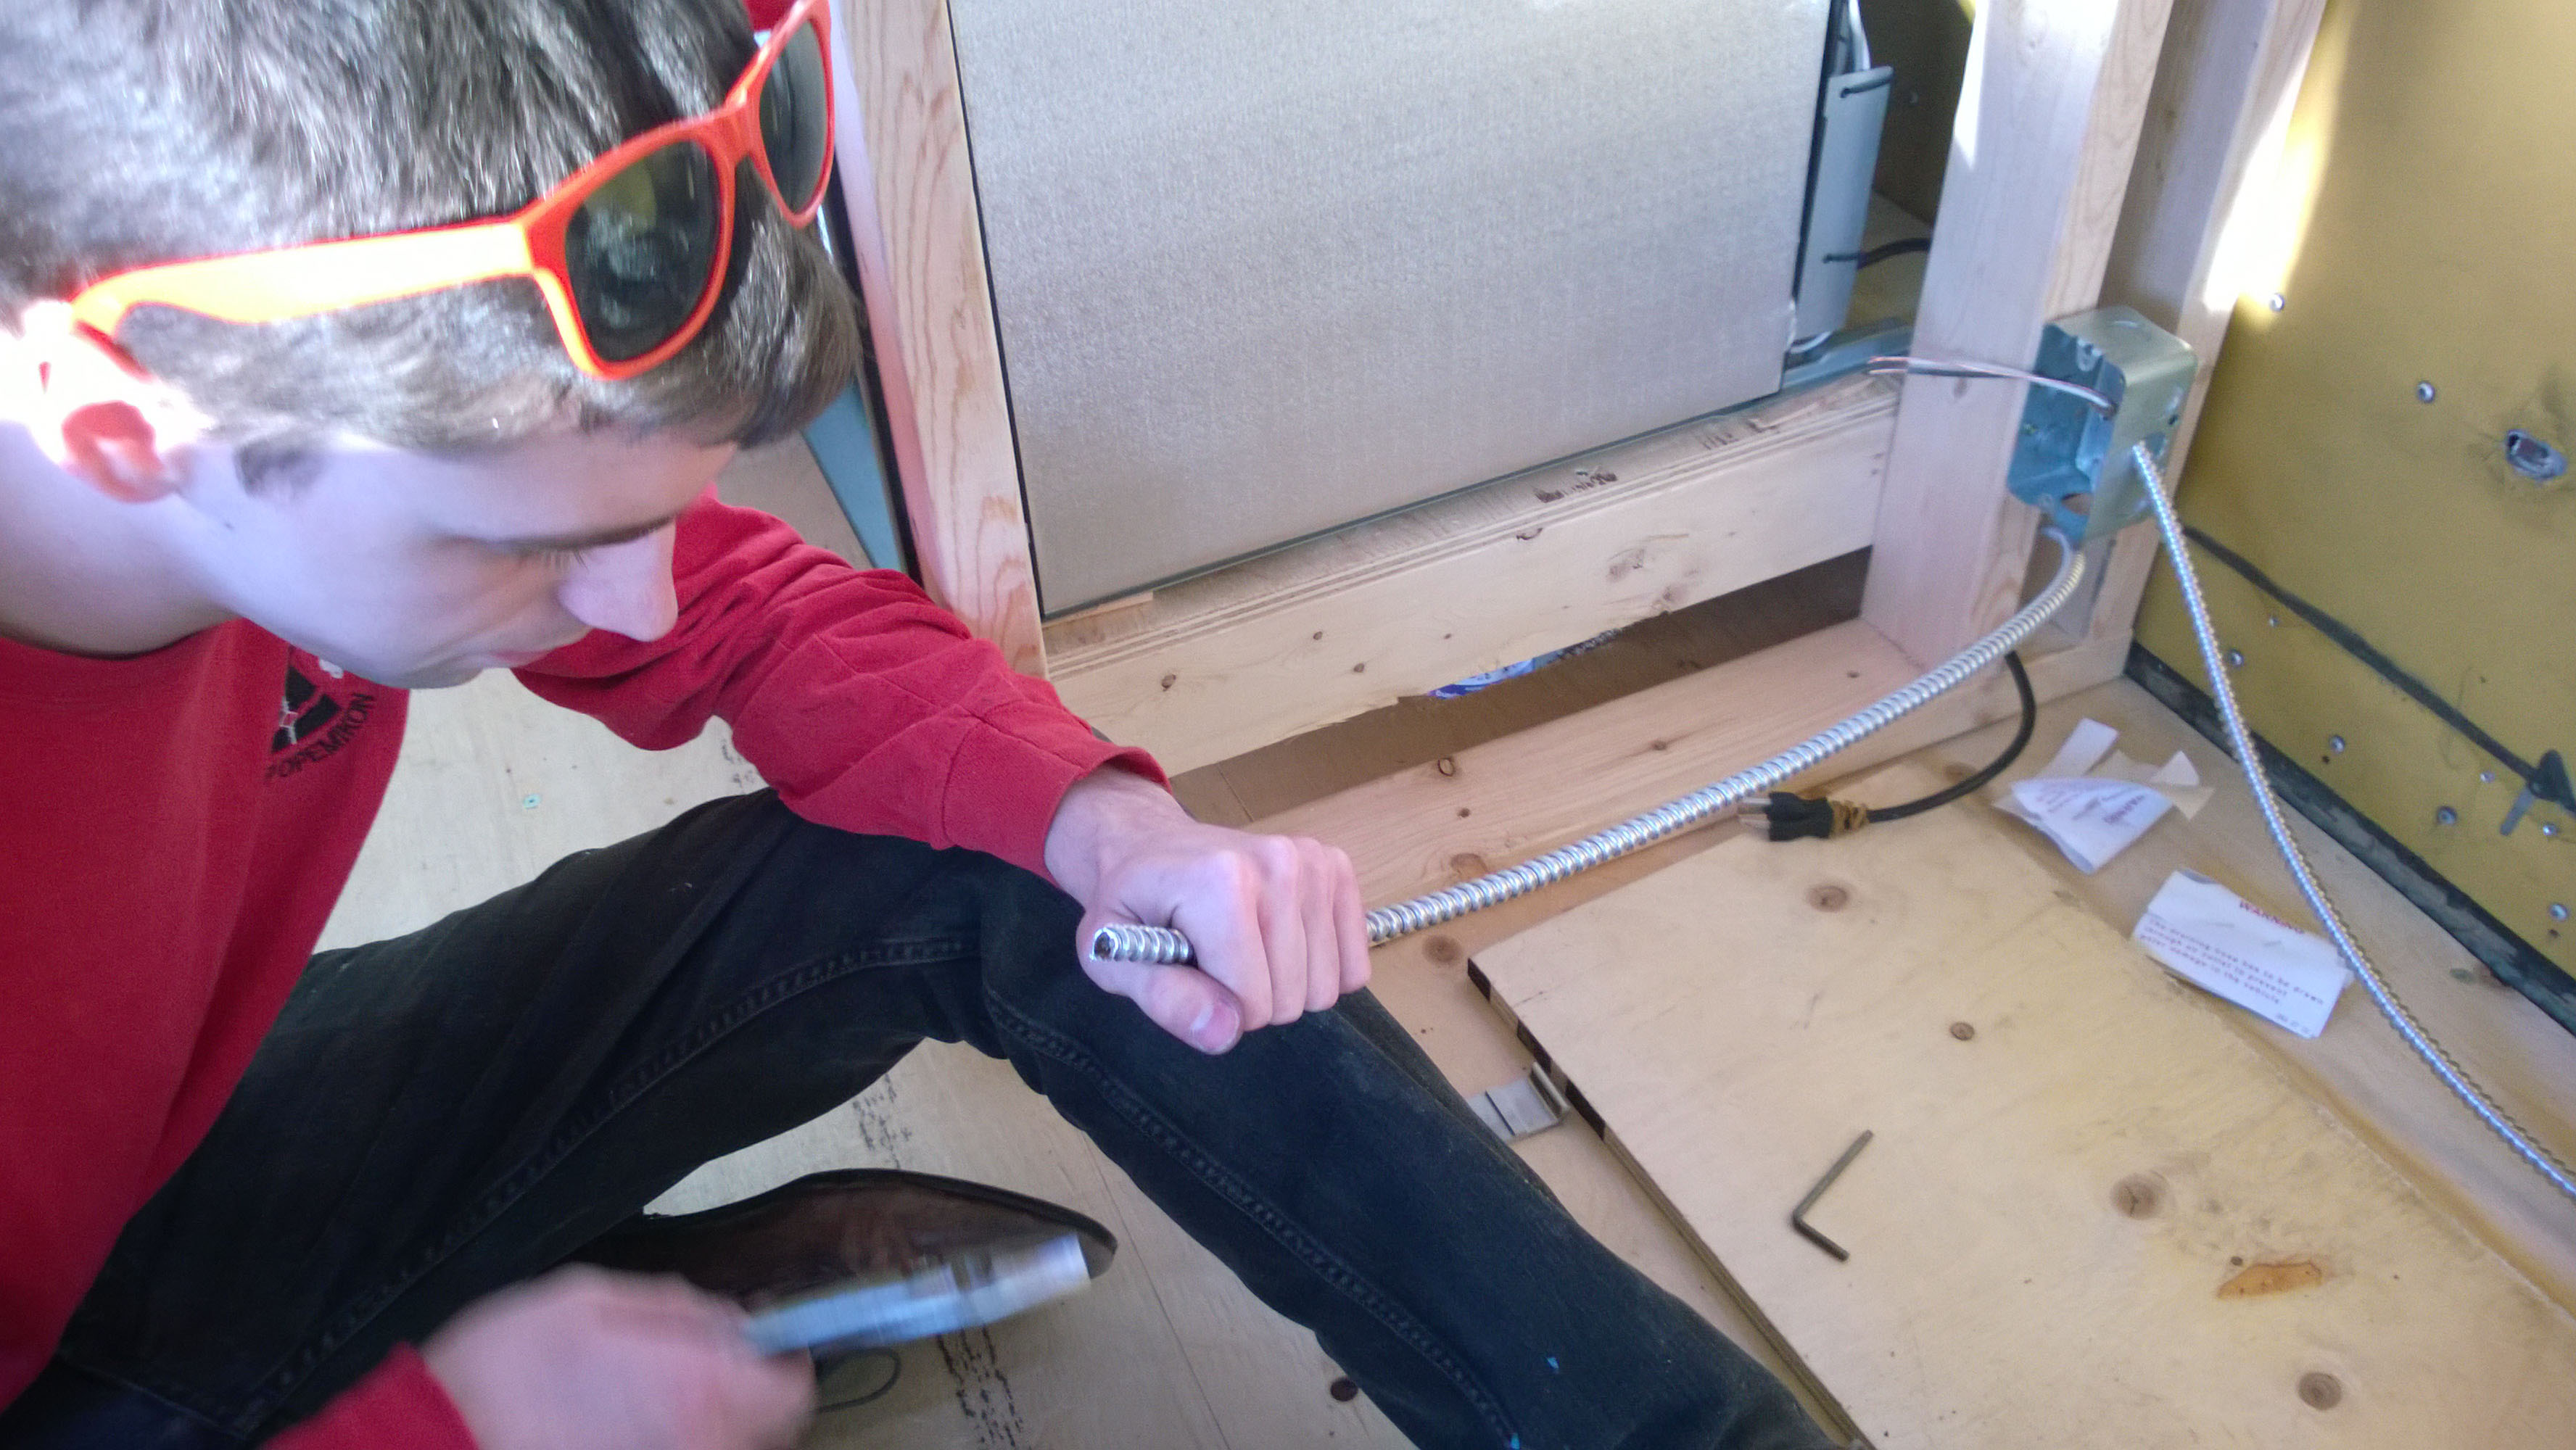
Before closing all of the space in, I needed to run some power for plugs and speaker wire. We put in all of the side panels along the floor and then I started installing plugs and speakers in them.
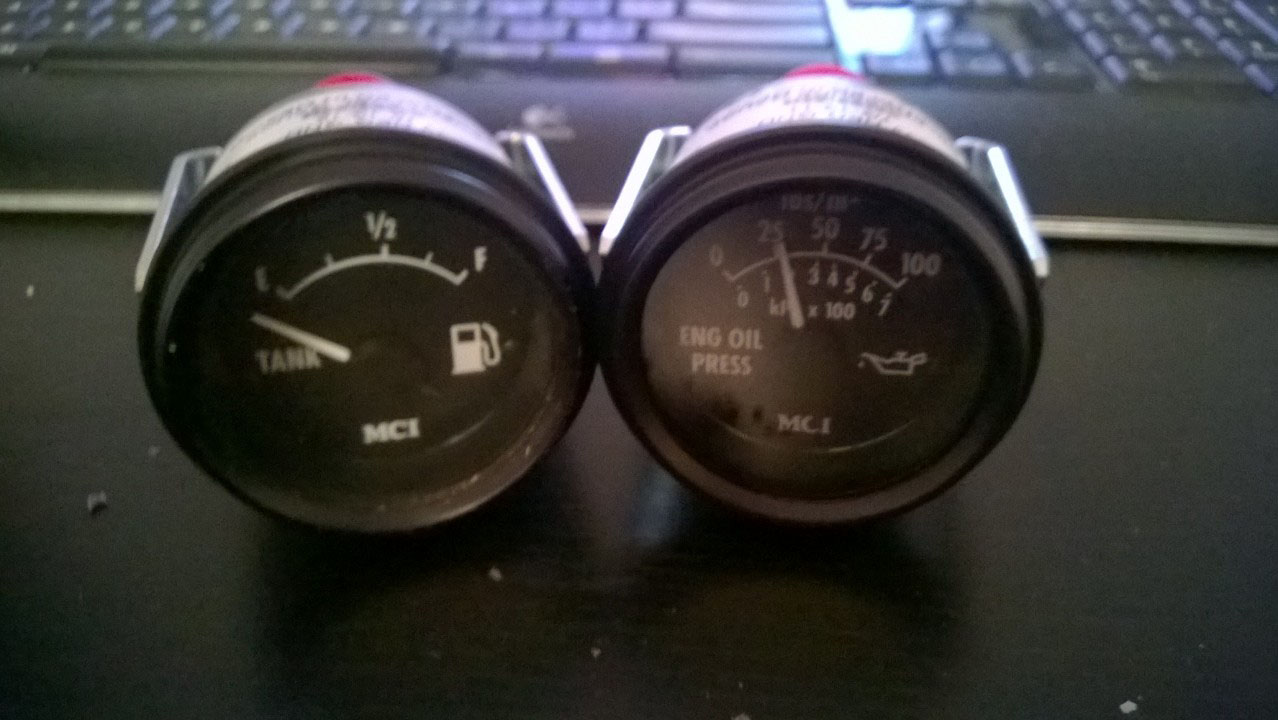
That’s it for now! I’ll be back at the bus on Saturday so hopefully I’ll have some more updates soon. Now that I’m done the semester and summer has started, I will be spending a lot more time getting things done on the bus. I also got some new gauges in the mail yesterday so that’s now on the list of things to do 🙂 Thanks for reading!

You are making great progress.
An RV toilet needs to be evacuated as close to straight down as possible. There is no big flush of water like a residential toilet so there is no force to push the waste sideways. The required force is gravity. You may have problems with your current set up.
My Sealand toilet has a 39 inch horizontal run, no problem 20 years later, you’ll be fine.Keep on building.
I have a 75 mci 5 b and you have to do a service brake application once running to get the brakes to fully release . I had the same problem , it would move but was really labouring .I also had the same problem too with our bathroom sink as you with your toilet, we built our walls between the windows only to find the sink drain would come out in the rear wheel well ! Anyway problem solved, ran the drain to the wall and shrouded it in the through the floor . Nice to see theres other people with the same interest ,great work man !
hey man where did you find those gauges? we just started our conversion. we have the same year and everything.