Okay!!
I apologize for the long silence, but that’s how you know things have been busy in(and out) of the bus. I’ve got a ton of stuff to go through, most of which have good images but some might not. I’m planning to do a walk through video once it’s done so hopefully that will capture anything I forgot to photograph.
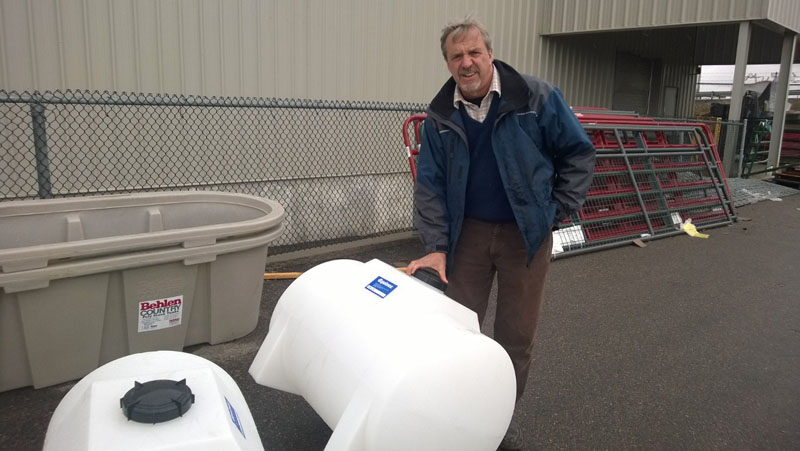
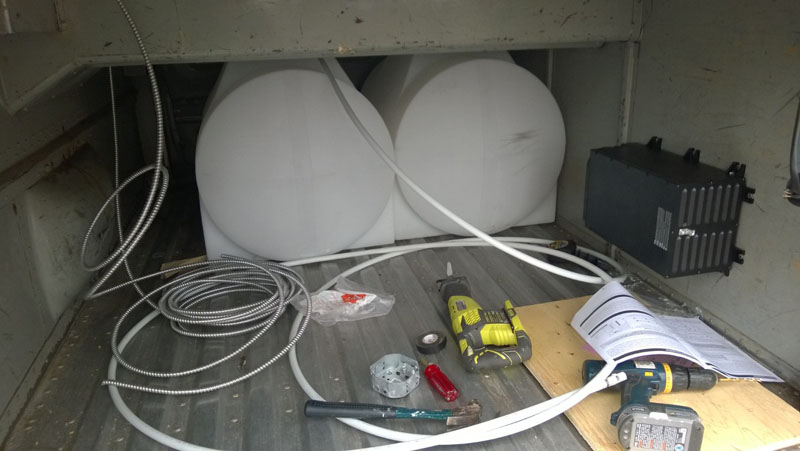
With that out of the way let’s tear into it 🙂 The first thing that happened after my last post is that we found some fresh and grey water tanks at good old TSC in Arnprior. We measured these out and decided they would fit perfectly into one of the luggage bays under the bus… and they did 🙂
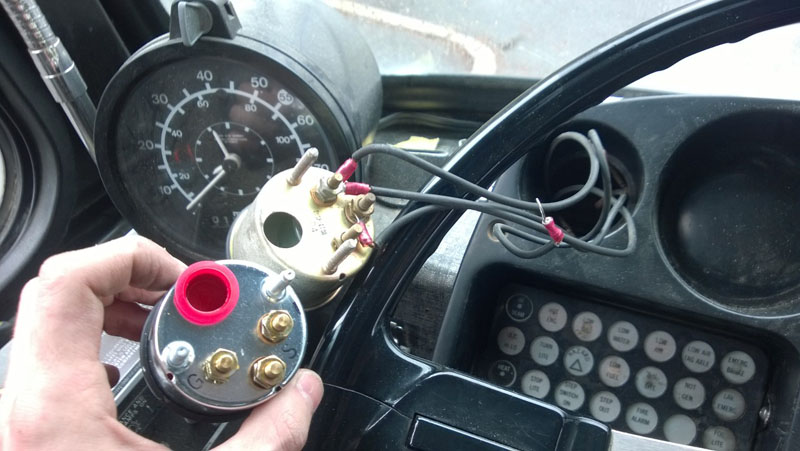
I also went ahead and installed the new gauges in the dash. I know now that the fuel gauge wasn’t actually broke, and I may have to take a look at the float arm in the tank later on, but the oil pressure seems to actually be reading accurate now (before it was always off the top of the gauge). Turns out the two gauges I replaced we’re also the only two which didn’t match the color of the rest of the gauges (which we’re all just white) so now the dash looks a little cleaner.
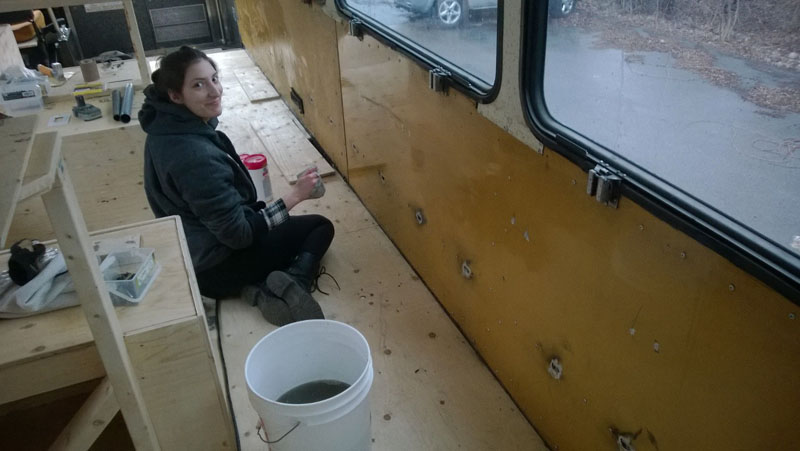
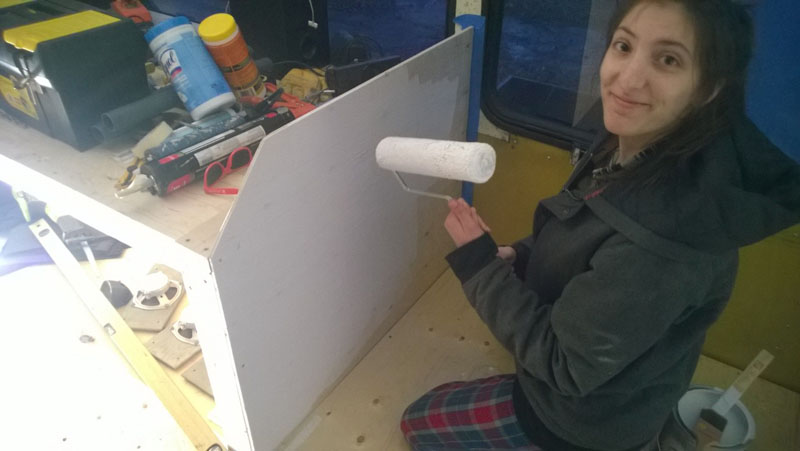
The next big step was doing the interior painting. There’s a couple good shots here of Zara prepping and then priming:
We didn’t finisht the primer until late at night so here’s my mediocre shot of that:
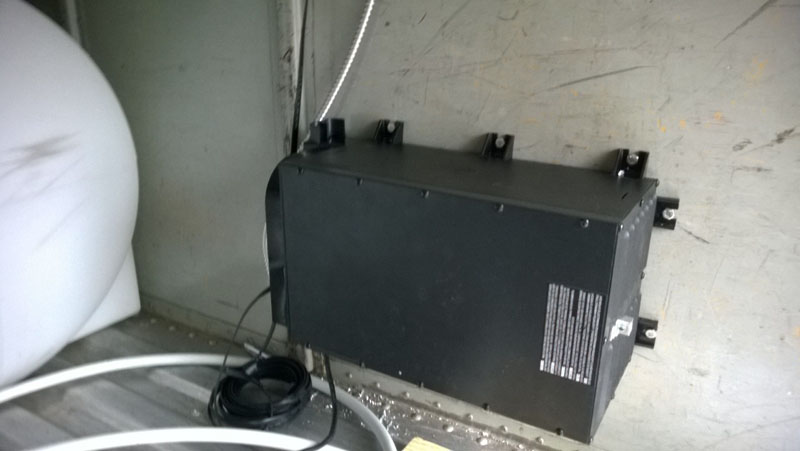
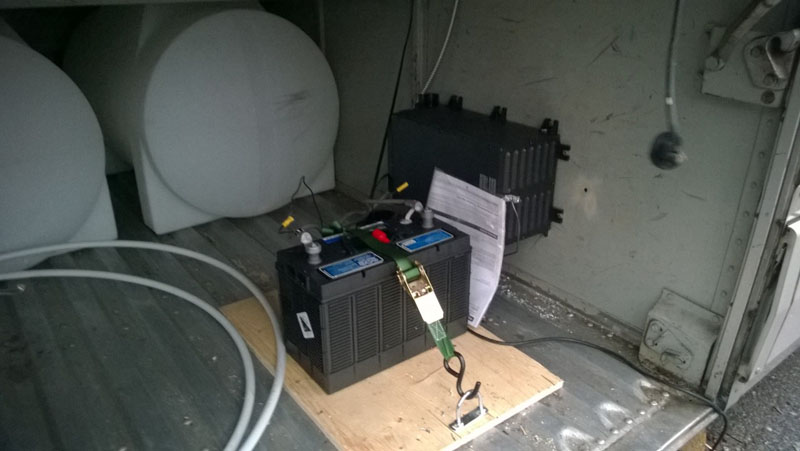
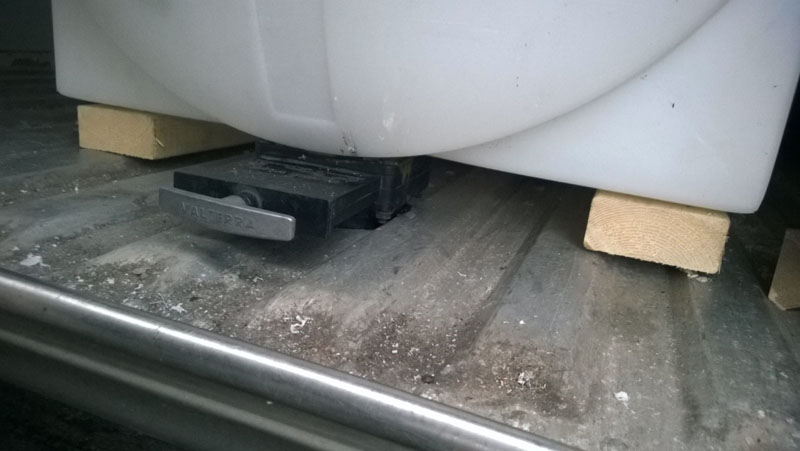
With the primer done I moved onto the power situation. I decided o put the inverter and battery in on the other side of the luggage bay with the water tanks. This keeps it all in one place and leaves the other two open for storage (and a couple propane tanks). You may be worried about the whole electricity plus water thing but don’t worry, I was too. I bolted the inverter to a side wall and raised the battery up on a piece of plywood (which helps support the strap as well). For those interested I ended up with a 1500 watt inverter and a 115 amp-hour deep cycle battery to run it.
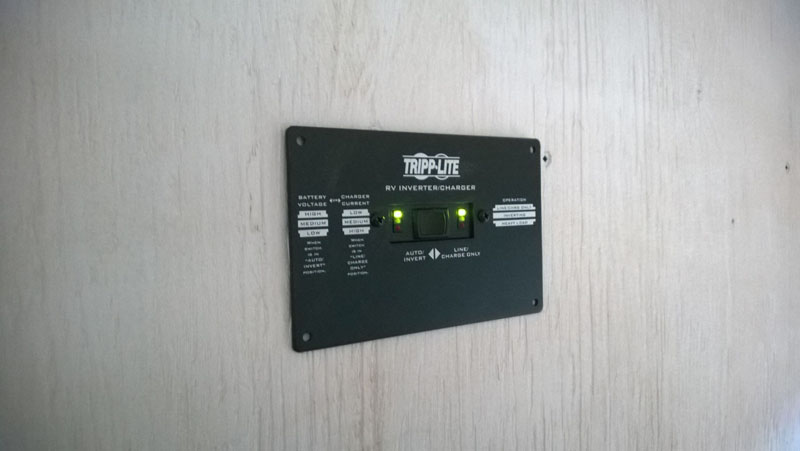
I also splurged on the remote control panel for the inverter so everything can be run and monitored from inside the bus:
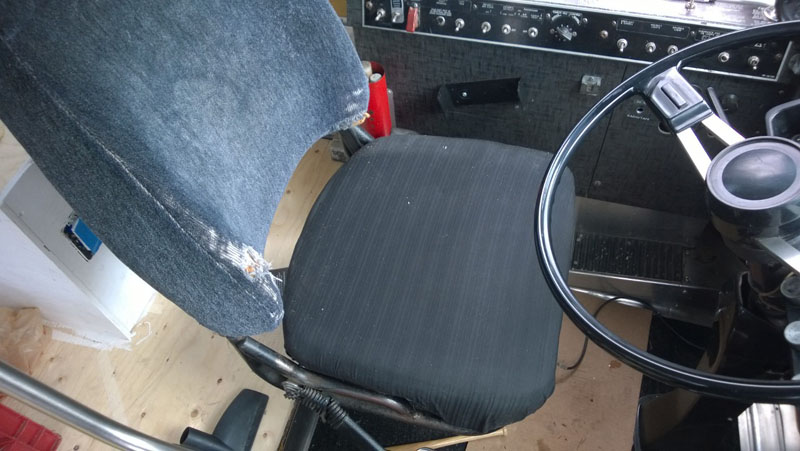
When we went to put the drivers seat back into the bus, we thought it would be smart to wash the seat covers and remove the 30 years or dirt and dust from them. This worked well for the back part but the washer tore the bottom cover to shreds (it was about to fall apart to begin with). So I recovered the seat with a piece of fabric that we bought for the seat cushions. So this is also a little preview of what the benches will look like when I get the foam, which has been ordered but still hasn’t come.
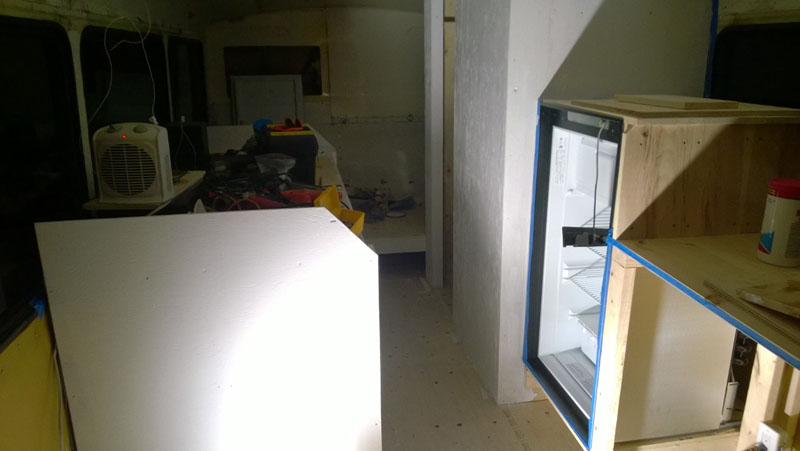
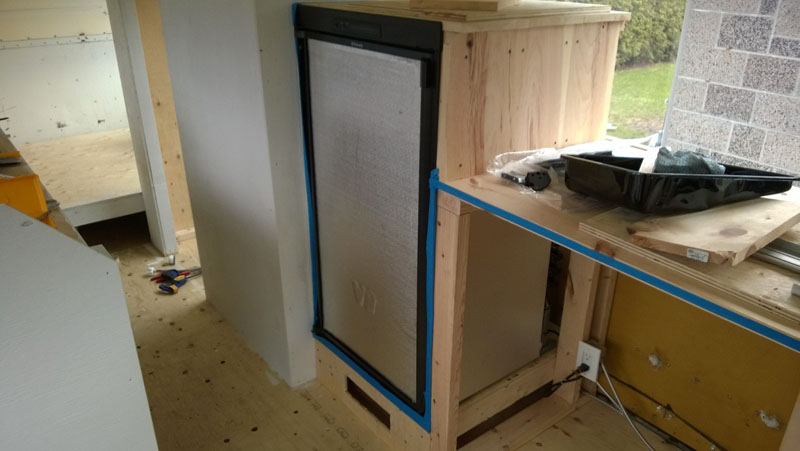
I searched around for a ‘door reversing kit’ for the fridge that I bought. Unfortunately, the only place I could find it who would ship to Canada insisted on shipping it UPS for $23… so I paid $26 for the kit ( yeah, do that math 🙁 ). Nonetheless, I got it and put it on, now the fridge is ready to go as well. They sell the decorative coverings for them separately so I’m foregoing that $50 expenditure for the time being.
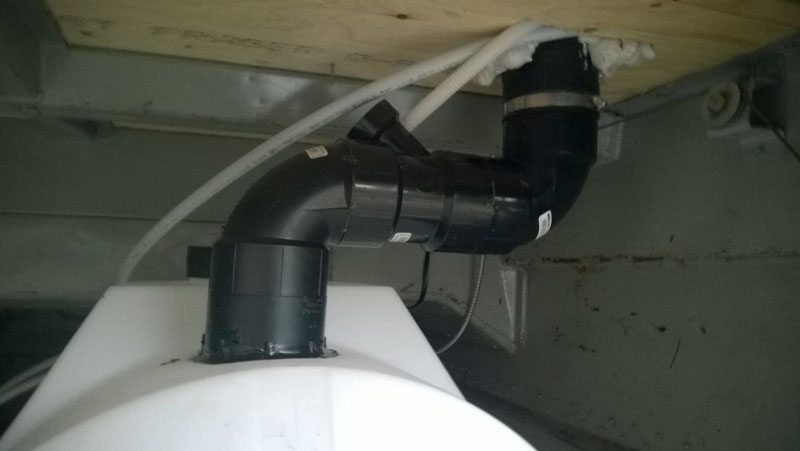
Next challenge was to sort out some of the plumbing. This is how I ended up having to do the main drain for the toilet, and you can see there’s a ‘y’ joint there ready for the sink as well.
I reused the drain valve from the old bus washroom because it looked perfectly new still. I had to squeeze things pretty tight but I got it in perfectly so that it drains right down through the luggage bay door.
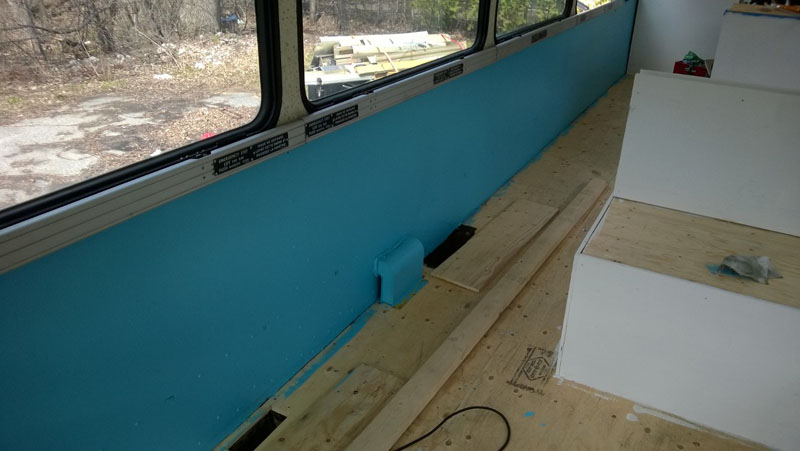
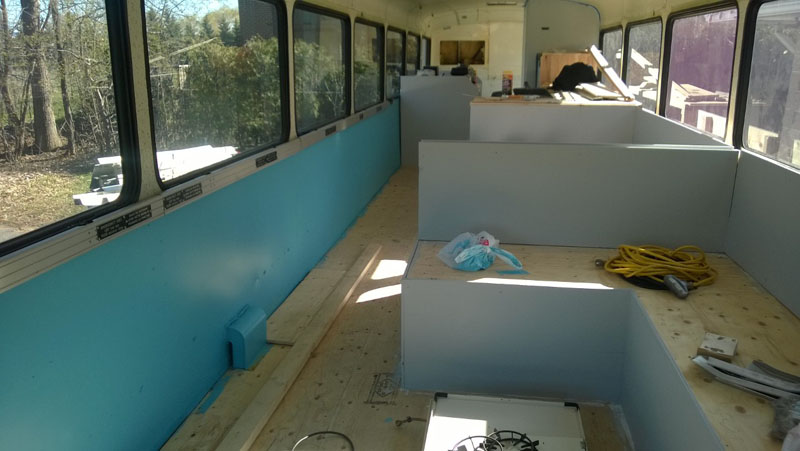
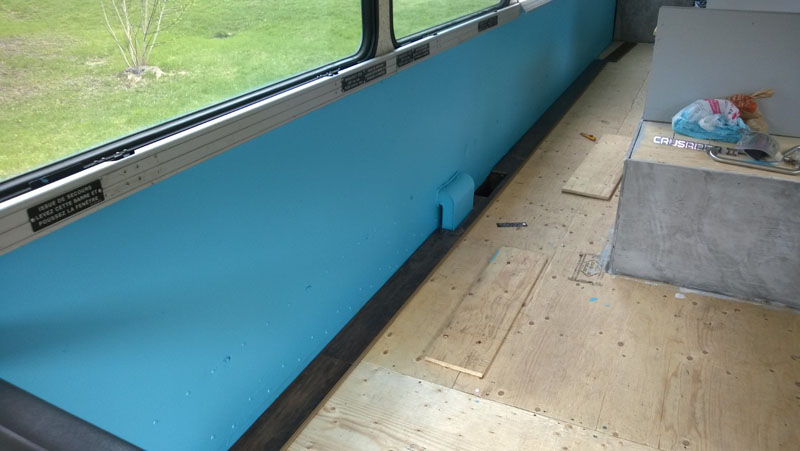
Back to the inside, I painted the walls!! I really like how the blue turned out, and a light grey went onto the plywood.
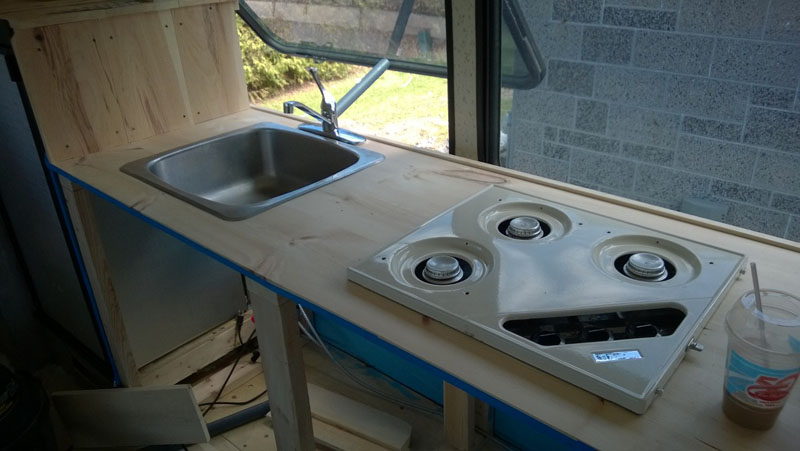
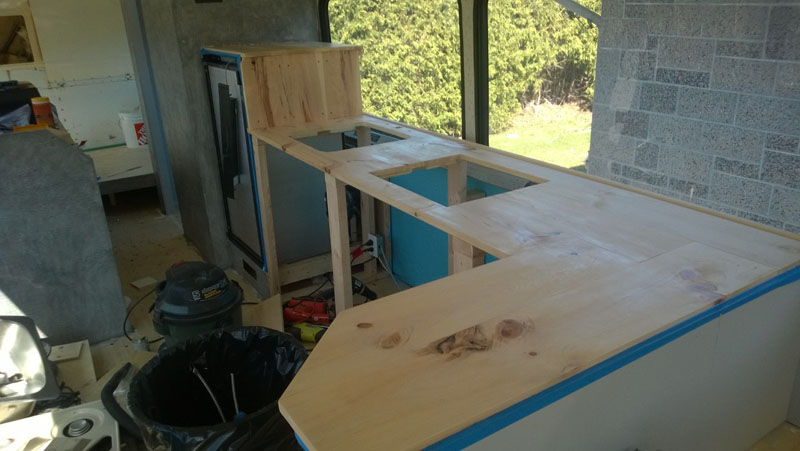
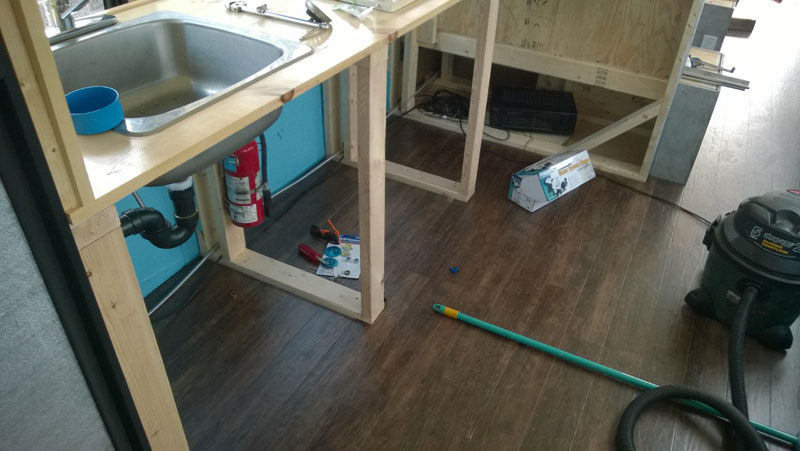
I got a double sink off of Kijiji for $20 but it was a little big for the bus, so I swapped it out for a single sink from our apartment. With all the kitchen pieces ready (stove from Kijiji as well, $50) I went ahead and cut out the holes in the counter for them, so that I could lacquer the inner edges as well.
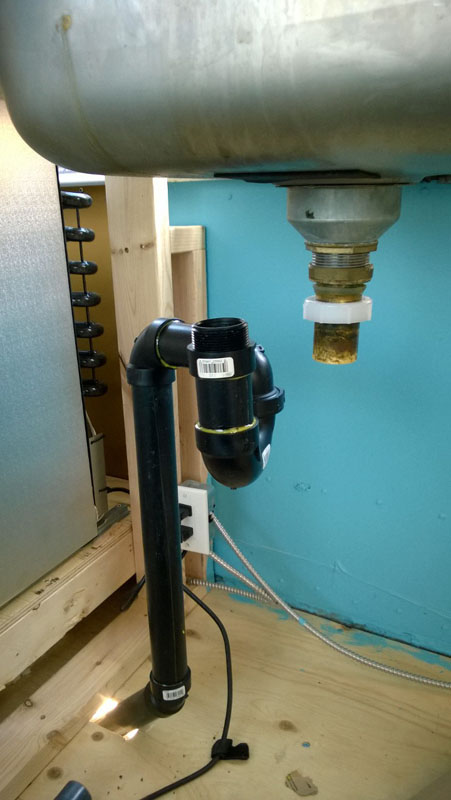
I also got the sink drain all plumbed and ready for it to go in after the counter was finished.
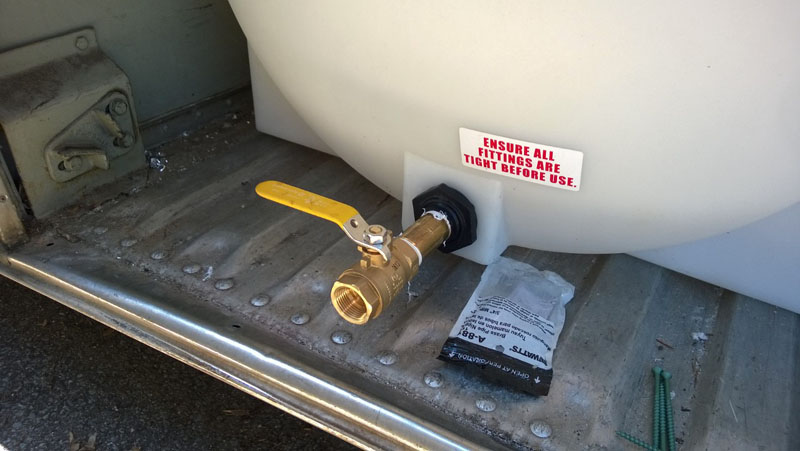
Did a little house keeping and got a drain valve for the fresh water and a plug for the grey water tanks.
The success of the next step is still a debate with some people but I hate the look of painted plywood, I think it’s cheap looking , so I took a darker grey paint and ‘rubbed’ it into the grain of the wood. Some areas turned out better than others but either way I think it looks better than the straight grey and it will do wonders for helping cover dirt and scuffs on the walls.
The photo here doesn’t show too much but I ended up getting a hardwood floor lacquer for the counter and table. This will hopefully give it the best durability as they started out as cheap shelving pine from Home Depot. And I know I haven’t shown you the table yet but it’s coming I promise (told you there was a lot to get through)
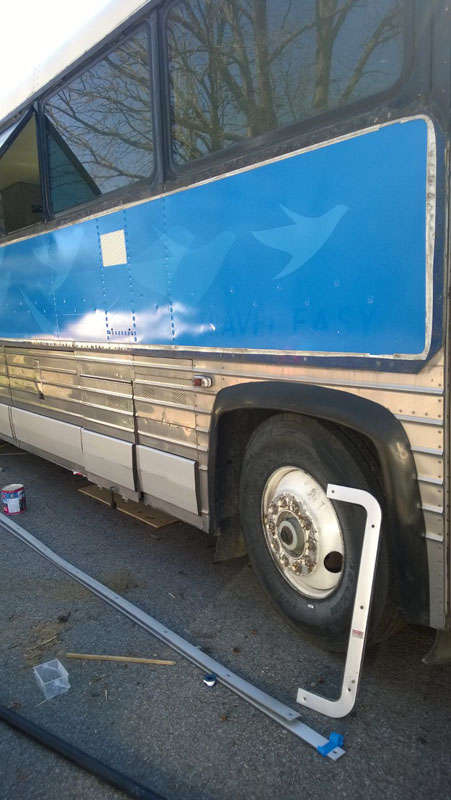
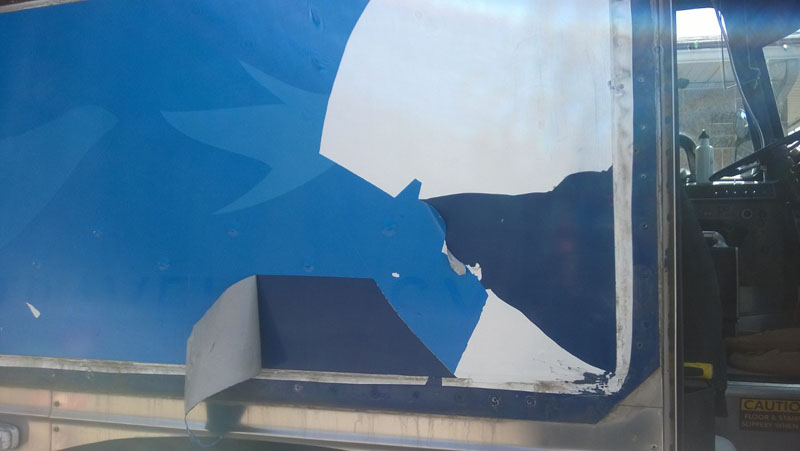
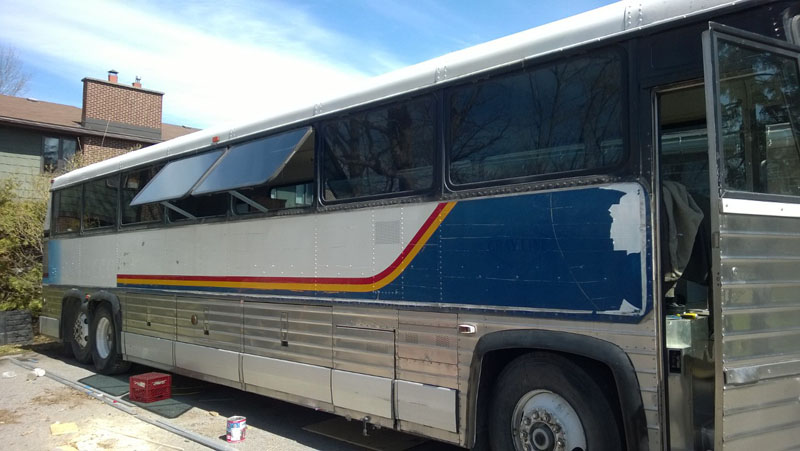
Moving to the outside portion that I mentioned… The bus was, as I’ve mentioned waaayyy back, owned by Pacific Coach Lines (PCL), but they we’re not the original owners. PCL put a giant vinyl wrap on the bus instead of painting it, so I needed to peel this off before I can put my own paint back on. In this process I discovered that I own an old Grey Line bus out of Seattle (which explains the lack of running lights).
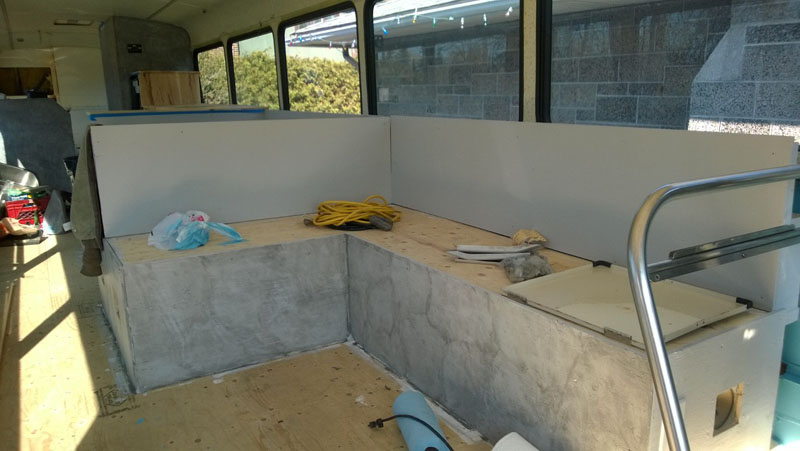
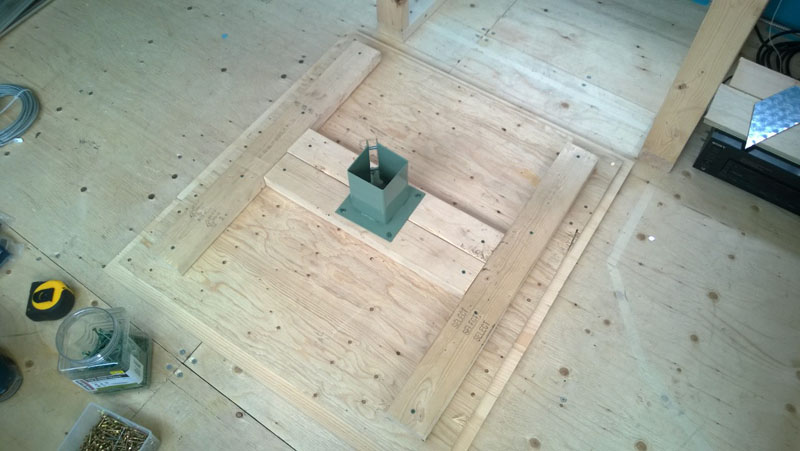
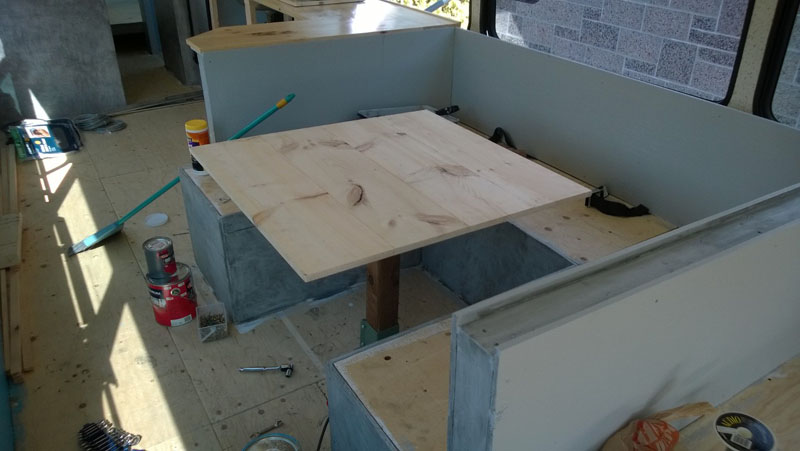
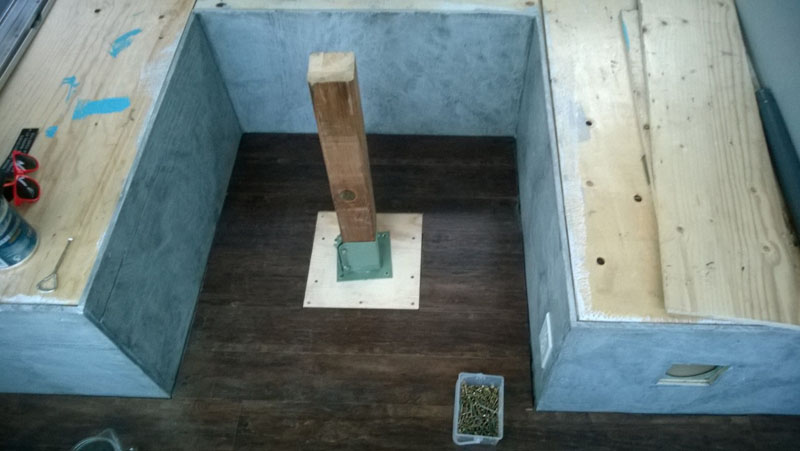
And here’s the table! I used the same shelving pine and secured it to a piece of plywood. I din’t plan to make it as heavy and durable as I did but I decided to add some 2×4 supports to help stop it from warping over time. I struggled with ideas on how to make the table sturdy but adjustable (because the dining area will turn into another double bed). The best, affordable idea that I came up with was to use bolt down fence post holders and varying lengths of 4×4. I ended up having to stabilize the floor a lot but the table is now nice and strong. Unfortunately there’s some wiggle room in the post holders that I’ll have to find a solution for later but at least it’s together and functional for now.
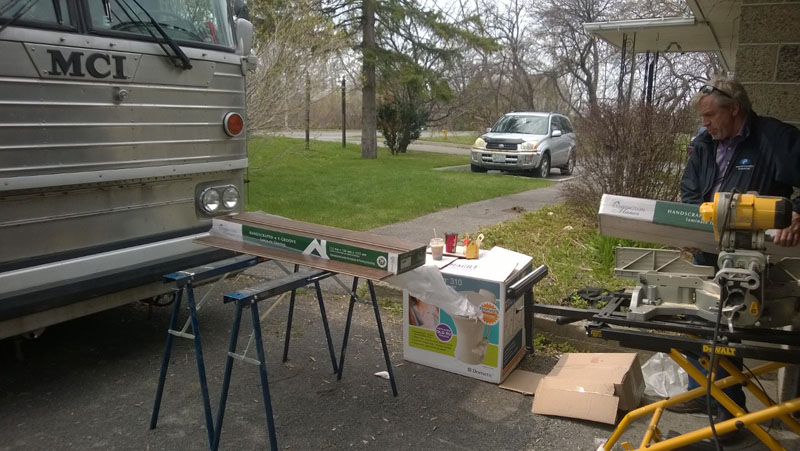
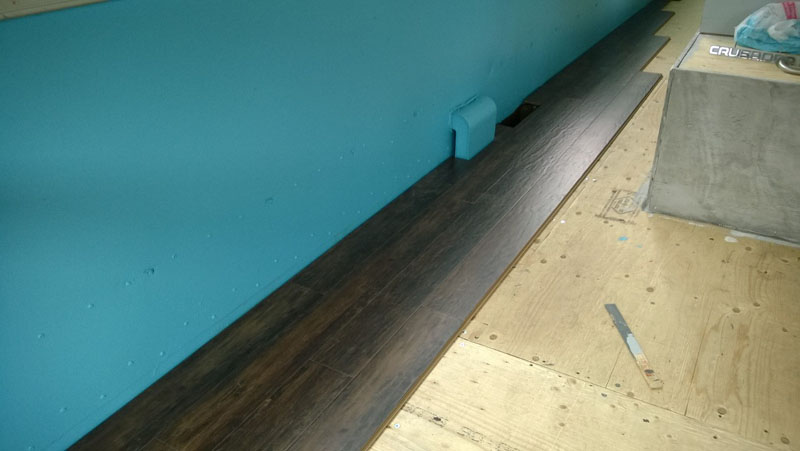
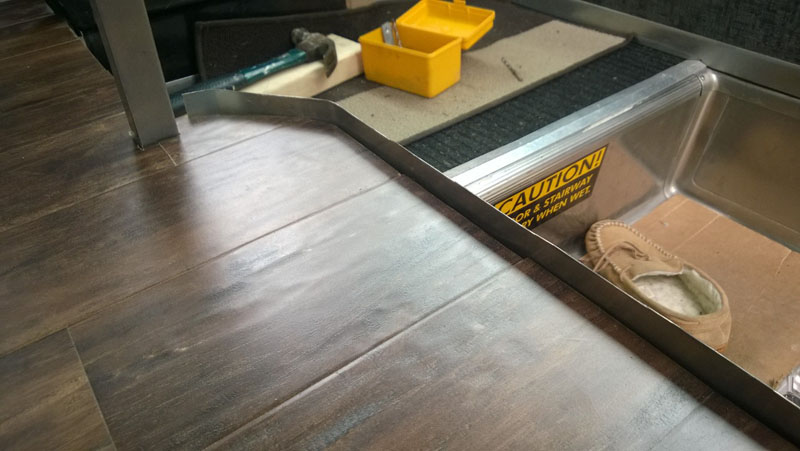
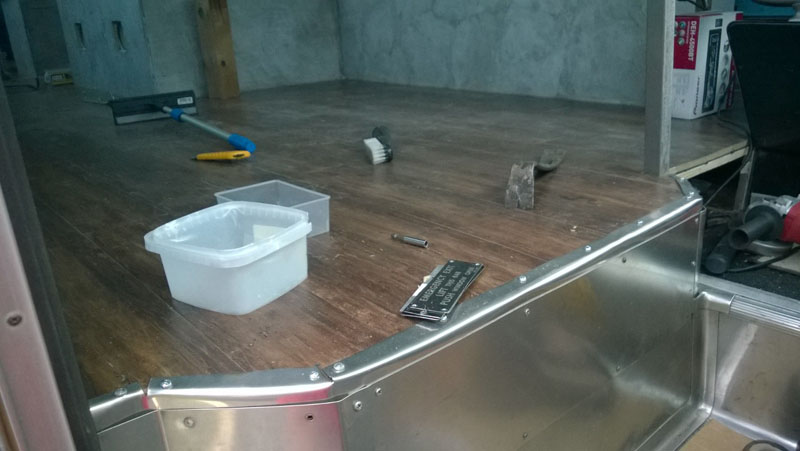
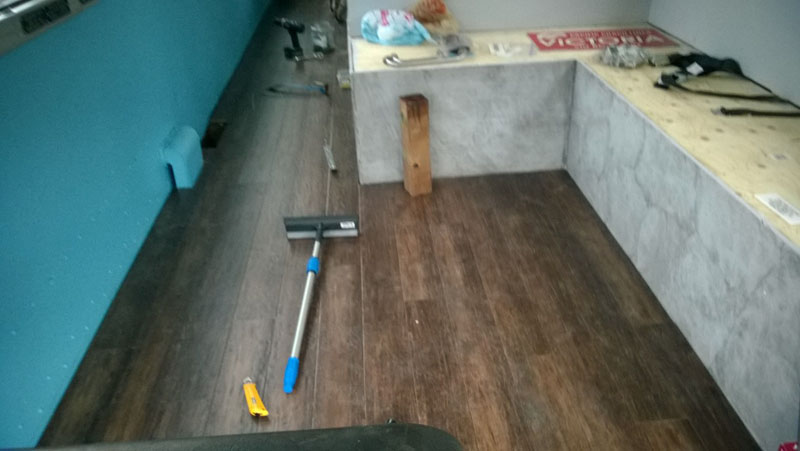
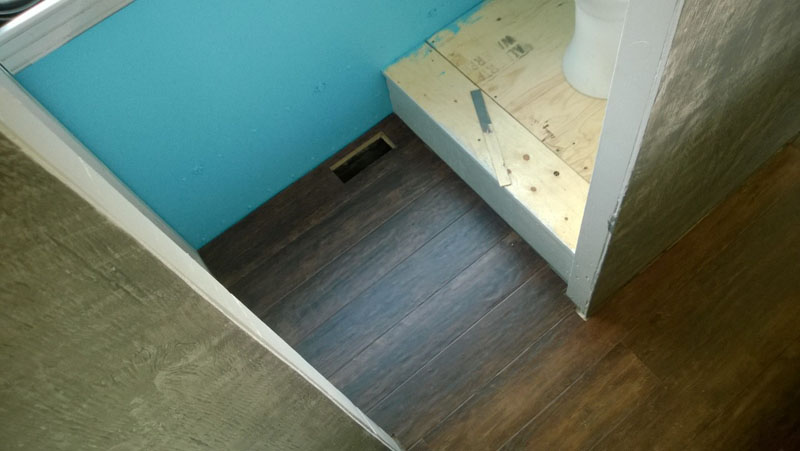
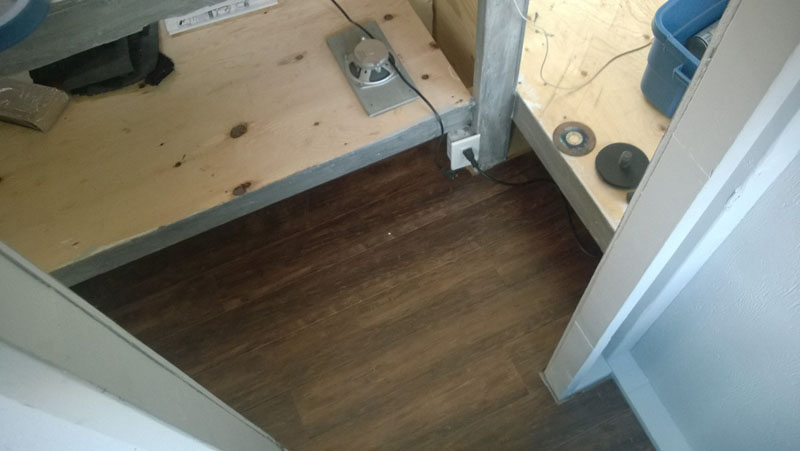
Now this part is exciting: flooring. For those who don’t remember, I picked up some nice laminate flooring in Toronto a while back for nice and cheap. We managed to throw down most of the floor in one afternoon and Zara and I finished it up the following day. The flooring was all snap-together so it went really fast.
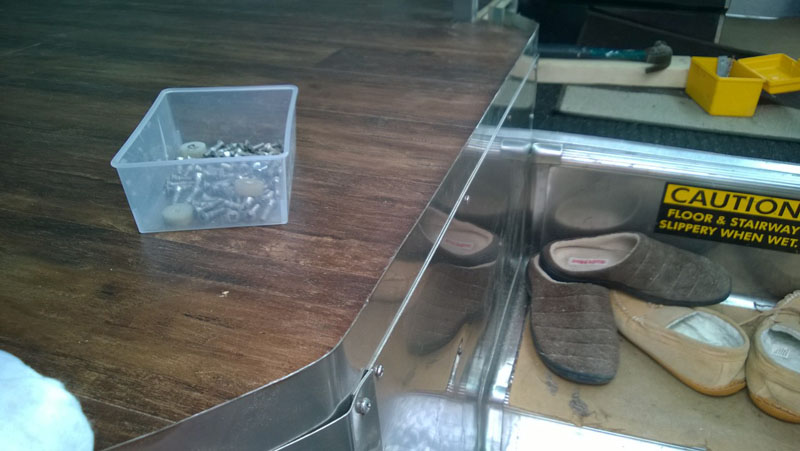
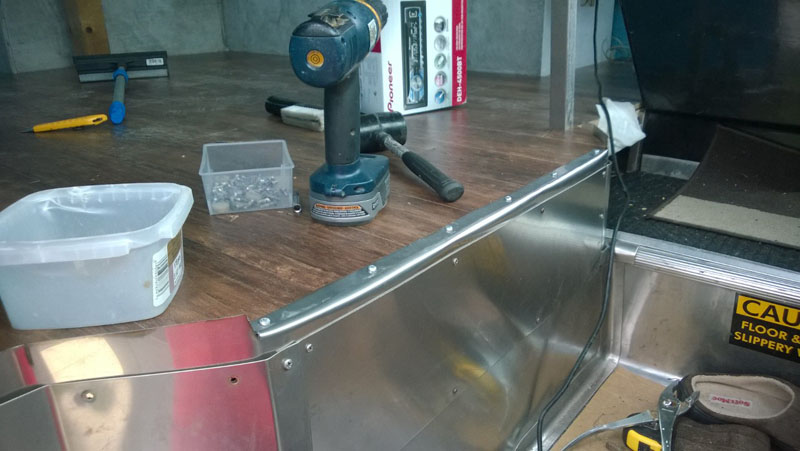
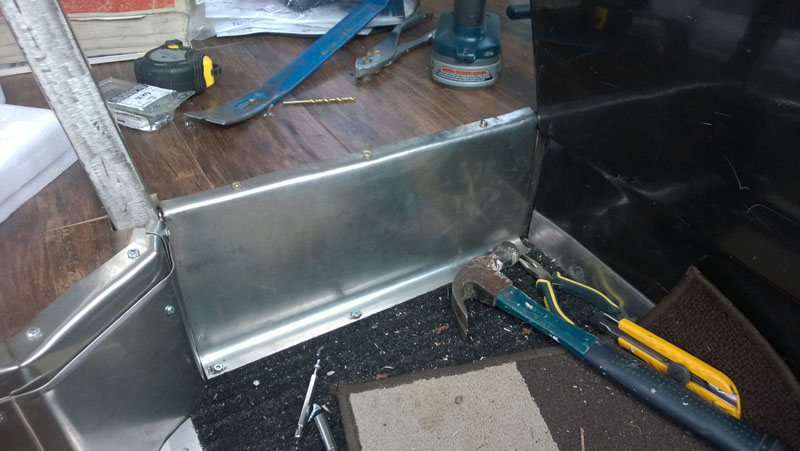
I ended up recycling some of the scrap stainless steel from the demolition and used it to fashion a relatively nice cover plate for the end of the flooring at the front.
I also put some quarter round trim along the plywood walls to clean up the floor edges, but I don’t have any pictures yet…
And that’s it for now. I appreciate anyone who actually read through all of my text and hopefully, if things go well over the next week or two, I’ll be able to get it registered and back on the road!
Thanks for reading!


Hey Ryan, Morgan’s dad here….. Just some thoughts from an “Old McGiver Type”. Two things, one the bus is really coming together and looks great. You are doing one bang up job of the interior. The other is to do with your battery power/inverter. Did you put in a charging supply from the Bus Altenator to keep the inverter battery charged? If you did, did you switch it so your inverter will not draw off the regular bus batteries? One last thought, do you have a small generator for power? I hope I get to see the bus, you are doing an awesome job!
Hey Perry, the bus actually has a 24v alternator and power system, so it doesn’t really work with the inverter system. My plan is to buy a cheap, used 12v alternator and add it to the engine.This way the starter batteries are always ready and charged, and the house system can do it’s own thing. I left space for a small generator, and my inverter actually has the functionality to tart and stop it whenever necessary, but I don’t want to spend the money on tit yet…
You’l have to come see it sometime in Ottawa or when we bring it to Toronto!