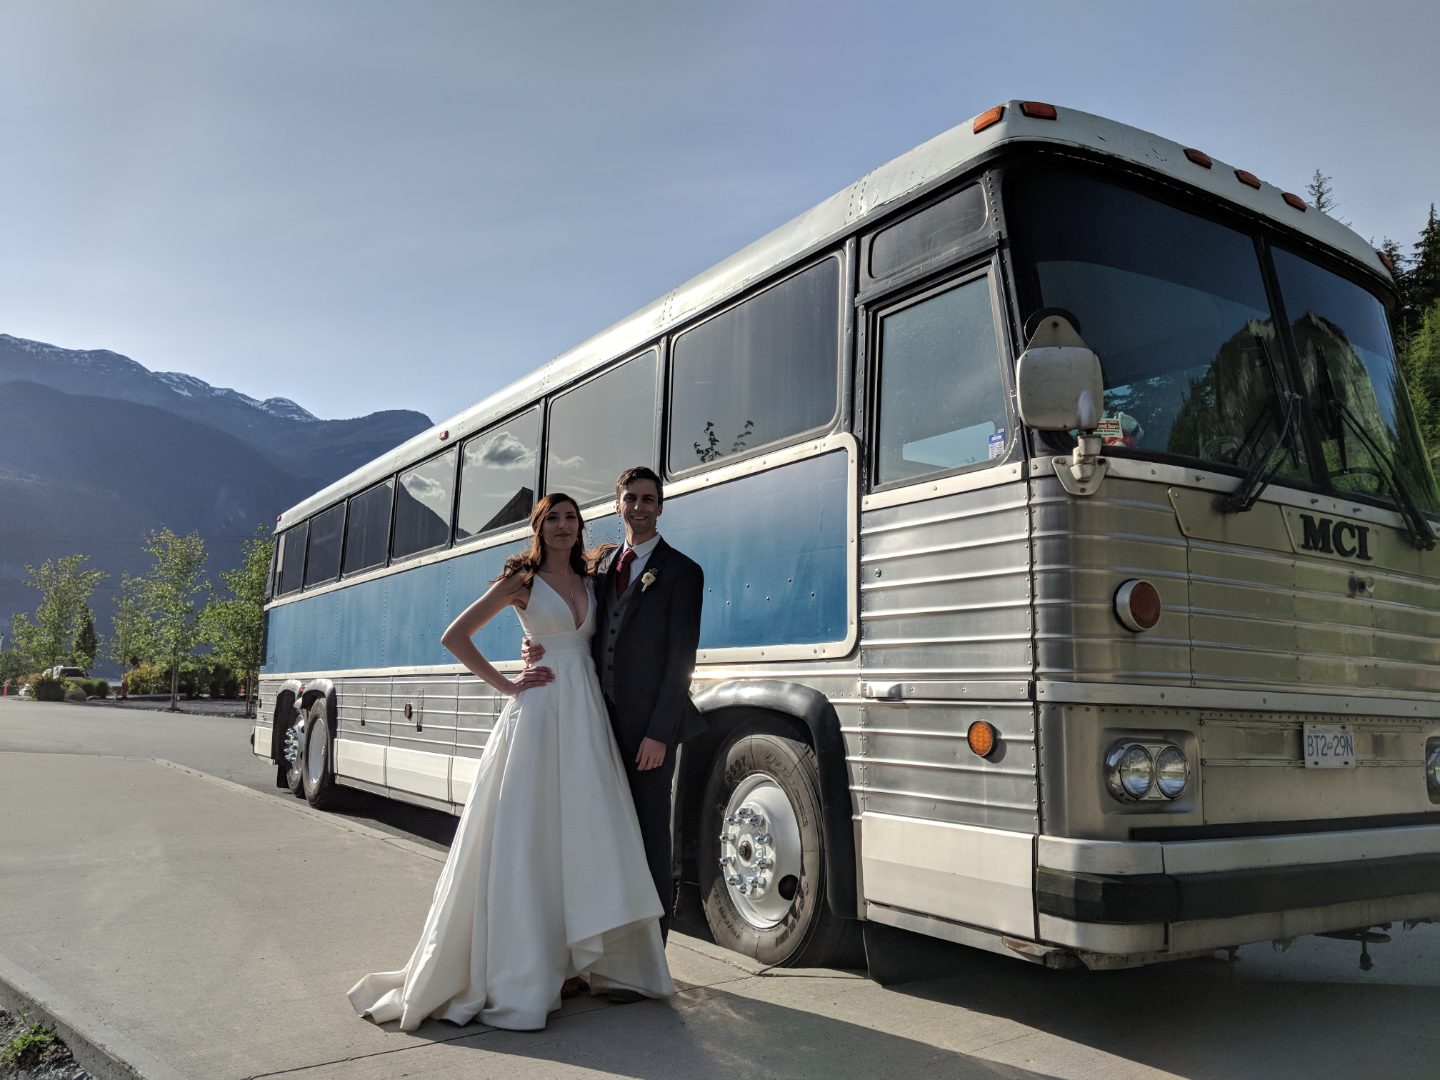
Well well, look at this. The bus is back on the road with it’s own plates and insurance 🙂
But let’s go back a couple of weeks… This post is going to be rather text-heavy but the story needs to be told. Skip down to the bottom if you just want to see the videos I posted.
To register a vehicle in Ontario you need insurance, a Safety Standards Certificate, and an e-test, but it’s hard to get tests done when you can’t move the vehicle. Thankfully, the MTO will give you a temporary sticker which gives you some time to have the tests done, however, you still need insurance. My original plan was to get the insurance, get the temporary plate, have the tests done, and then go back for the full registration. It’s complicated but I was up for the challenge.
I had a lot of trouble finding insurance, as many of you know already, but after many weeks of searching, I found a policy. Although it was expensive, I realized that it was the best I was going to get (and the only quote I actually got back) [ I ended up with Gifford Associates here in Ottawa, high recommendation, excellent service ]. After agreeing to the policy, I got thrown a curve ball: turns out that the insurance company won’t bind the policy without the safety and e-test… great.
So there I am, thinking I was going to have to get the thing towed to a garage for hundreds of dollars, but then I remembered that some garages have mechanic plates which work kind of like dealer plates. So now I was on the hunt for a mechanic who would look at a 30 year old diesel bus conversion.
I quickly learned that mechanic plates can only be used by the actual mechanics, and so I’d have to pay hourly for the trip (one more costly item). In the end, I found Riviera, out on Carp Rd, and after my experience with them, I am very pleased. They had a dealer plate which I could use to drive the bus myself over to their shop, and then have the inspection done.
Photo Interlude – Here is the bus looking awesome on Riviera’s lot:
So, three days later I hear back from them. The e-test and inspection are done, but it needs a few things (never words you want to hear from your mechanic). It was some burnt out bulbs, a couple leaky seals and the big one: a new air tank.
For those who don’t know anything about air brakes, there is a big compressor attached to the engine which pumps air into big tanks which sit between 100-120 PSI. There are larger, primary tanks which run the brakes, and smaller ones which run air accessories.
My bus has 4 tanks, and one of the two large, main primary tanks had a small whole where it corroded through. The problem with a bus is that it doesn’t use the same tanks as a truck. Trucks usually have long, skinny tanks which run lengthwise down the frame, but my bus has short, fat tanks which stand upright underneath… great. I gave Riviera a few days to look for a replacement fro their usual parts suppliers, but to no avail. However, thanks to the wonderful bus nuts over in the BNO forums, I got a hold of the OEM part number, and was on the phone that day getting a new tank shipped over. The great thing about MCI is that people who run buses need parts fast, so they know how to deliver.
Now things were falling into place. I woke up bright and early this morning and brought the tank to the mechanics at 7:30 am. At 9am I got the safety and e-test documents, and paid for the 18.8 hours of labor (commercial safety inspections are quite the process). At 10:00 am I get the insurance pink slip, and was at the MTO by 11:30. Went for lunch with the pops and had the bus plated by 2:30pm. FEW!
And now the videos as promised 🙂
Here is a tour of the bus as it stands now:
And this is a video I took of my driving it to the mechanics shop (I appologize for the stuff sliding around in the back):
From now on my posts will transition into travel logs and any other jobs I end up tackling on the bus.
Thanks for reading, see you on the road!
Wow, that is an incredible simple and quick build on a small budget. Great work!